
There is a difference between patching and upgrading. A software patching is usually a release that includes improvements to the current version. An upgrade is a whole new version of software that represents a significant change or major improvement.
When it comes to vCenter Server Appliance, the upgrade process looks different than patching.
In this article, I will show you how to upgrade vCenter Server Appliance (VCSA) step by step. I will upgrade the VCSA in my home lab from 6.7 to 7.0.
Upgrading from version 7.0 to 8.0 looks the same.
Prerequisites
Download ISO
Please read the VMware Docs article Upgrade Best Practices before upgrading. There you will find all the checks that need to be done before upgrade.
Download the desired version of the VCSA ISO from here.
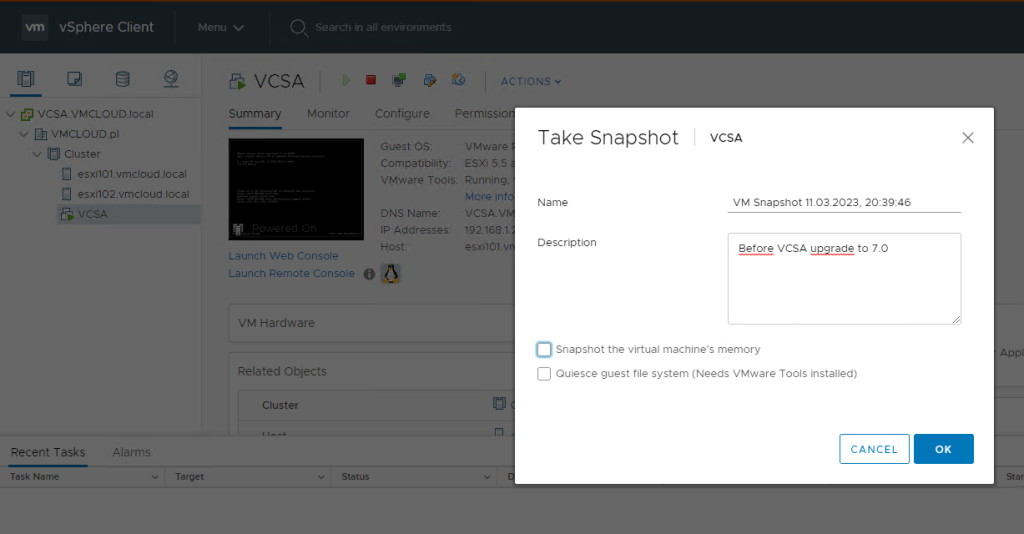
Snapshot
Take a snapshot/backup of your current vCenter Server Appliance VM. The key is to be able to roll back in case of any issues.
I used a snapshot:
Enable SSH on your vCenter Server Appliance:
1. Go to Appliance Management and login with root credentials.
https://Your_vCenter_IP:54802. Navigate to Access section.
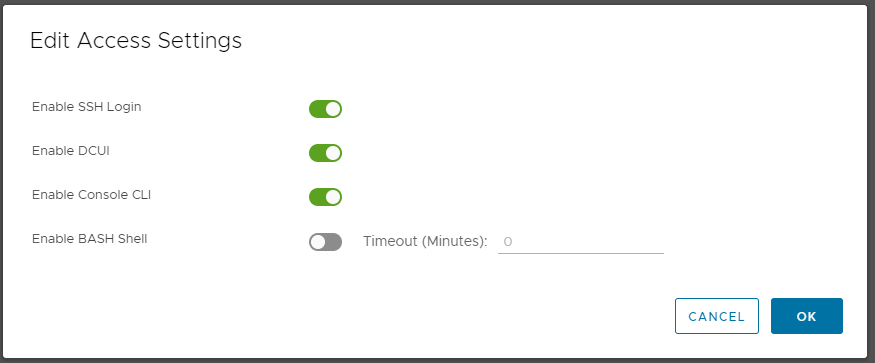
3. If the SSH Login is Disabled, click Edit on right hand side.
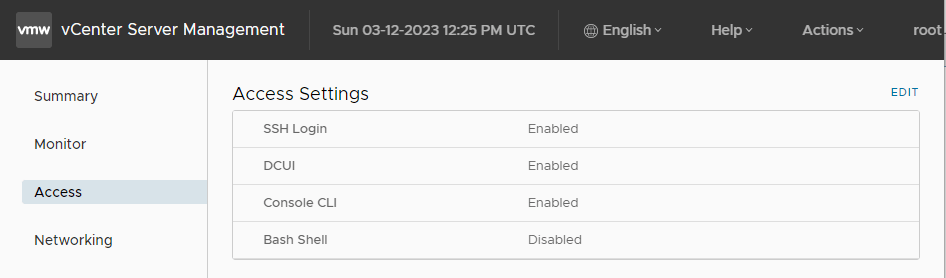
4. Enable SSH Login and click OK.
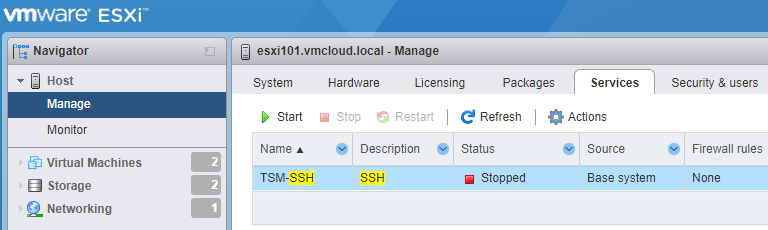
Enable SSH on your ESXi host:
1. To Enable SSH service on ESXi host using vCenter, login to vCenter, choose ESXi host, then Configure and Services.
2. Select SSH and click Start.

You can also enable ESXi SSH by login into ESXi web management console, then navigate to Manage, Services, type SSH in search, select TSM-SSH and click Start.
Home Lab RAM and Storage requirements
Finally, if you’re doing this in your home lab, you’ll need at least 32GB of available RAM. In Stage 1, a new Appliance VM will be deployed. In Stage 2, you will run the old version of VCSA 6.7, which uses at least 10 GB of RAM, and at the same time, VCSA 7.0, which uses 12 GB of RAM. After copying the data and configuration to the new Appliance, the old one will be disabled, but for a while you need enough RAM to support two VCSAs running. Also, you must have an ESXi with more than 12 GB of free RAM, otherwise Setup will not allow you to proceed when choosing a deployment size (point 10).
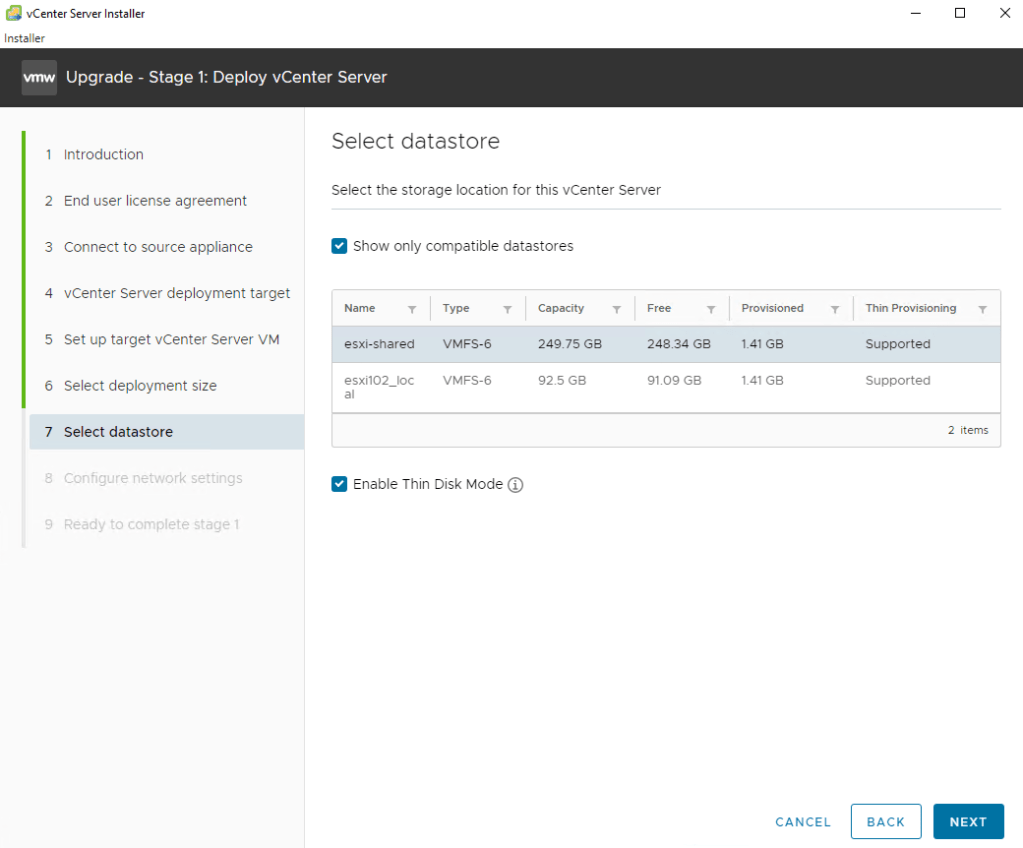
When it comes to storage, you don’t need 579 GB of free space. As you can see in step 11, I deployed a new VCSA on the datastore with about 250 GB of free space and that’s more than enough.
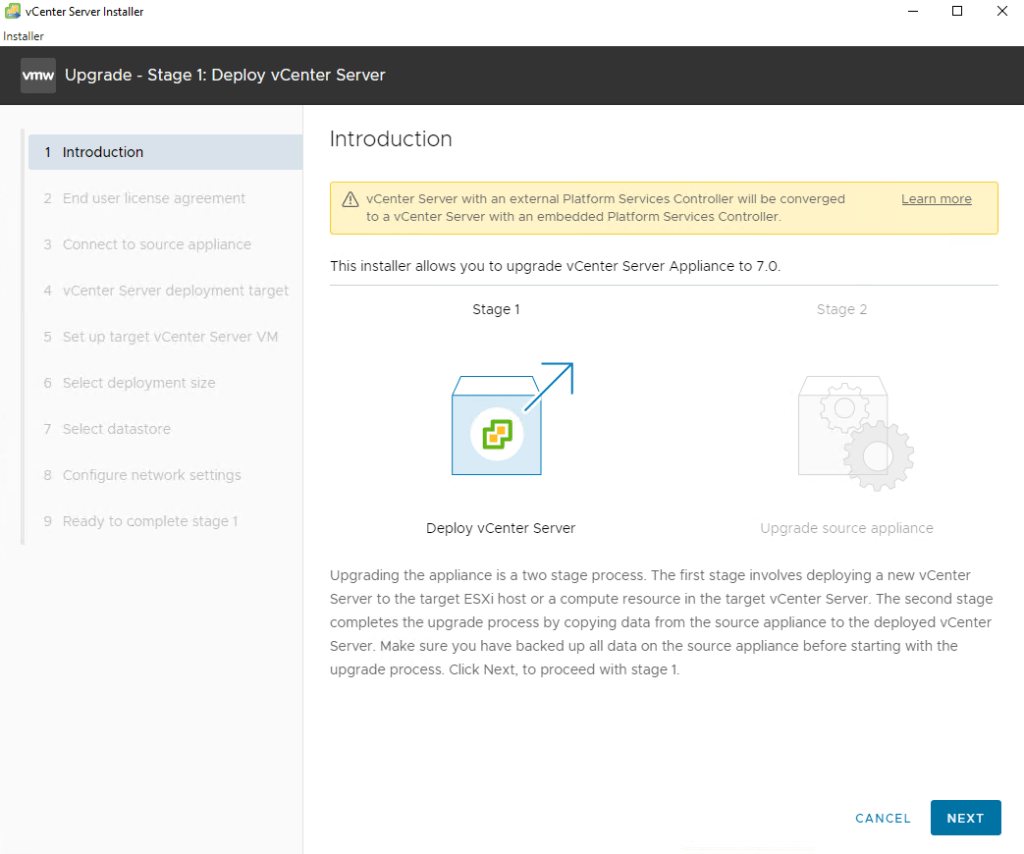
Stage 1: Deploy vCenter Server
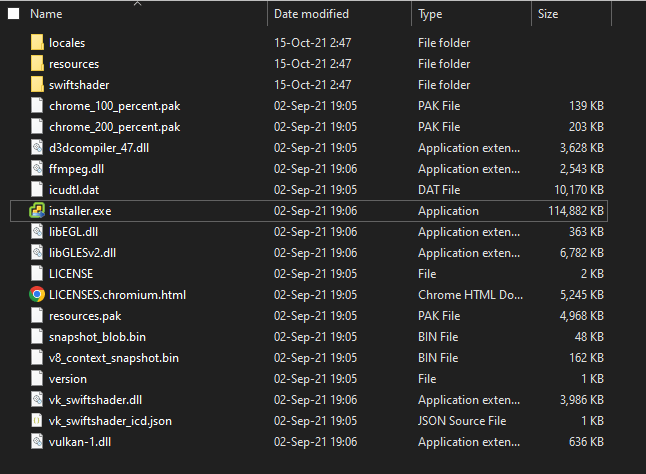
1. Mount the ISO on your server/laptop, navigate to vcsa-ui-installer\win32 and run installer.exe as Administrator.
2. Choose Upgrade.
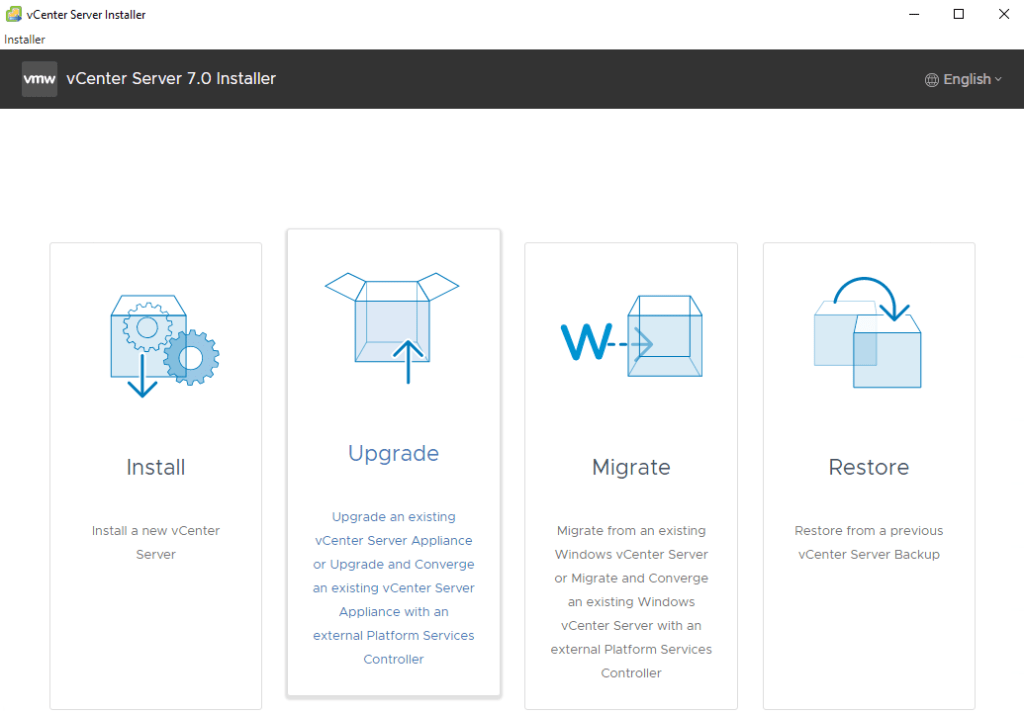
3. Click Next.
4. Accept the license and click Next.

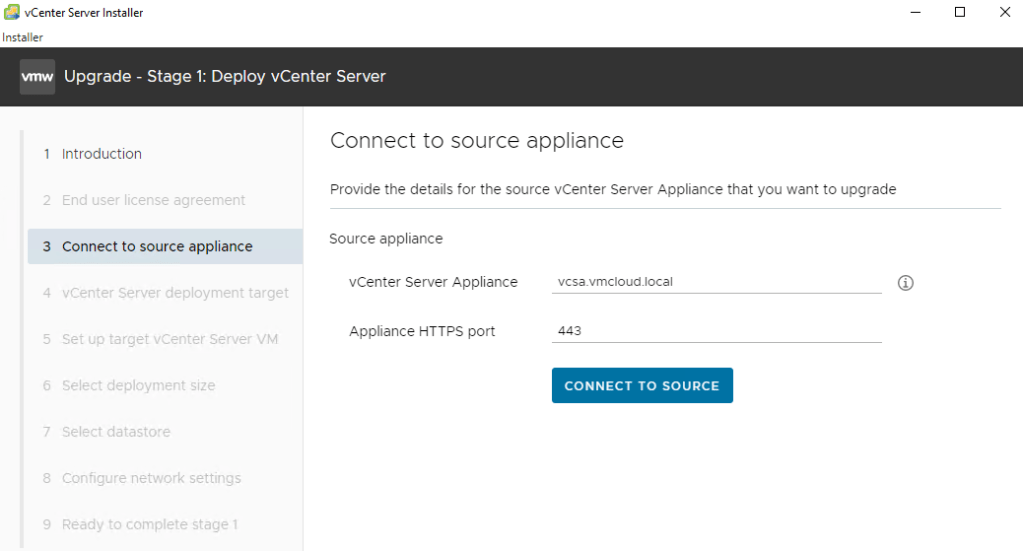
5. Type FQDN or IP address of your current vCenter Server Appliance and click Connect to source.
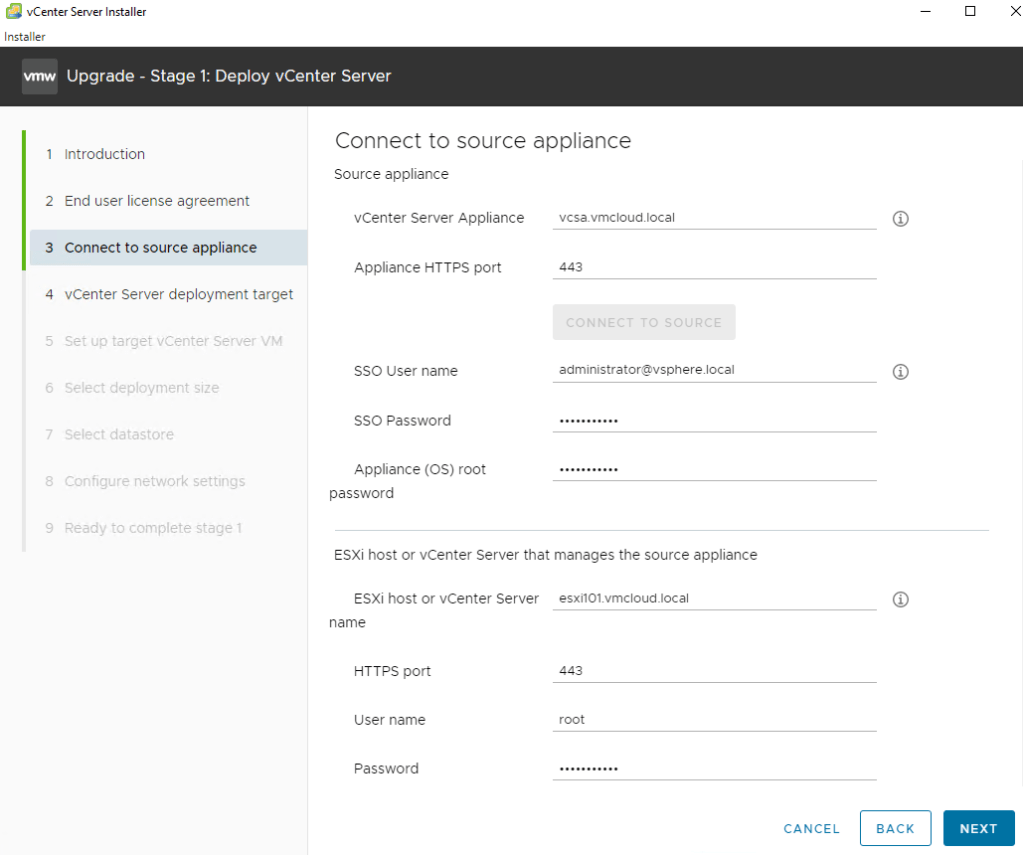
6. If the connection is successfull, you have to type local admin SSO password, Appliance root password and specify ESXi host or vCenter Server where your current Appliance is. Once everything is there click Next.
7. Click Yes.
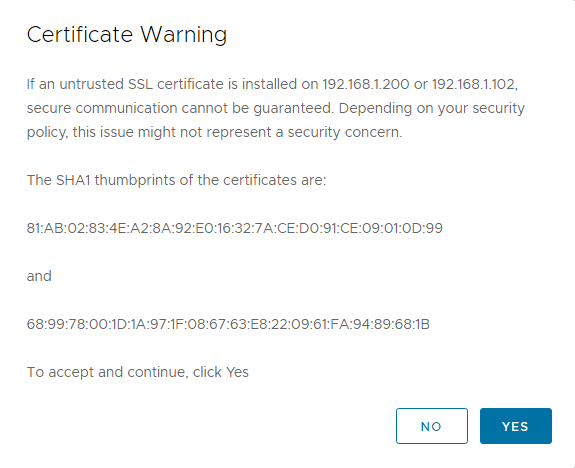
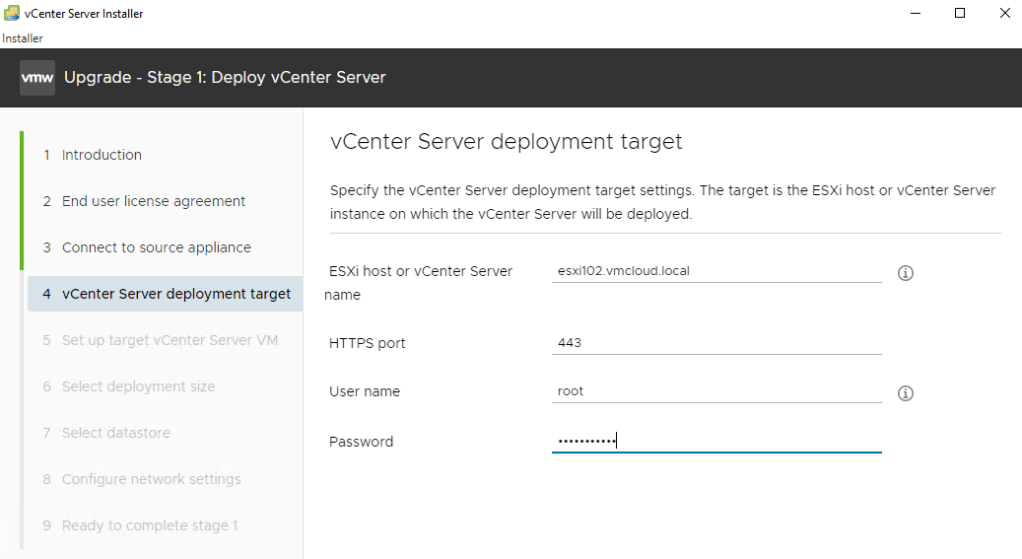
8. Now specify ESXi host or vCenter Server to which you want to deploy new Appliance. Click Next and again click Yes at certificate warning, same as in point 7.
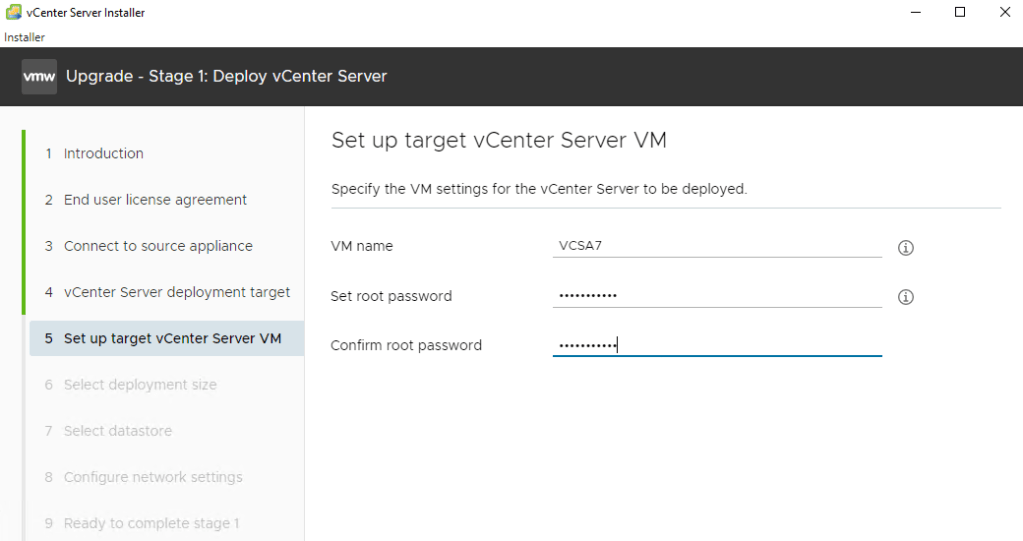
9. Type VM name and root password for new Appliance.
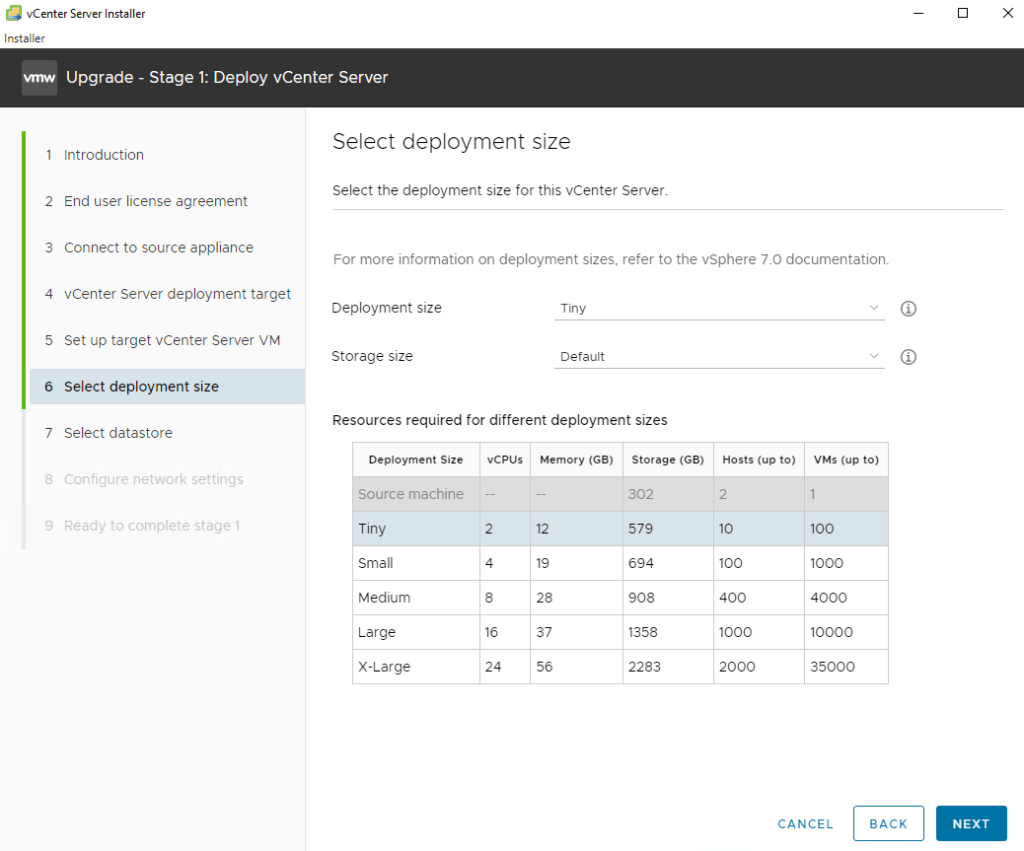
10. Select deployment size of your new Appliance and click Next.
The required storage space is 579 GB, however, you can choose a storage with less free space.
CPU and RAM requirements are non-negotiable, configuration will not allow vCenter 7 to be installed if the ESXi host has less than 12 GB of free memory.
11. Choose datastore and select Enable Thin Disk mode. Next.
12. Now specify the Network details for your new Appliance. Make sure Temporary IP address is available. After upgrade, the IP address will be the same as the vCenter’s current IP address.

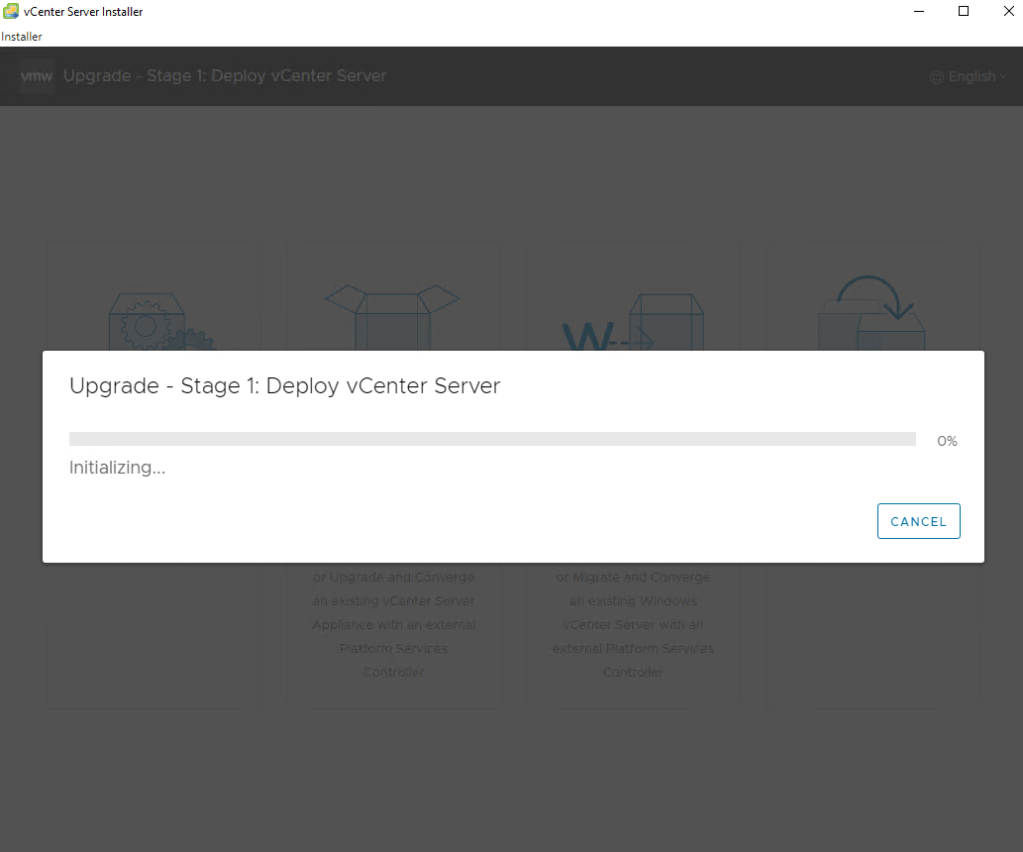
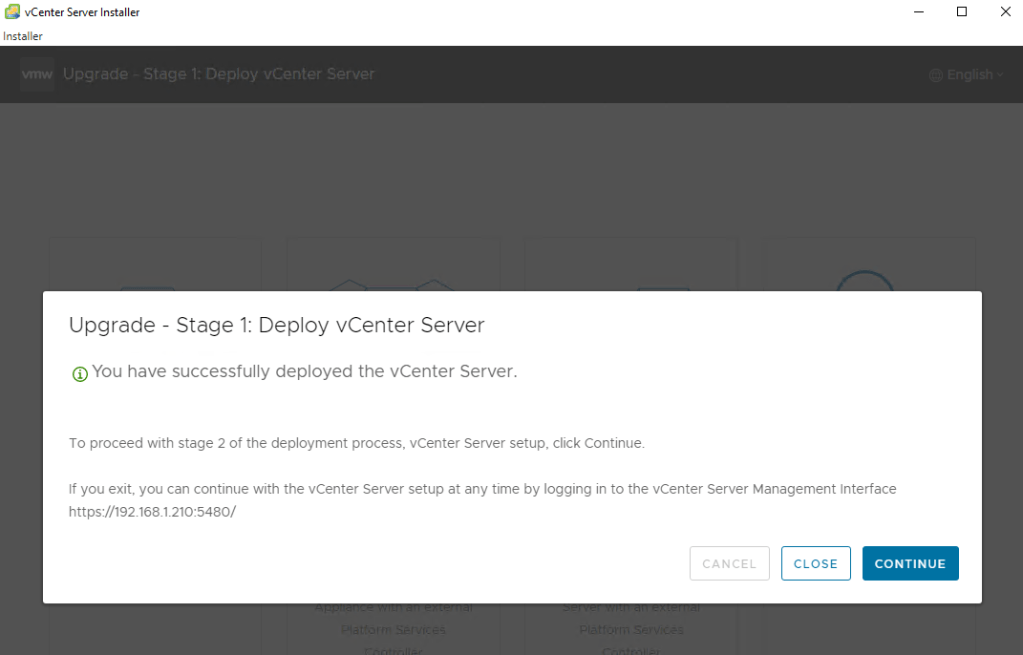
13. Finally, you are ready to complete Stage 1. At the summary page click Finish.

Now the deployment begins. You should now see your new Appliance in vCenter.
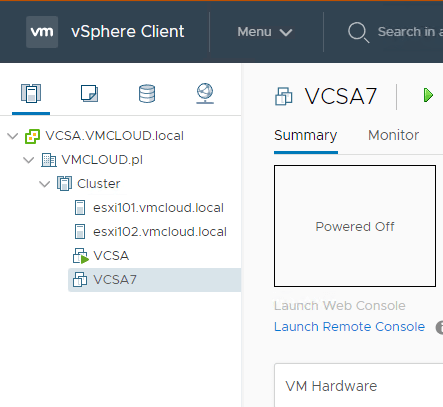
Continue when completed.
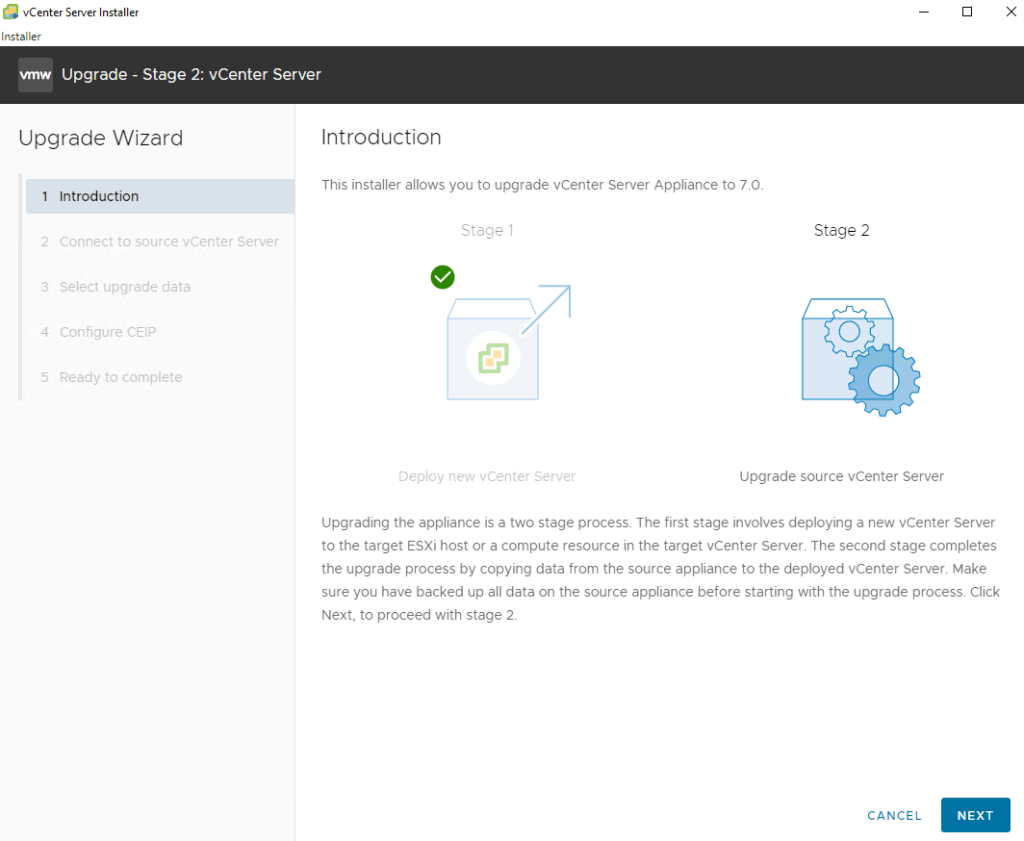
Stage 2: Upgrade Source Appliance
1. On Introduction screen click Next.
2. Type passwords for your current VCSA and ESXi host.

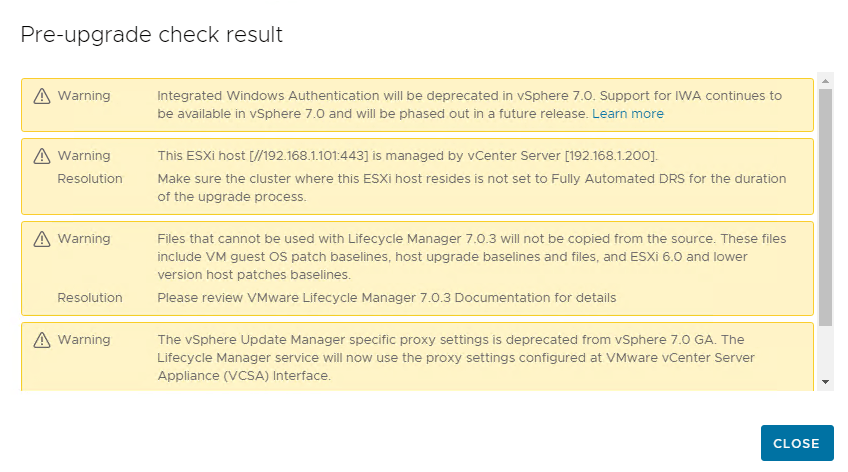
3. Review Warnings, apply changes if needed.
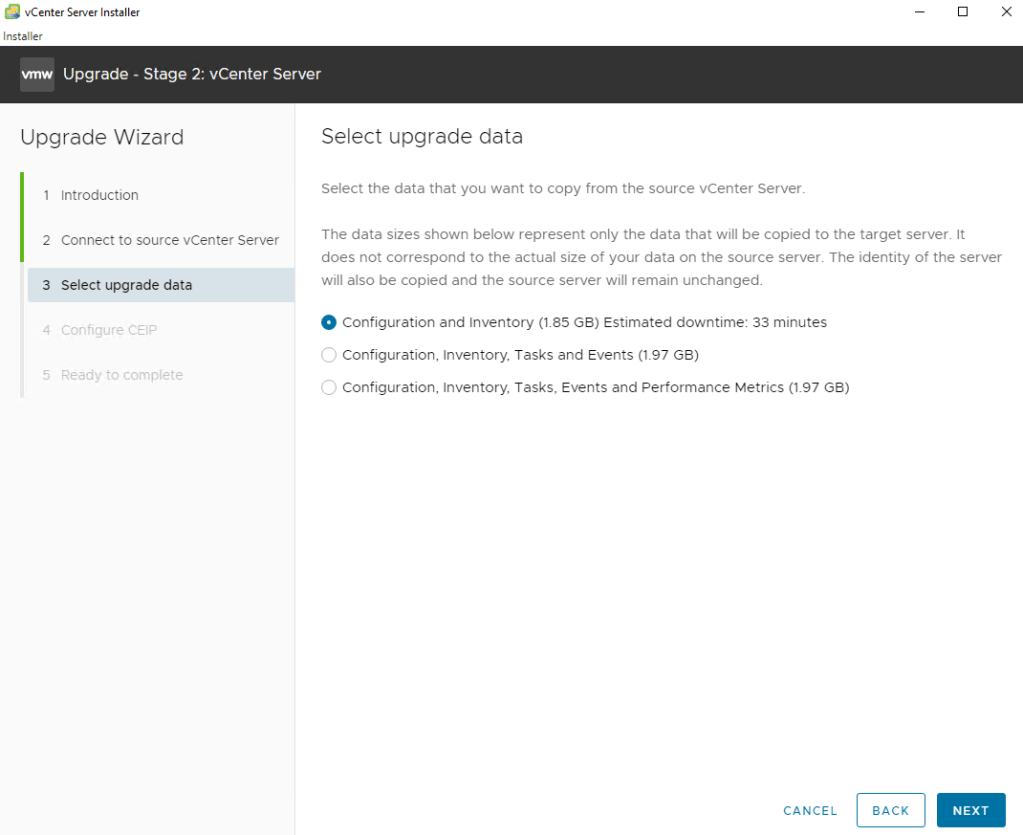
4. Choose which data you want to move to new VCSA and click Next.
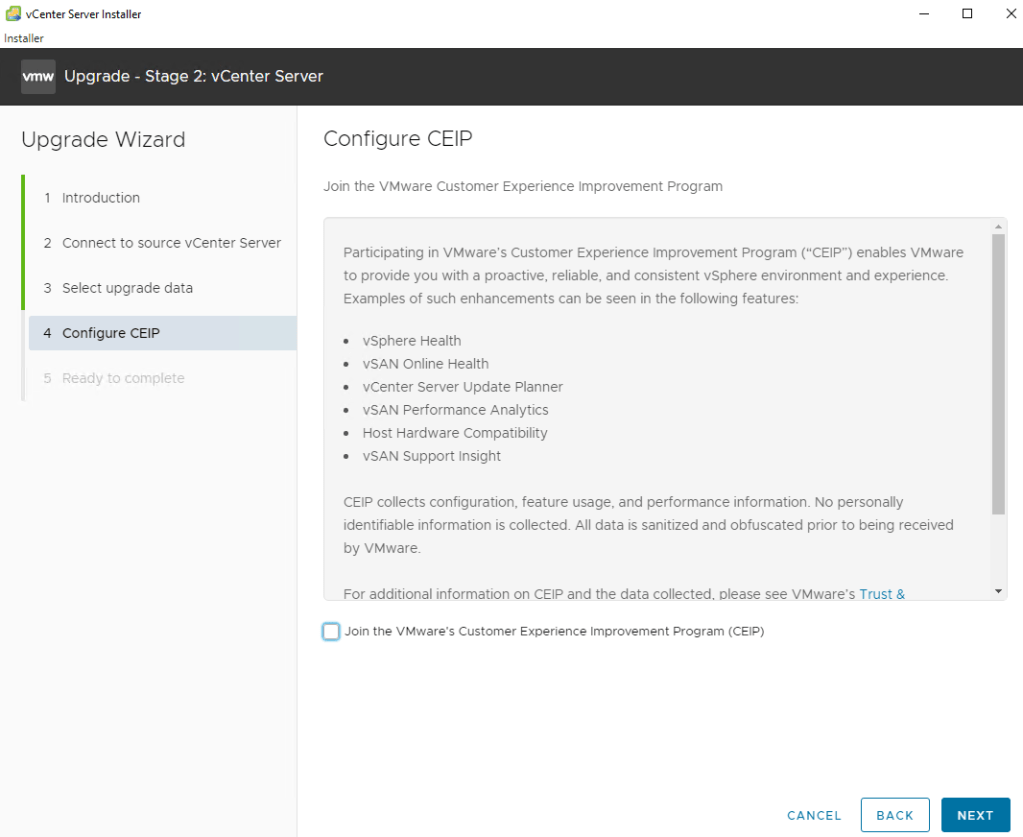
5. Select if you want to join CEIP.
6. Select I have backed up… and click Finish.

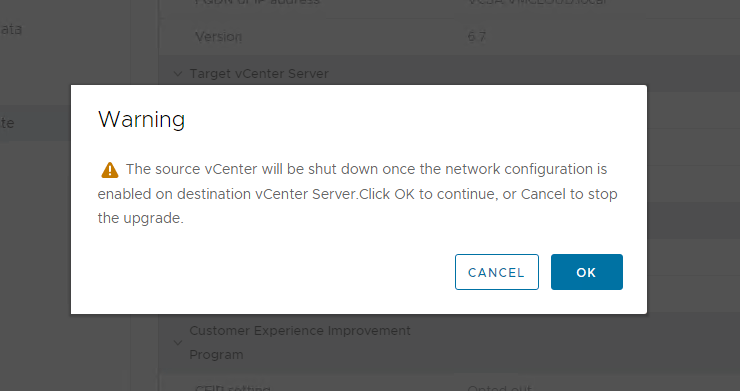
7. Click OK.
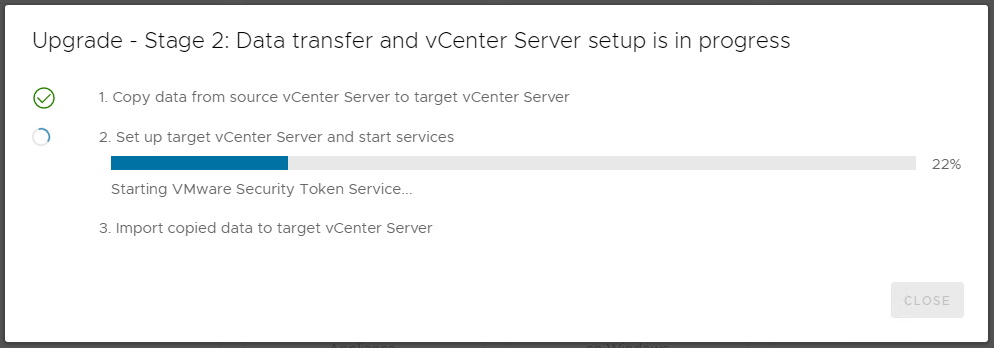
Process starts

Upgrade completed.

Once completed, you can verify the version in you vCenter Appliance Management:

Or in the vCenter Web client:
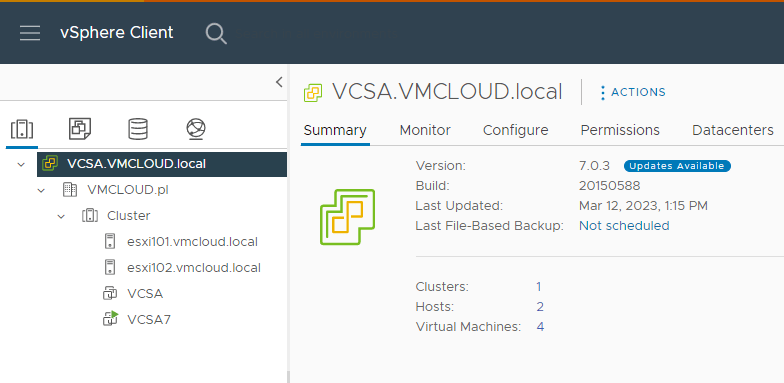
Finally, after confirming that everything is working fine, you can delete the old VCSA VM.
Thank you for reading! Here are some links you may be interested in:
- More articles on main page: https://vmcloud.pl/
- LinkedIn: https://www.linkedin.com/in/krzysztofsalwa/
- Twitter: https://twitter.com/vmcloudpl
- GitHub: https://github.com/vmcloudpl
- VMware vExpert: https://vexpert.vmware.com/
- VMware Communities: https://communities.vmware.com/
- VMUG: https://www.vmug.com/
- VMware Explore: https://www.vmware.com/explore.html
- VMware Store EU: https://store-eu.vmware.com/
- VMware Store US: https://store-us.vmware.com/

Leave a comment