

Ansible Inventory is a hosts file which contains every server that is managed by Ansible. Inventory file is located in /etc/ansible/hosts on your Ansible VM. Once you add server in hosts file, you need also to establish an SSH connection using SSH key. In this article I will show you how to add servers to your Ansible Inventory.
Localhost
Localhost is my Ansible VM with which I execute tasks in vCenter by connecting to the vCenter Server using administrator credentials.
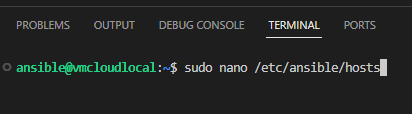
1. Open Terminal on your Ansible VM (or connect by SSH) and edit /etc/ansible/hosts file using the following command:
sudo nano /etc/ansible/hosts
2. At the end of the file add the following:
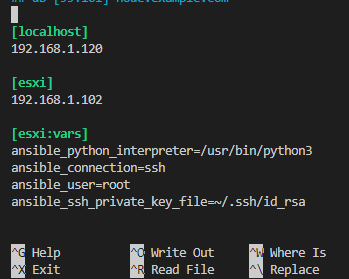
[localhost]
IP_of_your_Ansible_VM
Once added, press Ctrl+O to Save the file, then Enter and then Ctrl+X to exit.

3. Test the connection. At this point it will not work.
ansible -m ping localhost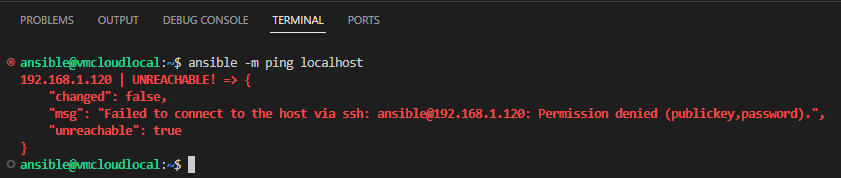
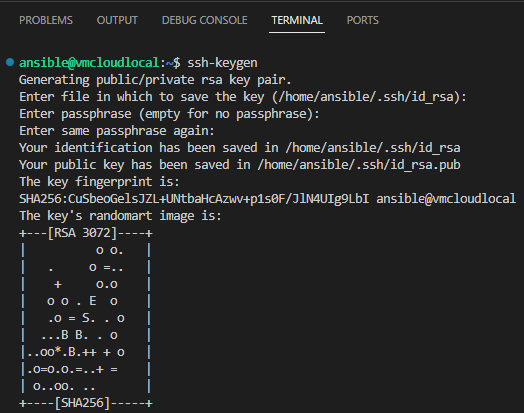
4. Generate SSH key using the following command:
ssh-keygenPress Enter for every value to accept the defaults.
5. Copy SSH key using the following command:
ssh-copy-id username@IP_your_ansible_VM
6. Now the connection will work.
ansible -m ping localhost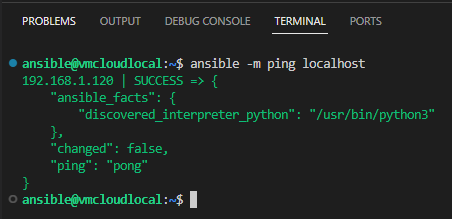
Now you can run Ansible Playbooks with “localhost” as a host. This can be used for any operation in vCenter, just add the following lines to your Playbook:
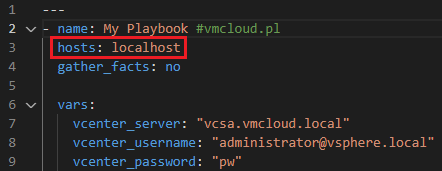
---
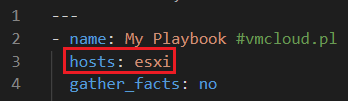
- name: My Playbook
hosts: localhost
gather_facts: no
vars:
vcenter_server: "vCenter_IP_or_hostname"
vcenter_username: "administrator@vsphere.local"
vcenter_password: "password"
Adding ESXi to Ansible Inventory
With Ansible you can execute commands directly on the server, for example you can use the esxcli command on an ESXi host as root. To do this, you need to add an ESXi host to Ansible Inventory and establish an SSH connection. Follow the steps to add ESXi to your Ansible Inventory:
1. Open Terminal on your Ansible VM (or connect by SSH) and edit /etc/ansible/hosts file using the following command:
sudo nano /etc/ansible/hosts
2. At the end of the file add the following:
[esxi]
IP_of_your_ESXi_host
IP_of_your_ESXi_host

[esxi:vars]
ansible_python_interpreter=/usr/bin/python3
ansible_connection=ssh
ansible_user=root
ansible_ssh_private_key_file=~/.ssh/id_rsa
You can add multiple hosts. Remember to copy SSH key to every host. I will add only one host.
Once added, press Ctrl+O to Save the file, then Enter and then Ctrl+X to exit.
3. Copy already created SSH key to ESXi host using the following command:
cat ~/.ssh/id_rsa.pub | ssh root@your_ESXi_IP 'cat >> /etc/ssh/keys-root/authorized_keys'
If you need to create new SSH key, please refer to point 4 above.

4. Test connection using the following command:
ansible -m ping esxi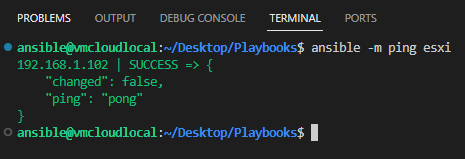
This allows you to run Ansible Playbooks directly on ESXi. Remember to enable SSH on your ESXi host and you can run any commands with Ansible, for example esxcli.
Use hosts: esxi in your Playbooks.
Adding vCenter and ESXi to Ansible VM hosts file
To use vCenter and ESXi hostnames in Playbooks, you need to add them to the hosts file on your Ansible VM.
Follow the instructions to add servers to the hosts file on the Ansible node:
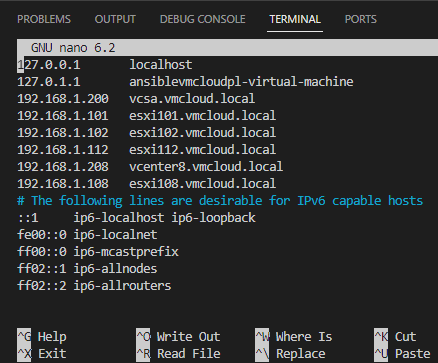
1. To edit hosts file, run the following command:
sudo nano /etc/hosts
2. Add your IP and hostname of each server. Once added, press Ctrl+O to Save the file, then Enter and then Ctrl+X to exit.
Thank you for reading! Here are some links you may be interested in:
- More articles on main page: https://vmcloud.pl/
- LinkedIn: https://www.linkedin.com/in/krzysztofsalwa/
- Twitter: https://twitter.com/vmcloudpl
- GitHub: https://github.com/vmcloudpl
- VMware vExpert: https://vexpert.vmware.com/
- VMware Communities: https://communities.vmware.com/
- VMUG: https://www.vmug.com/
- VMware Explore: https://www.vmware.com/explore.html
- VMware Store EU: https://store-eu.vmware.com/
- VMware Store US: https://store-us.vmware.com/

Leave a comment