

VMware vSphere 8.0 was released in late 2022 along with VMware ESXi 8.0 and VMware vCenter Server 8.0. All this comes with lots of new features, improvements and a brand new GUI look.
In this article, I will show you step by step how to install ESXi 8.
Prerequisites
License and ISO
VMware provides a free evaluation license for ESXi 8. Login here or register if you don’t have an account. Download ESXi ISO.

CPU compatibility
Here you can check if your CPU is compatible with ESXi 8.0. If your CPU is not compatible, there is a workaround to allow the installation.
CPU compatibility workaround should NOT be used in production environment. It is allowed to use only for testing purposes in home lab.
The deployment shown in this article will be done in my home lab and I will use this workaround.
Bootable USB
Create a bootable USB stick with the downloaded ISO image. This is only required if you want to deploy ESXi on a standalone server.
ESXi Installation
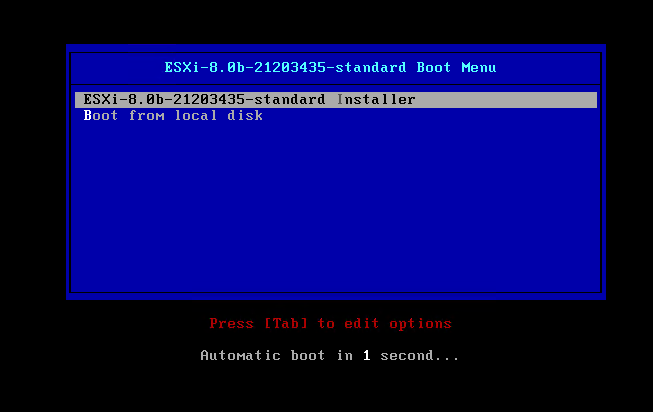
1. Boot your server to ISO image. Choose ESXi 8.0 Installer.
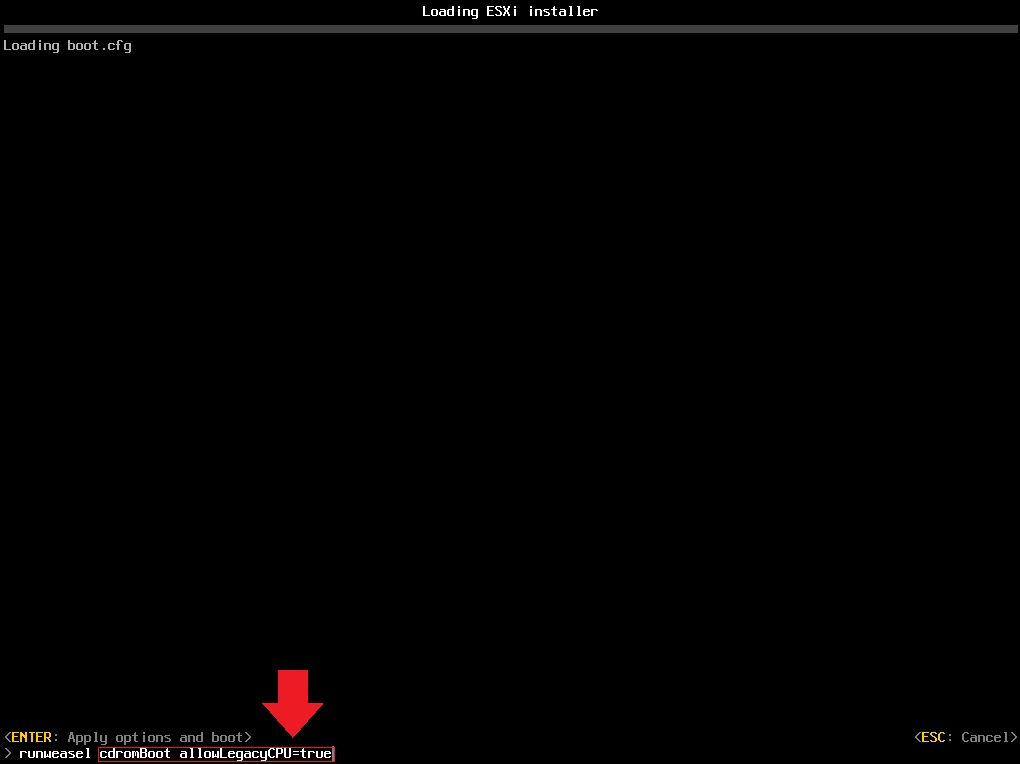
2. CPU WORKAROUND. If your CPU is compatible SKIP THIS STEP.
Immediately after selecting the ESXi 8 installer, press Shift+O. Then type the following command:
allowLegacyCPU=trueAnd press Enter. Make sure there is a space between cdromBoot and allowLegacyCPU=True
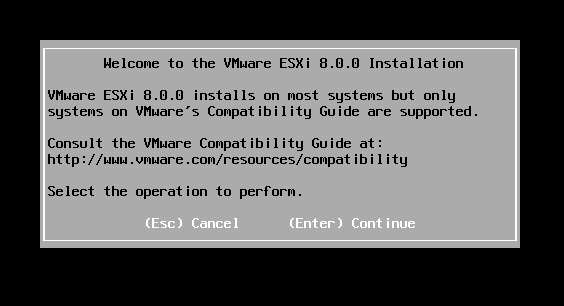
3. After couple minutes you will see the following screen. Press Enter to continue.
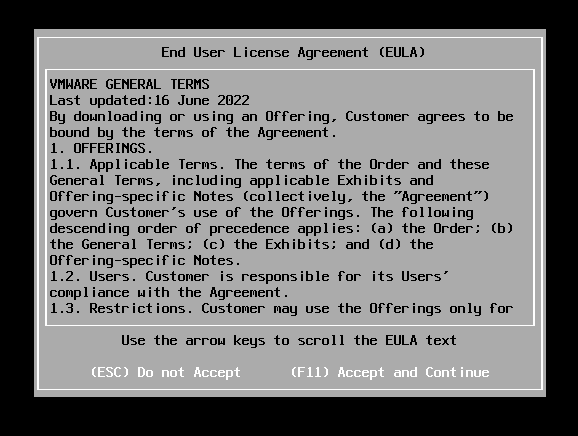
4. Accept and Continue by pressing F11.
5. Select the disk where ESXi will be installed and press Enter.

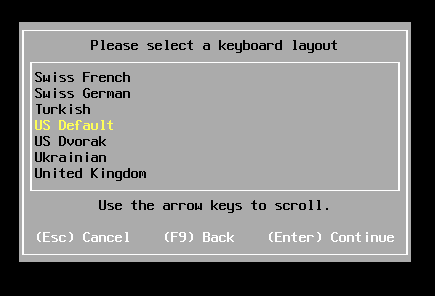
6. Select keyboard layout and press Enter.
7. Type root password which you want to use and press Enter.

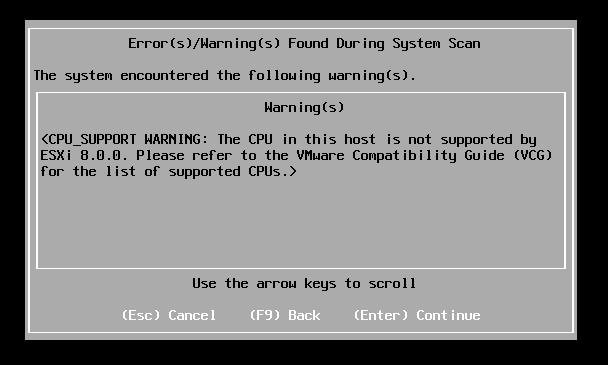
8. Now you will see CPU compatibility error but you are able to continue installation. Press Enter.
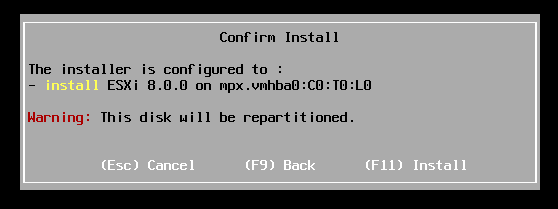
9. Confirm the installation by pressing F11.
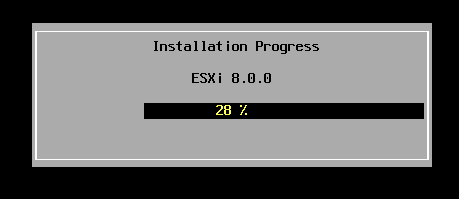
10. Installation in progress.
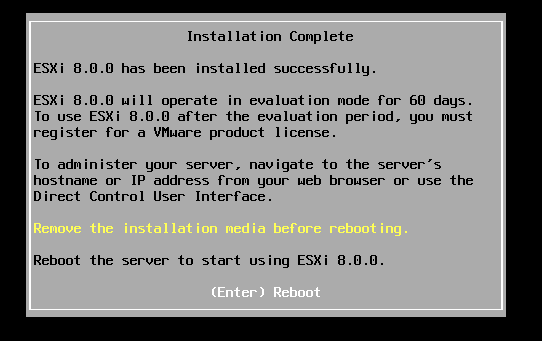
11. Installation completed. Remove ISO and press Enter to reboot.
ESXi first configuration
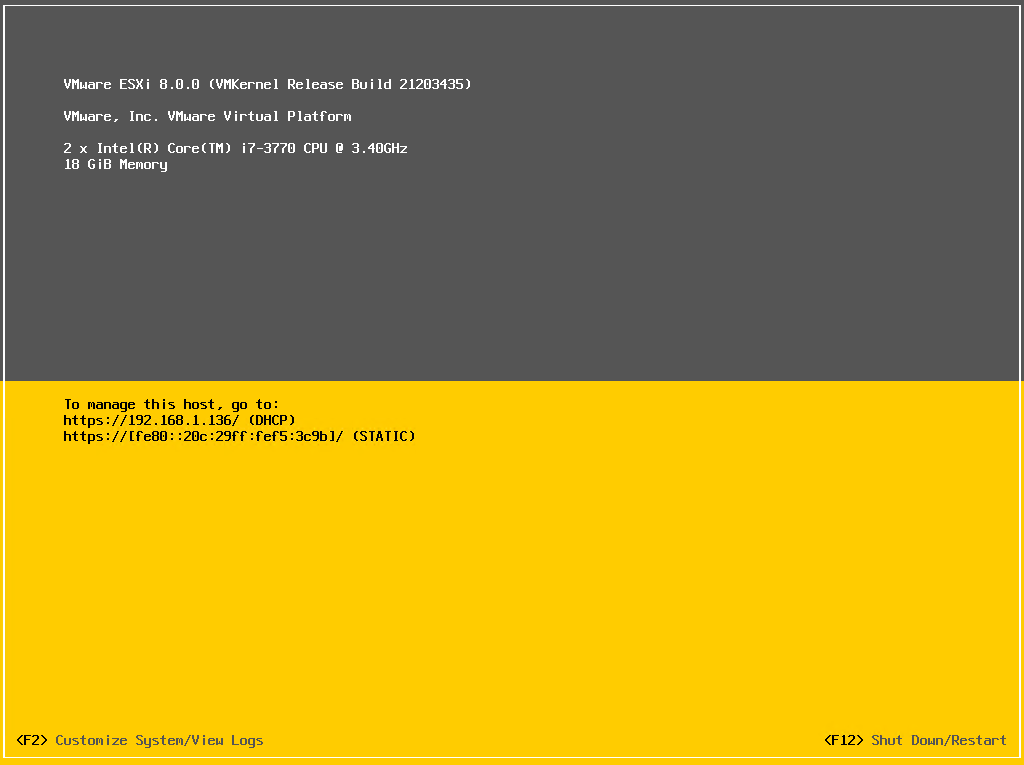
1. Once ESXi is up after installation it is time for the first configuration. Press F2.
2. Type root password and press Enter.

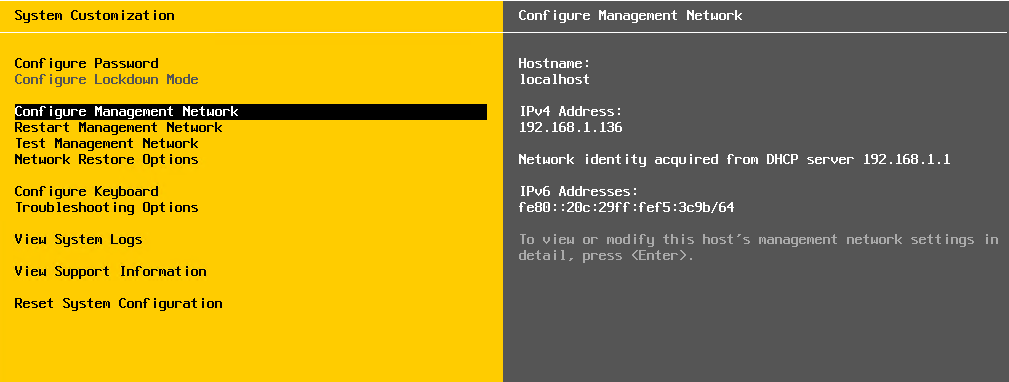
3. Using arrow keys go to Configure Management Network and press Enter.
4. Select your network adapter and modify VLAN ID if needed. In my home lab this is not necessary, so I will go to IPv4 configuration.

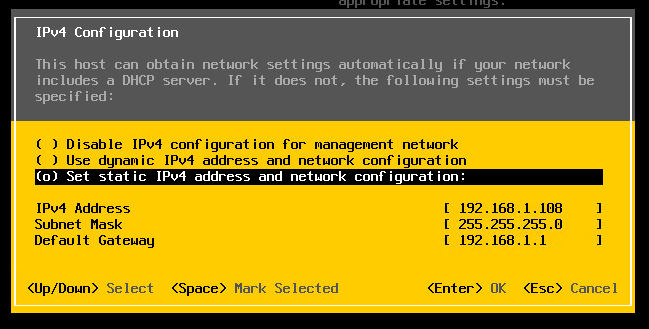
5. Select Static IP by using arrow keys and Space. Type your ESXi IP details. Once done confirm by pressing Enter.
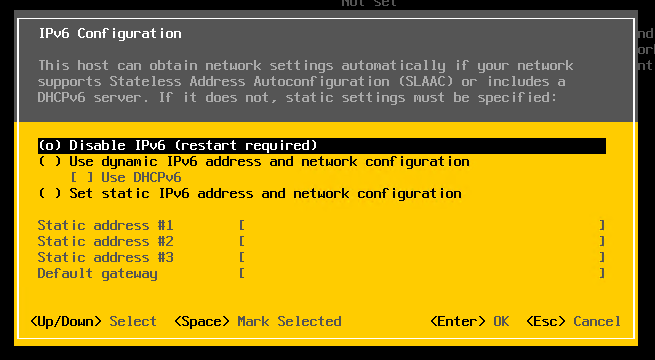
6. In IPv6 section I will disable IPv6 using arrow keys and Space. Press Enter once done.
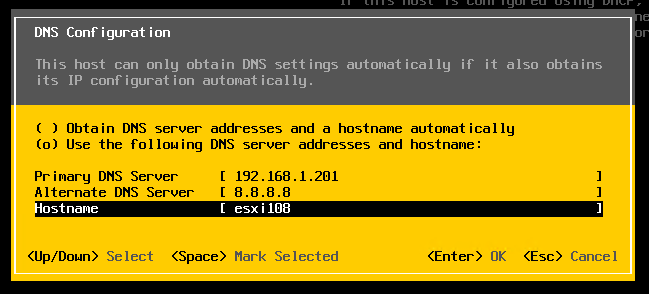
7. In DNS section type your Domain Controller IP and hostname. Make sure to create a DNS record with your ESXi on the Domain Controller.
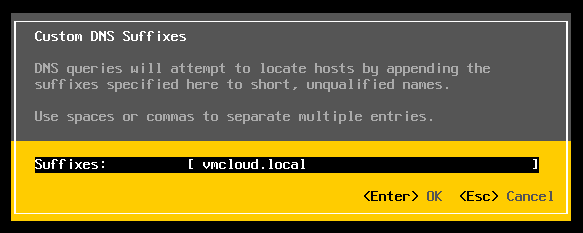
8. Custom DNS suffixes you can type your domain. I will use my home lab domain vmcloud.local.
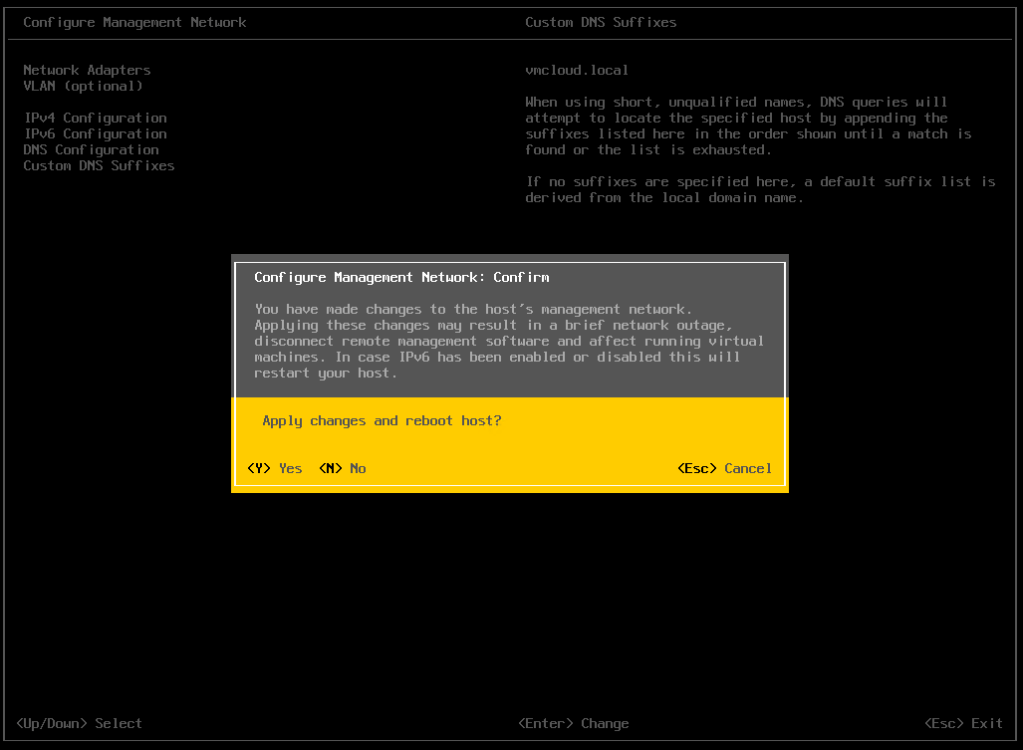
9. Finally, in main screen of Configure Management Network press Esc and Y to confirm host reboot and apply changes.
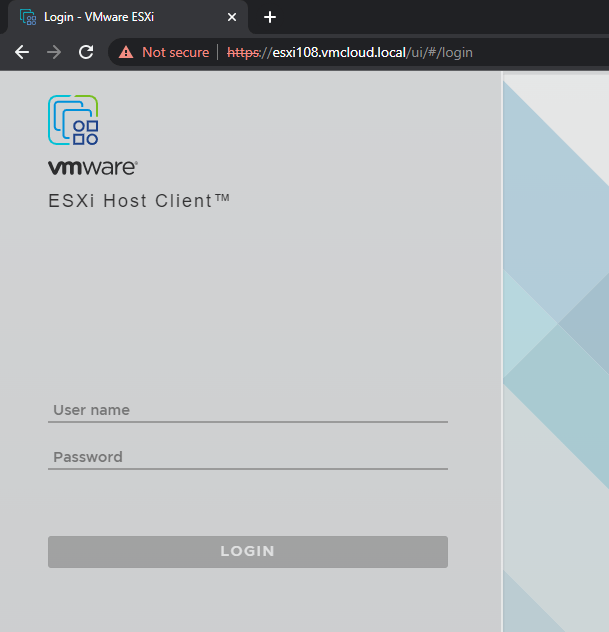
10. When the host is up you can access web interface by going to:
https://IP_or_hostname_of_ESXiIf you want to use hostname, make sure you have added your ESXi IP to hosts file!
Use root credentials.
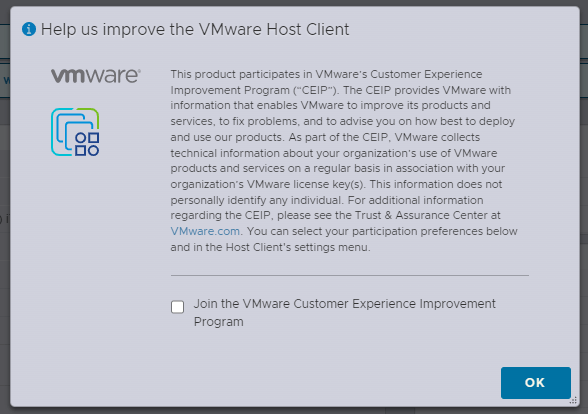
11. Join CEIP if you want.
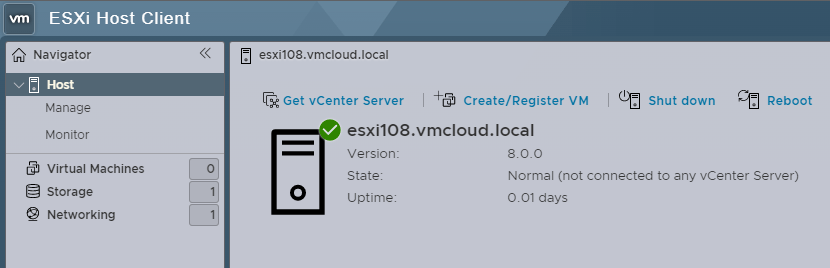
Your ESXi 8.0 is ready to use!
If you want to deploy a new vCenter Server 8.0 on this ESXi host DO NOT apply your free license key.
Leave it in Evaluation Mode.
If the free license key is applied, vCenter Server 8.0 deployment hangs on Initialization phase.

Thank you for reading! Here are some links you may be interested in:
- More articles on main page: https://vmcloud.pl/
- LinkedIn: https://www.linkedin.com/in/krzysztofsalwa/
- Twitter: https://twitter.com/vmcloudpl
- GitHub: https://github.com/vmcloudpl
- VMware vExpert: https://vexpert.vmware.com/
- VMware Communities: https://communities.vmware.com/
- VMUG: https://www.vmug.com/
- VMware Explore: https://www.vmware.com/explore.html
- VMware Store EU: https://store-eu.vmware.com/
- VMware Store US: https://store-us.vmware.com/

I’m not able to boot on USB stick (or burned CDRom) based on ISO (8.0U1a) provided by VMware website. How do you burn ISO file ?
LikeLike
I am using VMware Workstation Pro, so I didn’t have to burn ISO, just mount ISO to the machine in Workstation. If you would like to create bootable USB from the ISO I suggest using Rufus https://rufus.ie/en/
LikeLike