Zerto is a powerful disaster recovery and business continuity solution that enables organizations to protect their critical data, applications and VMs from potential disruptions. Zerto version 10 is available only as a Linux appliance. This article will guide you through the process of migrating from a Windows-based Zerto Virtual Manager (ZVM) 9.7 to a Linux-based Zerto 10.
Prerequisites
Backup/Snapshot
Make sure you have taken a snapshot of your Windows VM or have a backup.
Installation files
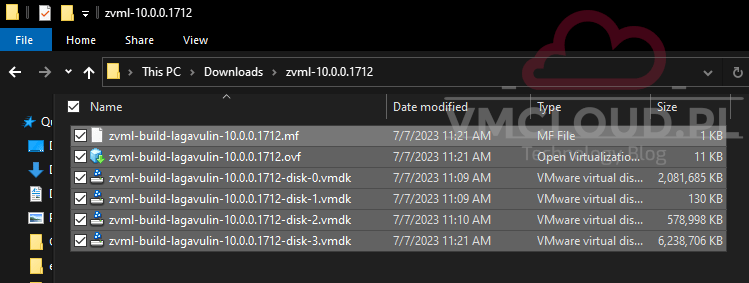
Download Zerto 10 Appliance OVF and Zerto Migration Tool from MyZerto.
Requirements
Before migration, make sure you have vCenter and ESXi versions compatible with Zerto 10. Check the Interoperability Matrix for All Zerto Versions.
Before deploying Zerto Appliance, make sure to meet the requirements which are:
- vSphere 7.0.x
- If using an external database: MS SQL 2012 or newer, installed on Windows Server 2016 or later
- The ZVM Appliance supports only online environments (active connection to the Internet).
- Offline environments will be supported in later releases.
- 4 vCPU
- 16 GB RAM, 30 GB (thin-provisioned) or 150 GB (thick-provisioned)
Check the ZVM Appliance: Requirements, Supported Features & Configurations for more details.
To migrate from Windows-based ZVM 9.7 to Linux-based ZVM 10, Zerto has provided a Migration Tool. Check the Zerto Migration Utility Prerequisites before using the tool.
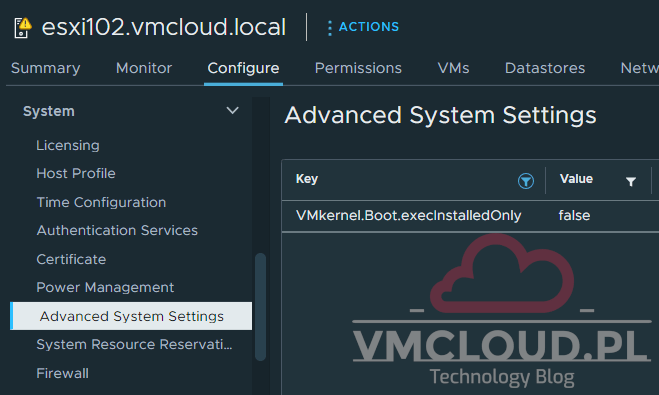
If you are running vSphere 8.0 or later, you must turn off the VMkernel.Boot.execInstalledOnly flag before deploying Zerto. Follow the instructions:
1. Select ESXi host and navigate to Configure tab.
2. Under System, select Advances System Settings.
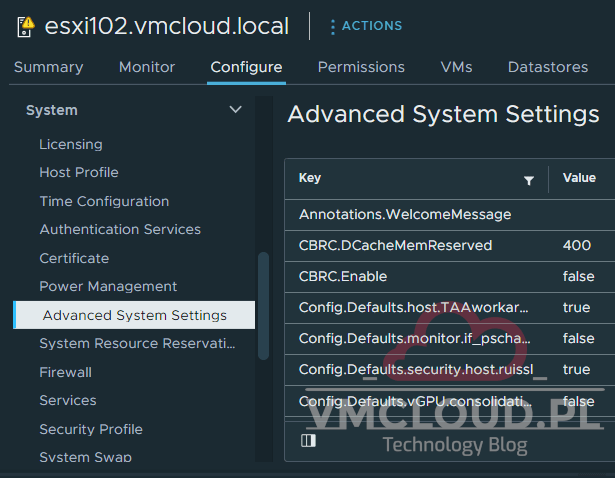
3. Use filter in Key column and search for VMkernel.Boot.execInstalledOnly. Value should be false, if it is true, click Edit on right-hand side and change the value.
Zerto 10 Appliance Deployment
Follow the instructions to deploy a new Zerto 10 appliance from OVF template:
1. In the vCenter, right-click ESXi host and choose Deploy OVF template.

2. In Select an OVF template section, choose Local file and click Upload files.
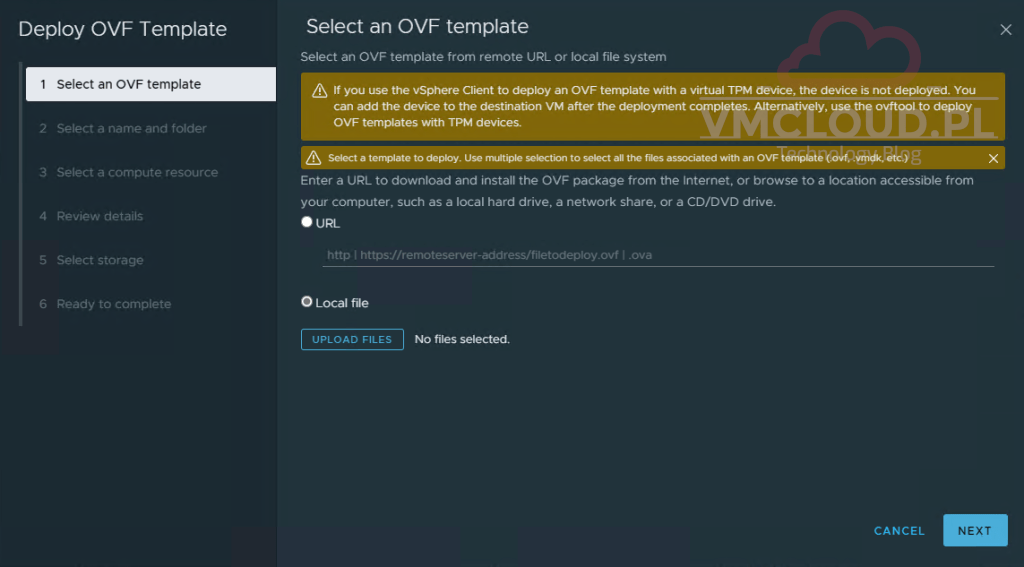
3. Navigate to the downloaded Zerto 10 OVF template, select all files and click Open. In the Select OVF Template window, click Next.
4. In the Select Name and Folder section, select the folder where the virtual machine will be deployed and enter the name of the virtual machine if you want to change it.

5. In the Select compute resource section, select your ESXi host.

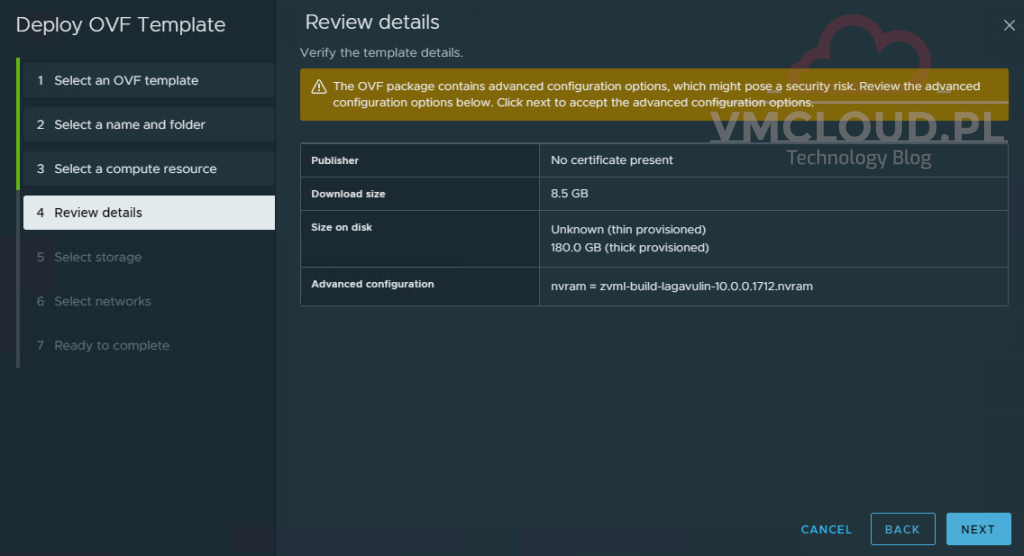
6. In the Review details section click Next.
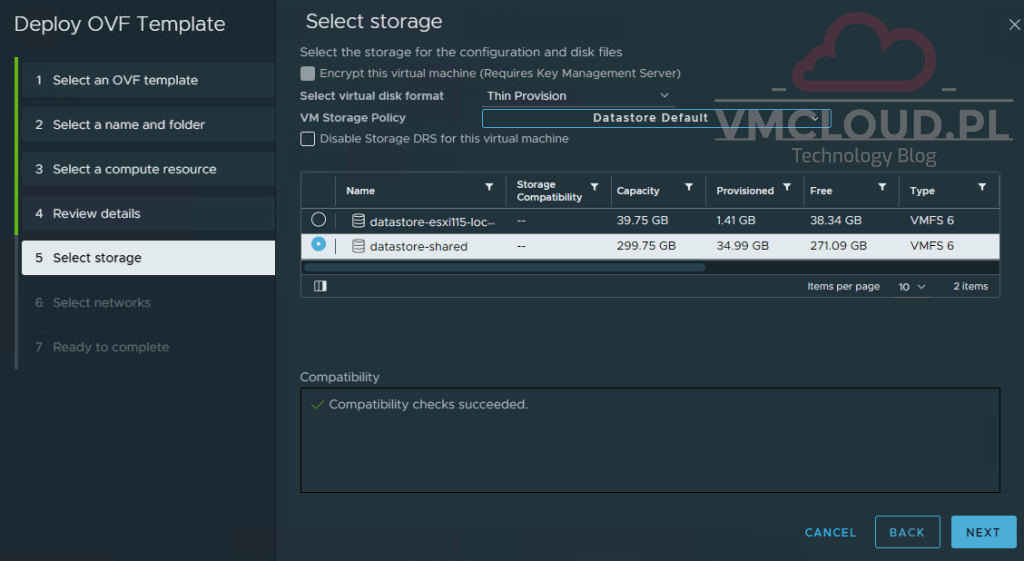
7. In the Select storage section, select a datastore. Select your VM storage policy preferences. The thin provision is 30 GB and the thick provision is 150 GB. Click Next.
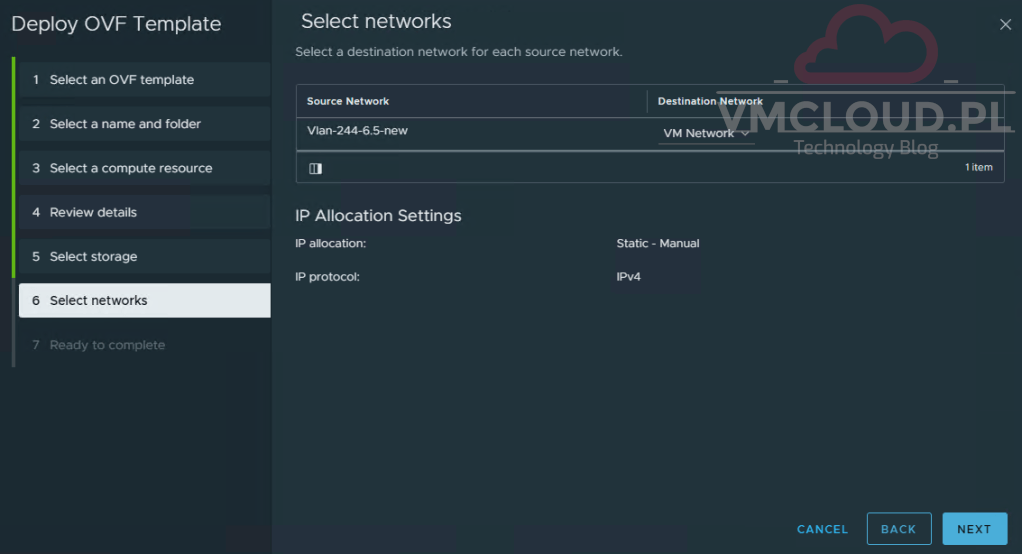
8. In the Select Networks section, select your destination network. By default, the IP address is assigned by DHCP. The static IP address will be configured through the Appliance Manager after deployment. Click Next.
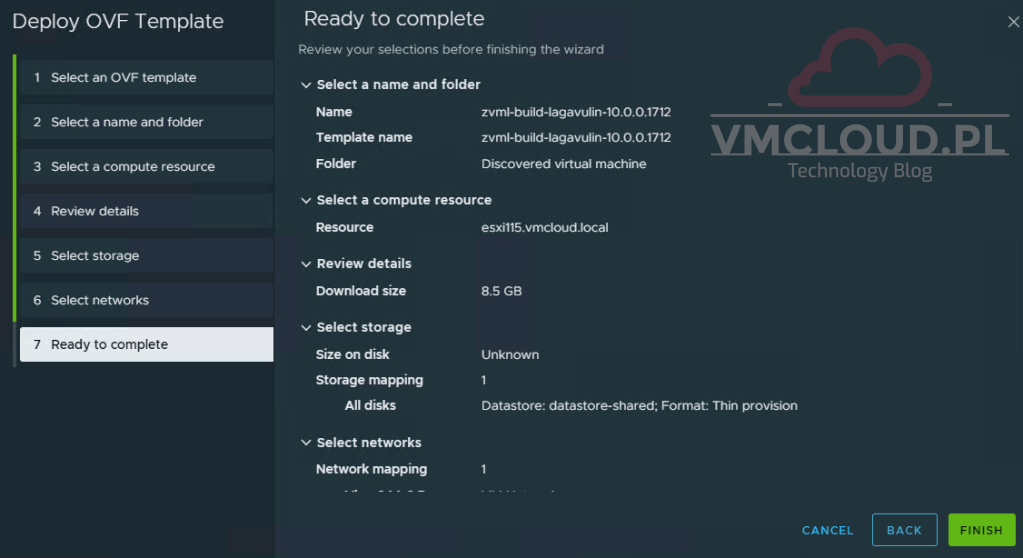
9. On the Ready to complete summary page, review all settings, click Finish, and wait for the deployment to complete.


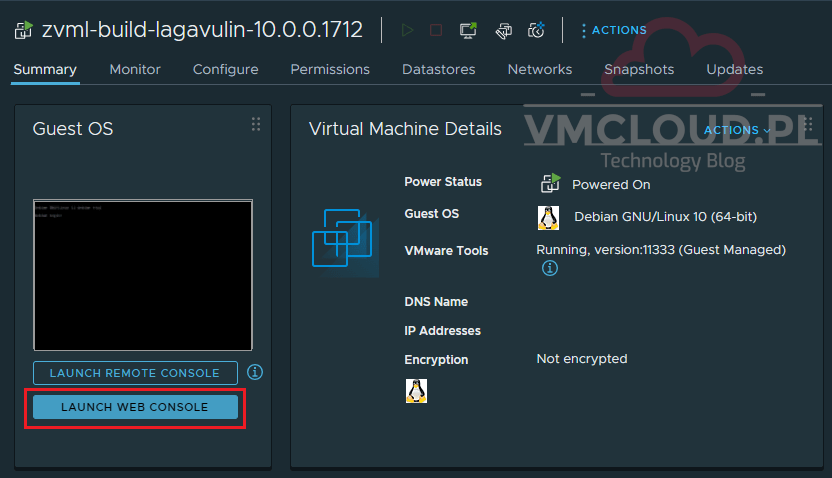
Power on the VM after deployment

Zerto 10 Appliance Reconfiguration
A newly deployed Zerto 10 appliance must be reconfigured before migration. Here are some requirements that must be met:
- Reset the zadmin default password to a new password
- Configure the ZVM Appliance to use a static IP
- Enable SSH access to the appliance
Follow the instructions to reconfigure Zerto 10 appliance:
1. Open the VM’s web console.
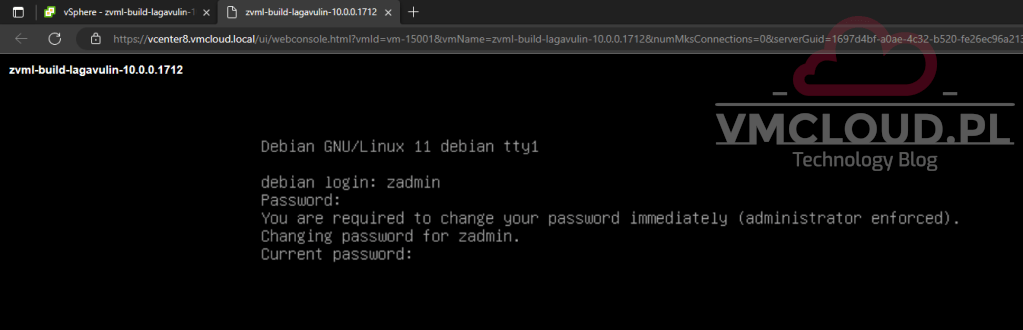
2. Sign in with the default credentials which are:
Username: zadmin
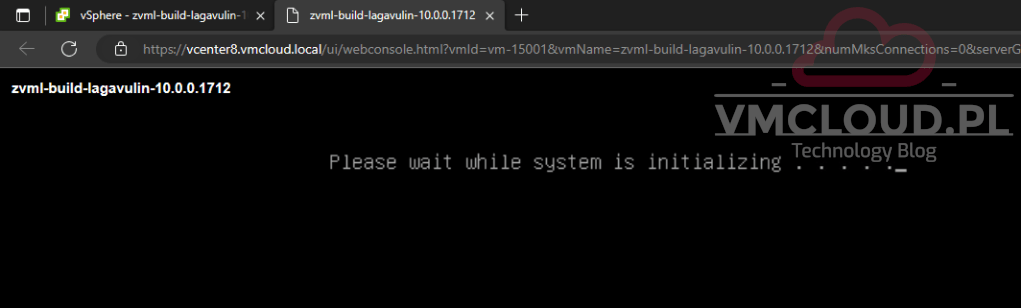
Password: Zertodata123!You will be forced to change the default password. After the change, the system will initialize.
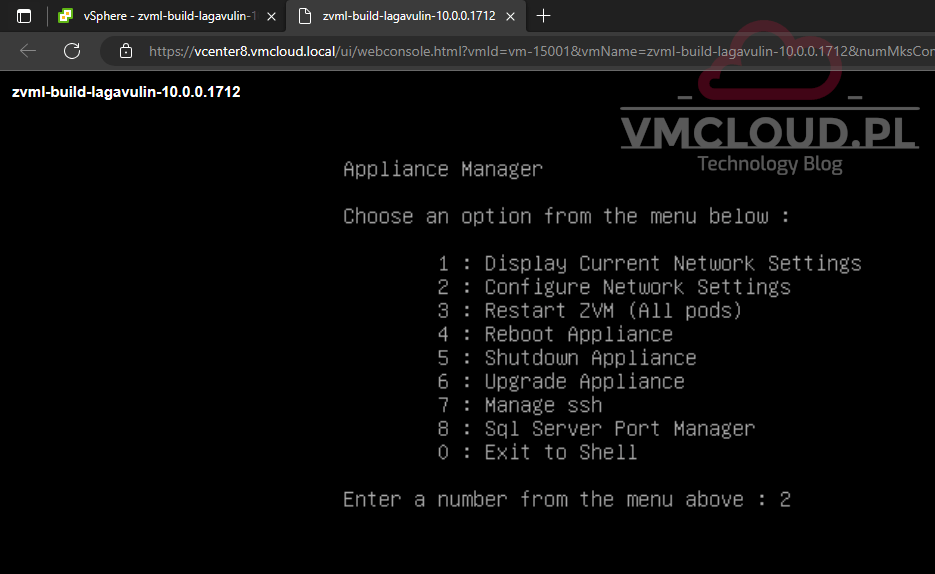
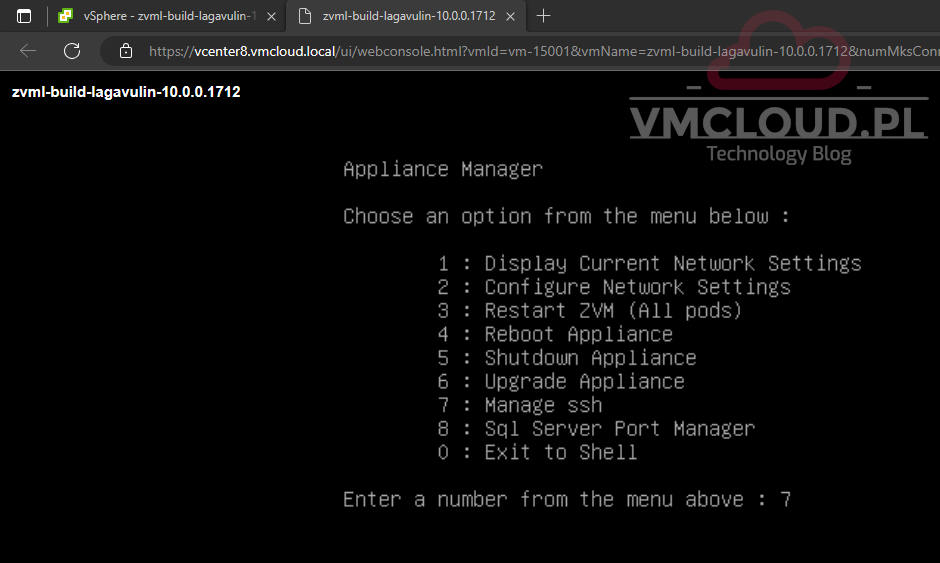
3. When the appliance is up, you will see the Appliance Manager menu. Select option 2 to change network settings.
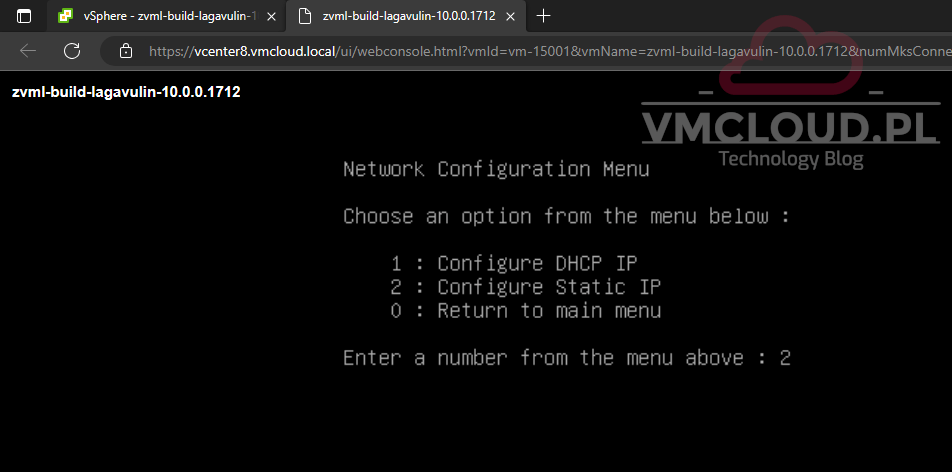
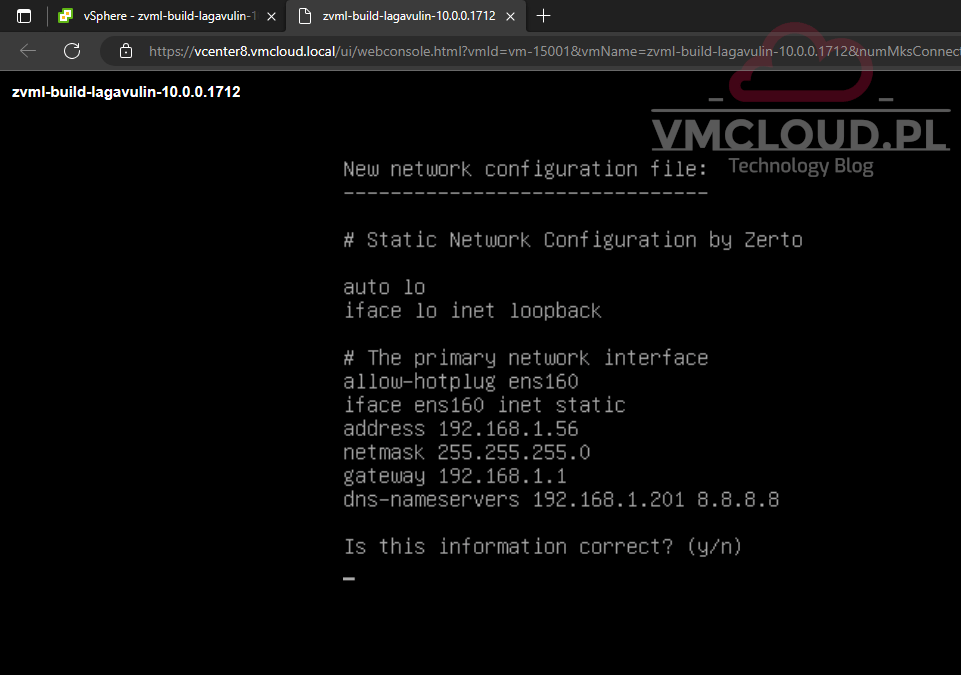
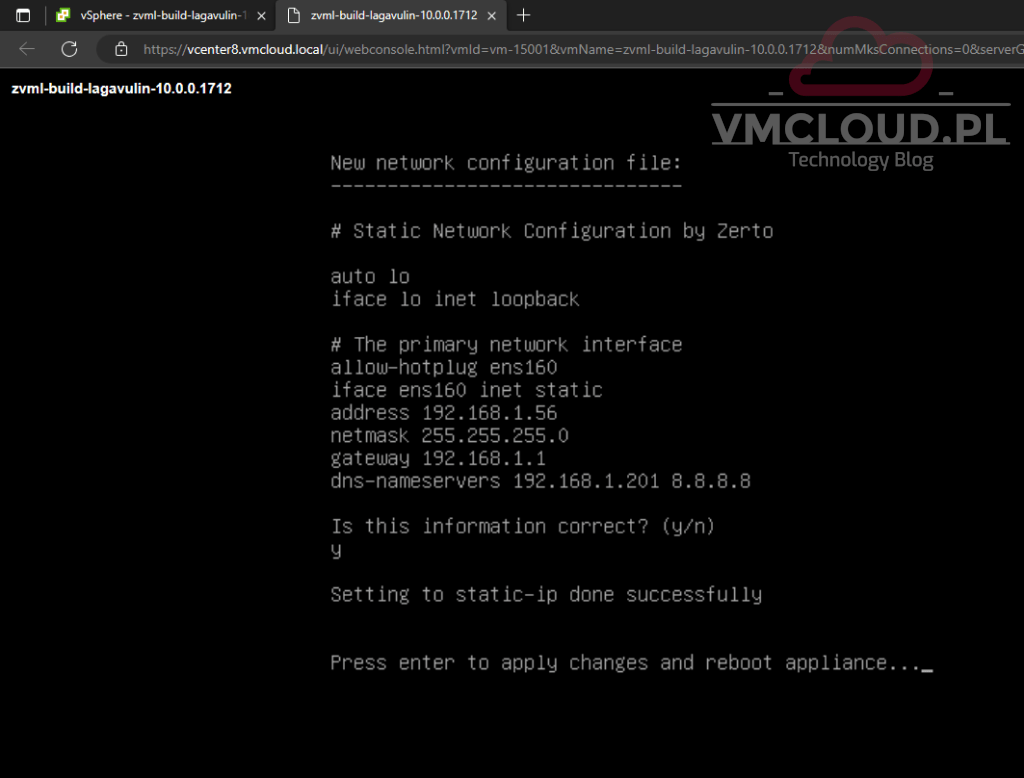
4. Select option 2 to configure a static IP address.
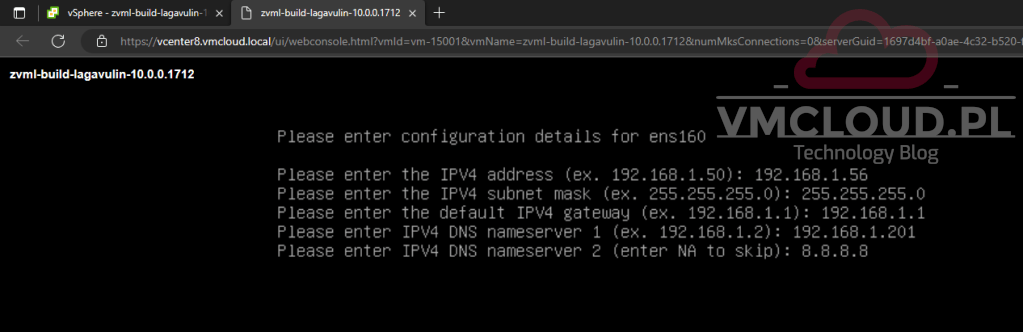
5. Type your IP address, subnet mask, default gateway and DNS. Press Enter and confirm with y. Then press Enter again to apply the changes and restart the device.
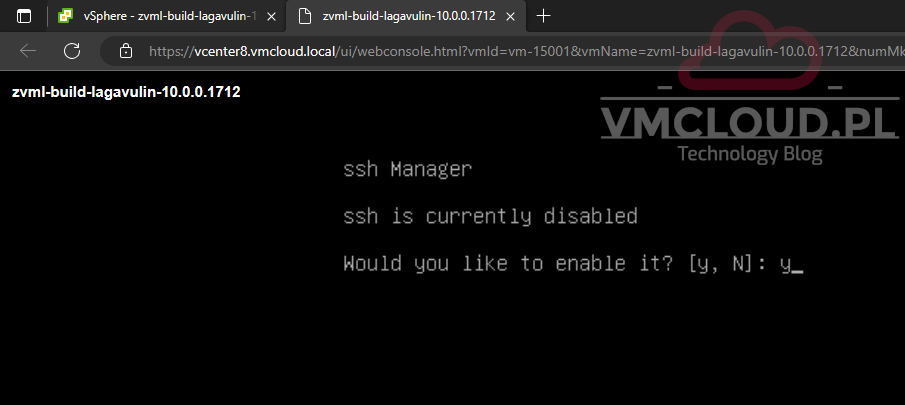
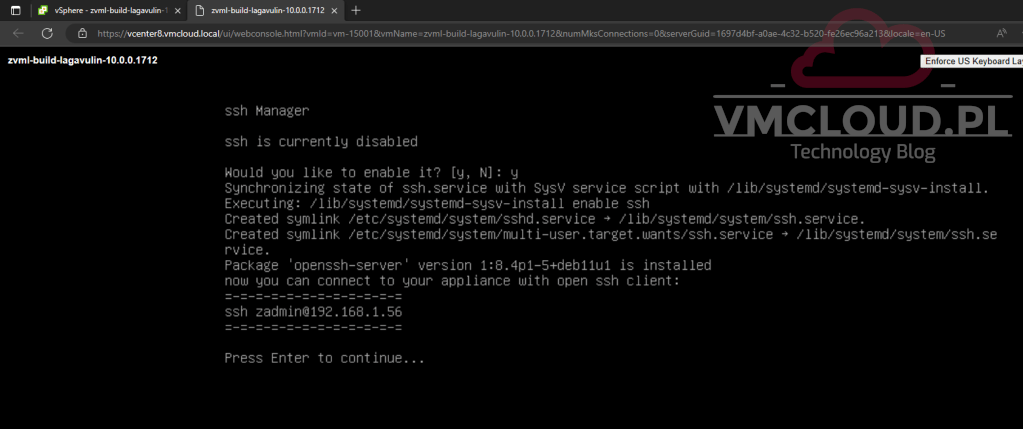
6. One appliance is up, let’s enable SSH. In the Appliance Manager menu, select option 7 manage SSH.
7. SSH is disabled by default. To enable it, type y and press Enter. Press Enter again to continue.
Migration
Finally, lets perform the migration and upgrade from Windows-based Zerto 9.7 ZVM to a Linux-based Zerto 10 ZVM.
Follow the instructions:
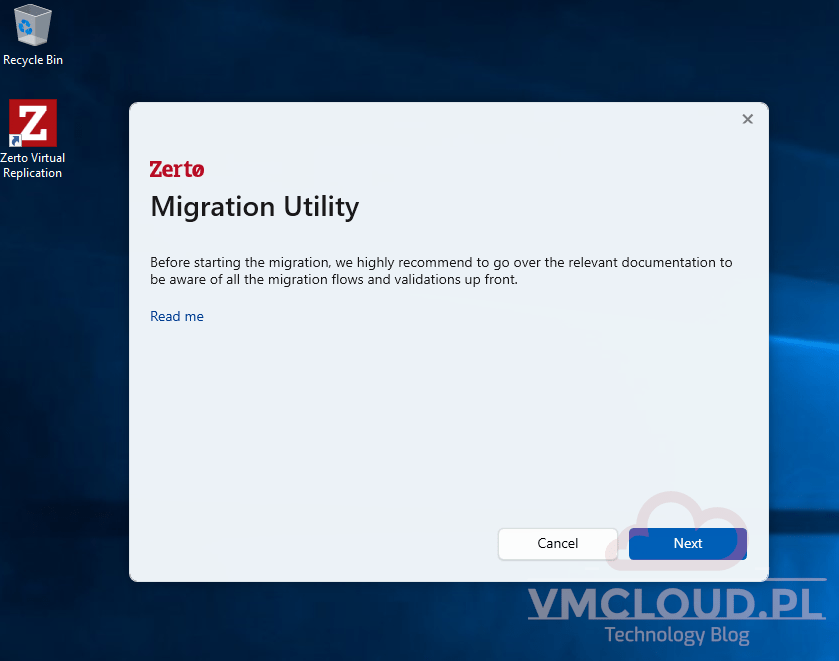
1. On the Zerto 9.7 Windows virtual machine, Run as Administrator the Zerto Migration Tool. Click Read Me and then Next.
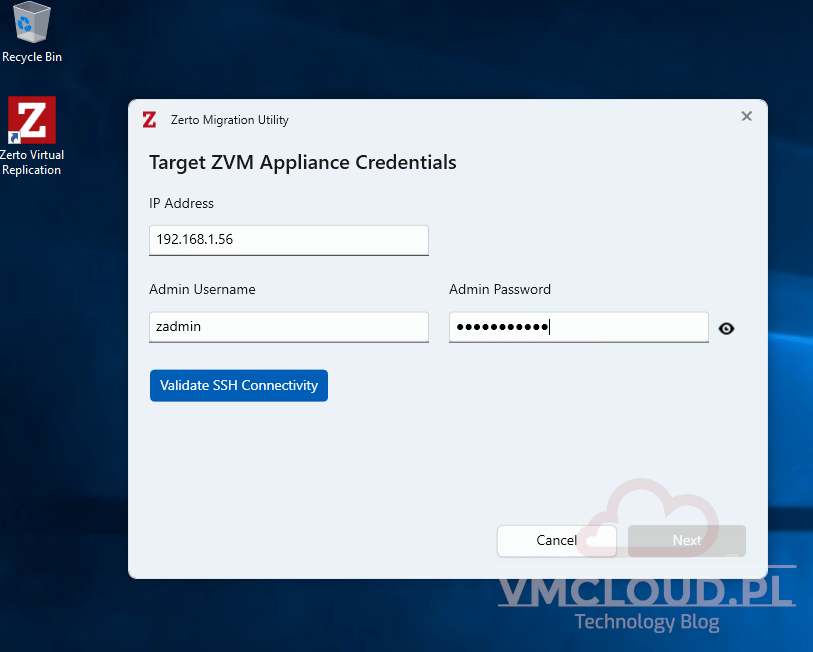
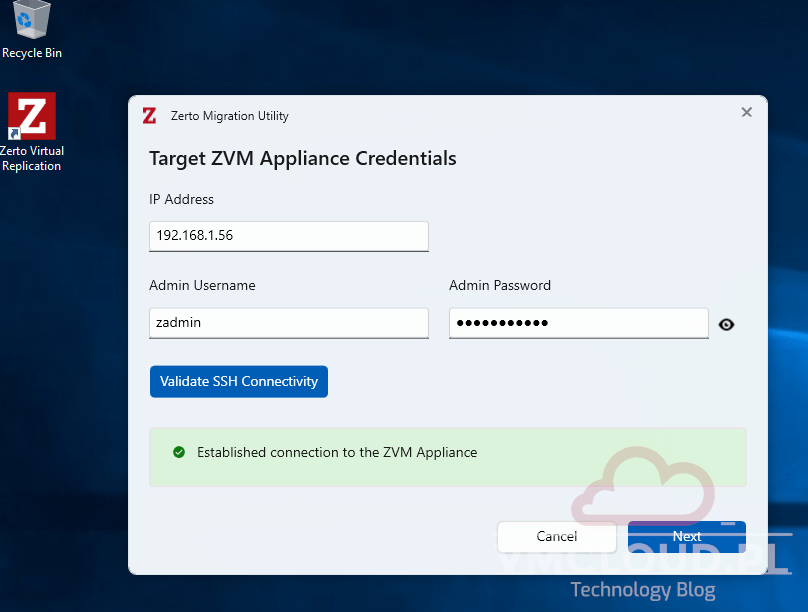
2. Type the appliance IP address, username, and password. Then click Validate SSH Connection. If everything is OK, click Next.
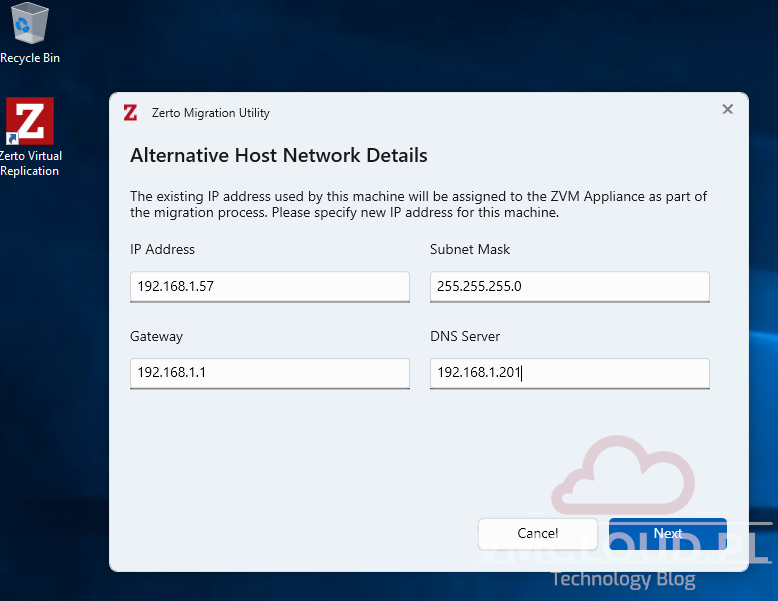
3. Now you need to enter a new IP address for the Windows VM. This is because the current IP address will be transferred to the Zerto appliance. For this step, you will need a free IP address that can be assigned to an old Windows VM with Zerto 9.7, which will probably be decommissioned after migration.
During the migration, the IP address of the Windows VM will be changed, therefore the RDP connection will be disconnected. Reconnect to the new IP address.
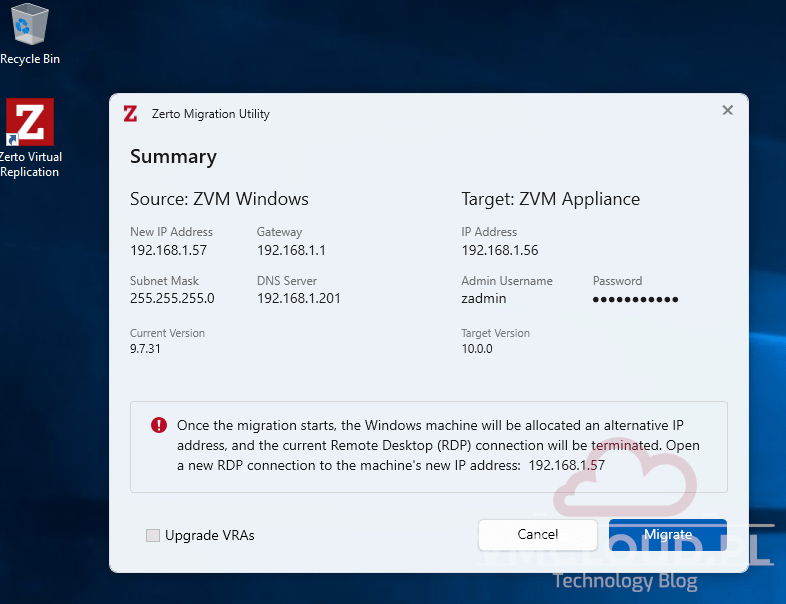
4. In the last step, you can choose whether you want to automatically update the VRAs. However, it is recommended to manually upgrade the VRA after each Zerto ZVM upgrade.
Validate the settings and click Migrate.
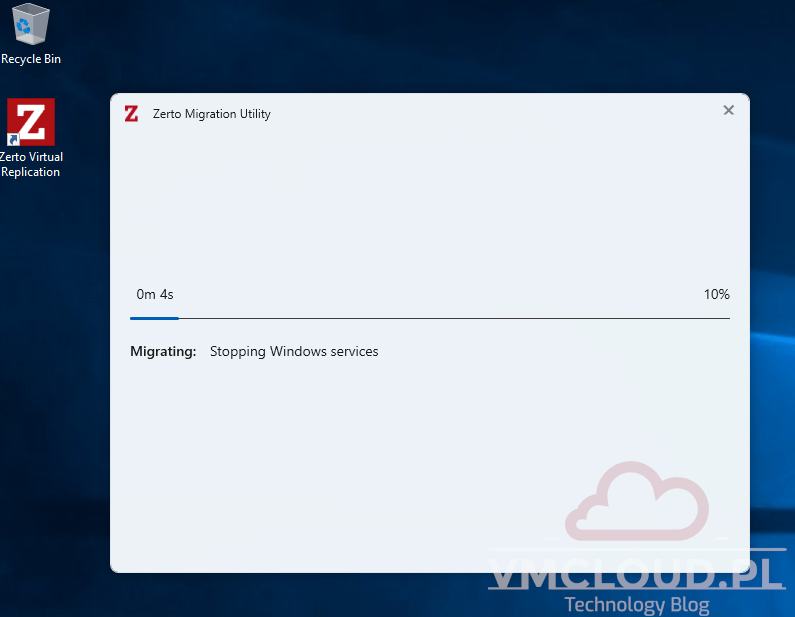
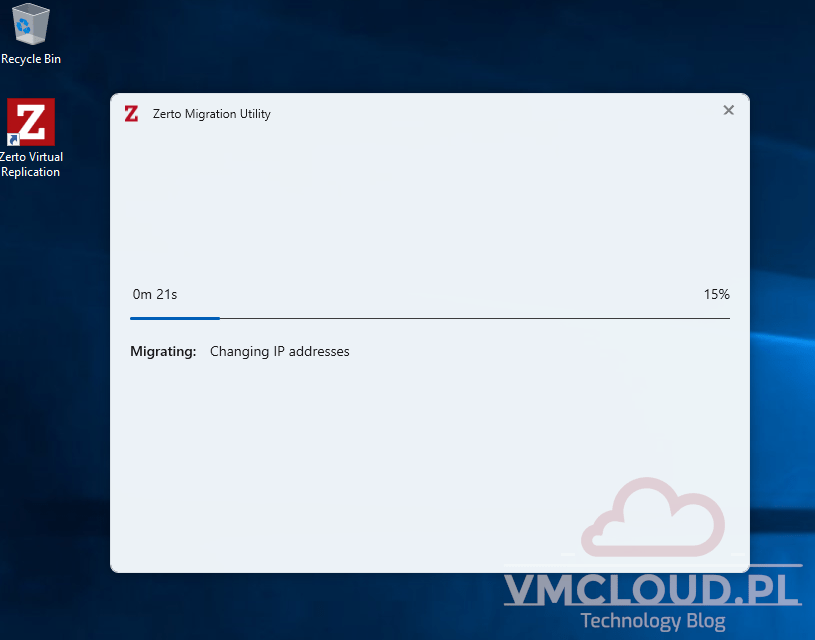
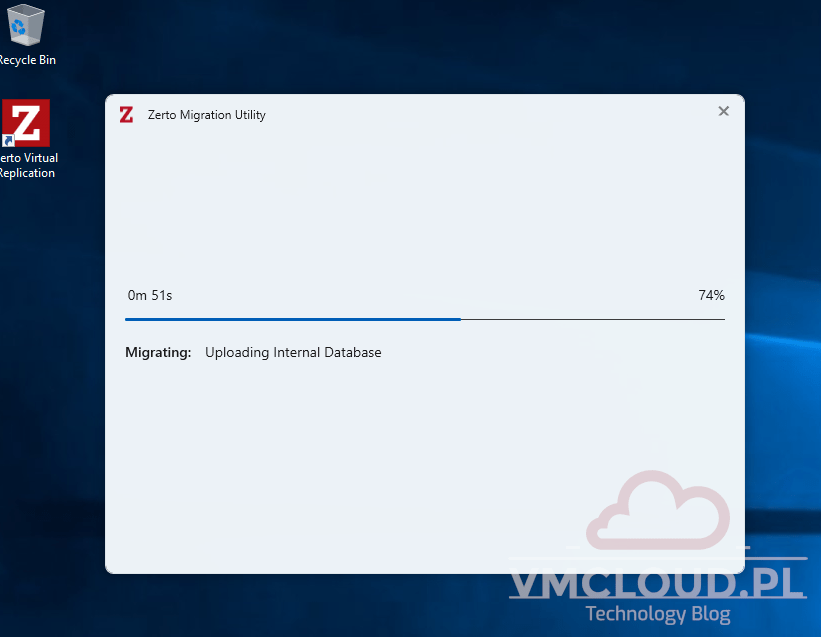
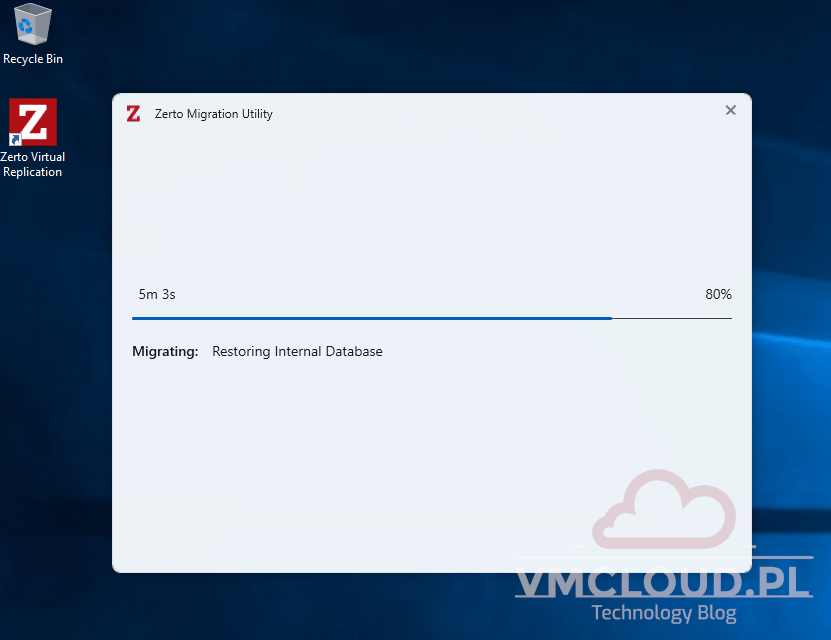
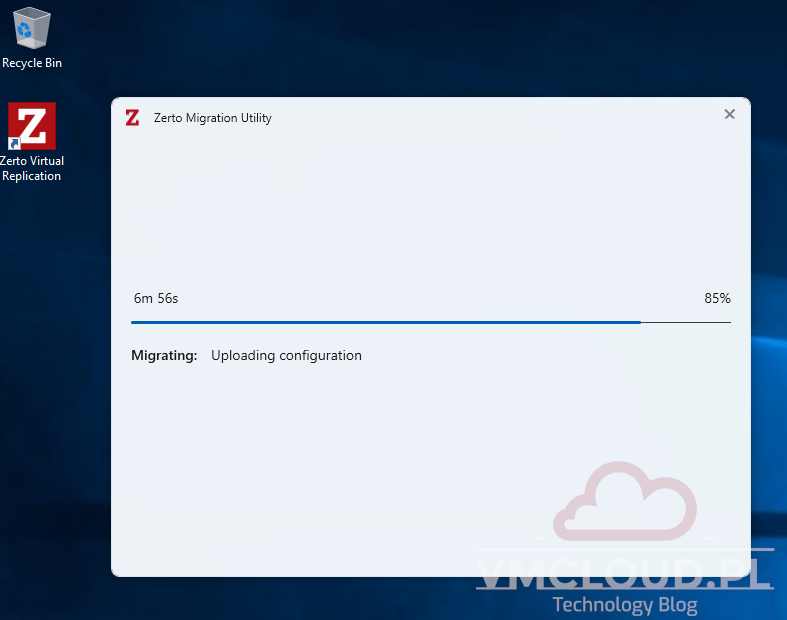
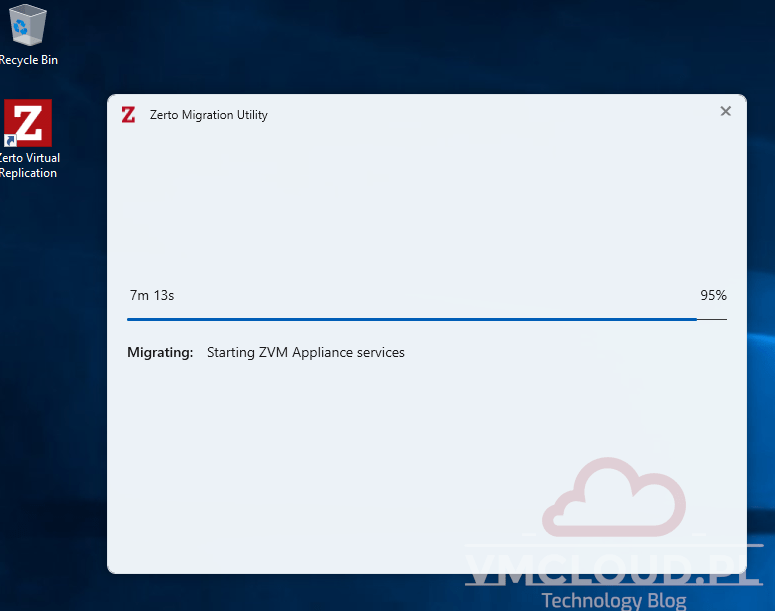
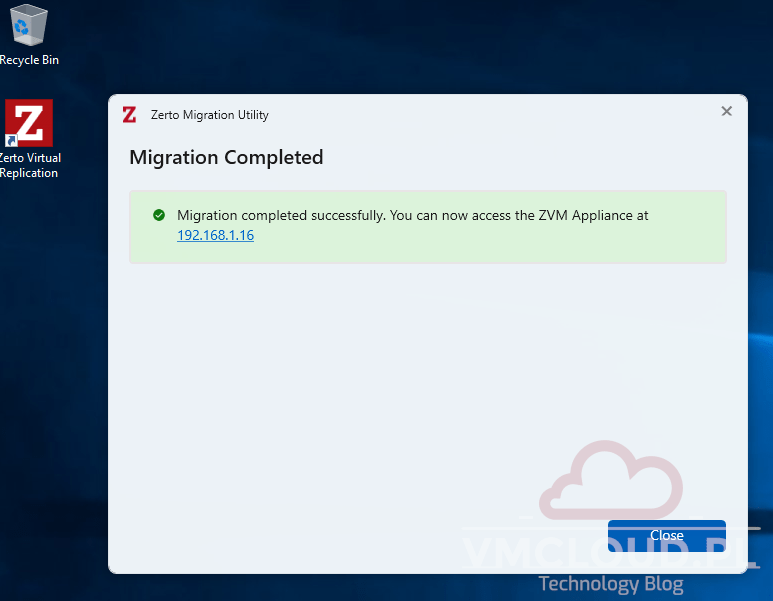
The migration was successful and you can now access Zerto 10 portal using IP address from Zerto 9.7.
Thank you for reading! Here are some links you may be interested in:
- More articles on main page: https://vmcloud.pl/
- LinkedIn: https://www.linkedin.com/in/krzysztofsalwa/
- Twitter: https://twitter.com/vmcloudpl
- GitHub: https://github.com/vmcloudpl
- VMware vExpert: https://vexpert.vmware.com/
- VMware Communities: https://communities.vmware.com/
- VMUG: https://www.vmug.com/
- VMware Explore: https://www.vmware.com/explore.html
- VMware Store EU: https://store-eu.vmware.com/
- VMware Store US: https://store-us.vmware.com/

Leave a comment