
ESXi is a powerful and versatile hypervisor that is widely used for virtualization in data centers. However, if you forget your root password, it can be a serious problem. Fortunately, there are several methods to reset the ESXi root password. In this article, I will walk you through step-by-step instructions on how to reset a forgotten ESXi root password.
Method 1: Using Active Directory
This method requires domain admin access as you will need domain controller access, group creation and user. Then from vCenter an ESXi will be added to the domain. With this configuration, you can reset the root password by accessing ESXi with a domain account and reset the password.
Follow the steps:
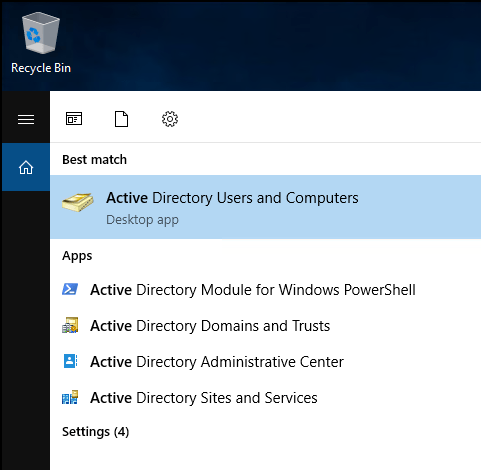
1. Log on to the domain controller and open Active Directory Users and Computers.
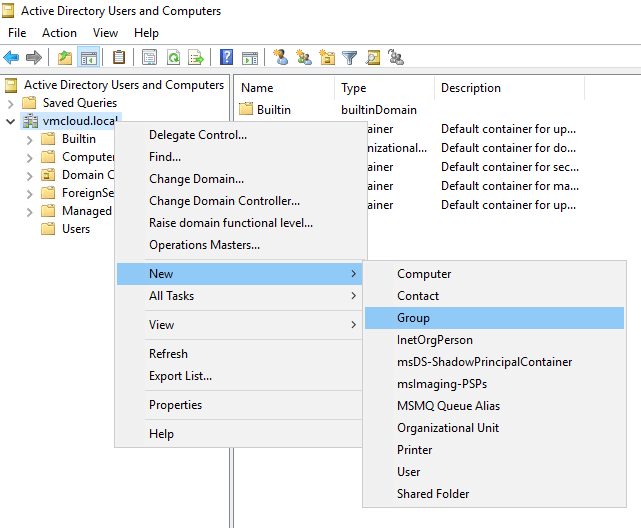
2. Right-click your domain or a folder and choose New, then Group.
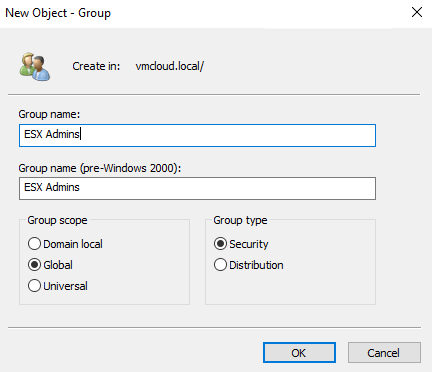
3. Type group name ESX Admins and click OK.
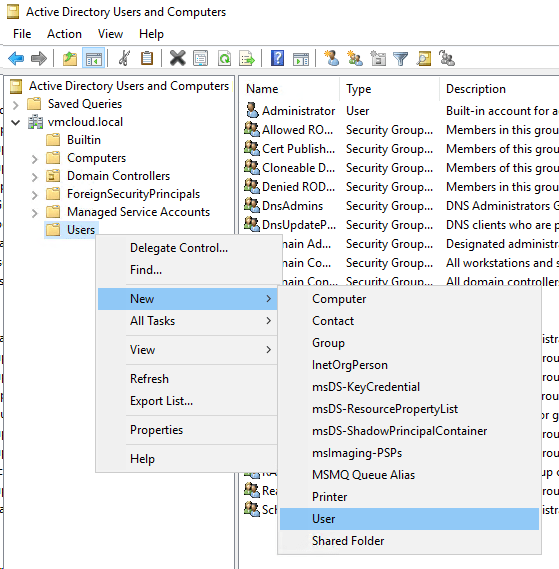
4. Now right-click Users folder and choose New, then User.
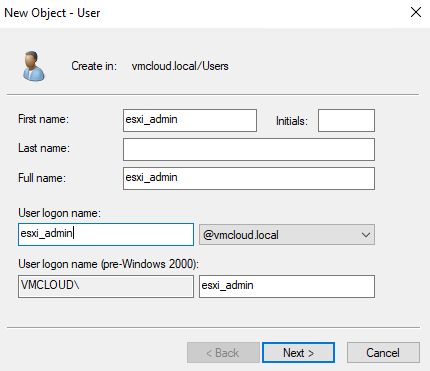
5. Type username and click Next.
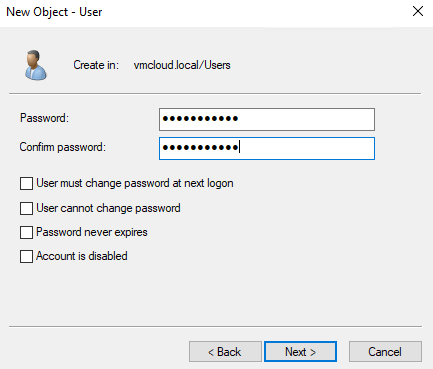
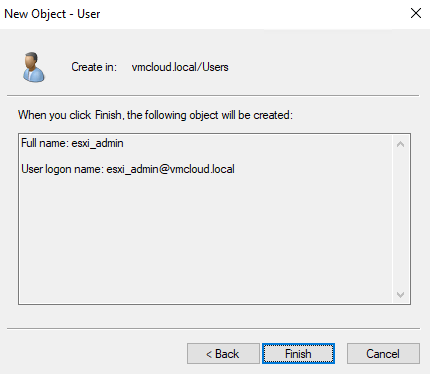
6. Type password. Uncheck “User must change…”. Click Next and Finish.
7. Double-click created User (or right-click and choose Properties). Go to Member of tab and click Add.
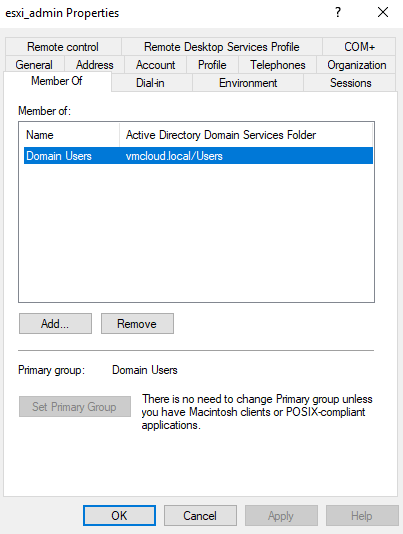
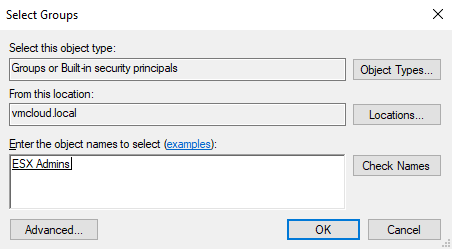
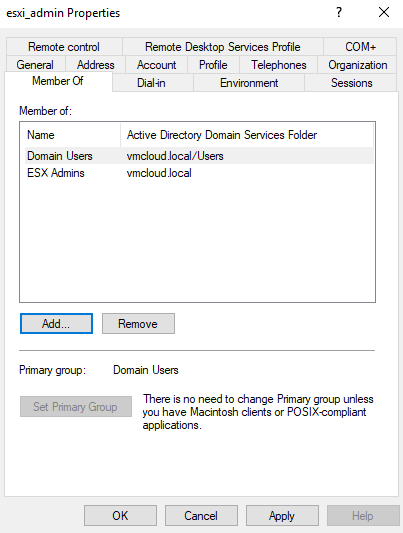
8. Type ESX Admins and click Check Names. Click OK and again OK.
9. Now you have to add ESXi to the domain. In the vCenter choose ESXi, go to Configure and then Authentication Services. Click Join domain on right-hand side.

10. Type your domain and domain administrator credentials. Click OK.


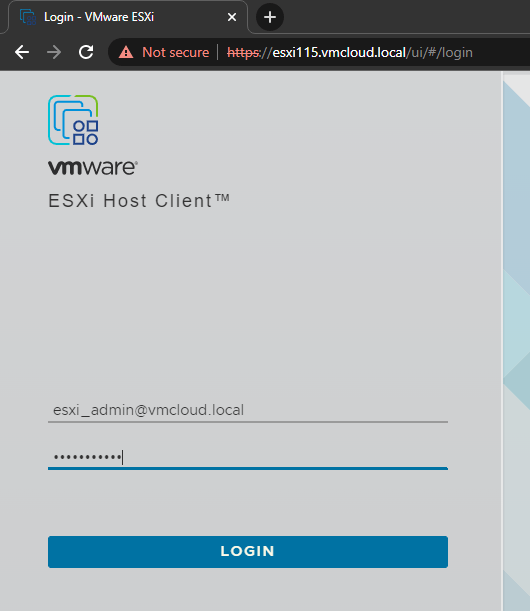
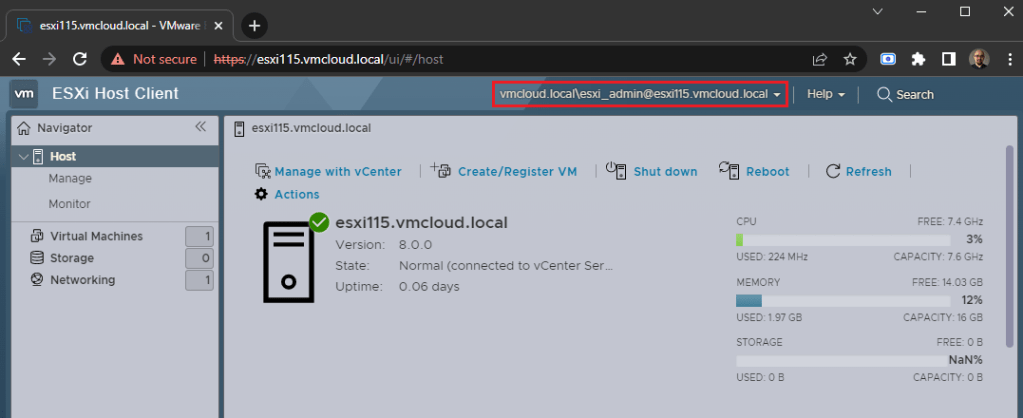
11. Now you can access ESXi using domain account. Go to your ESXi web GUI and login with created domain account.
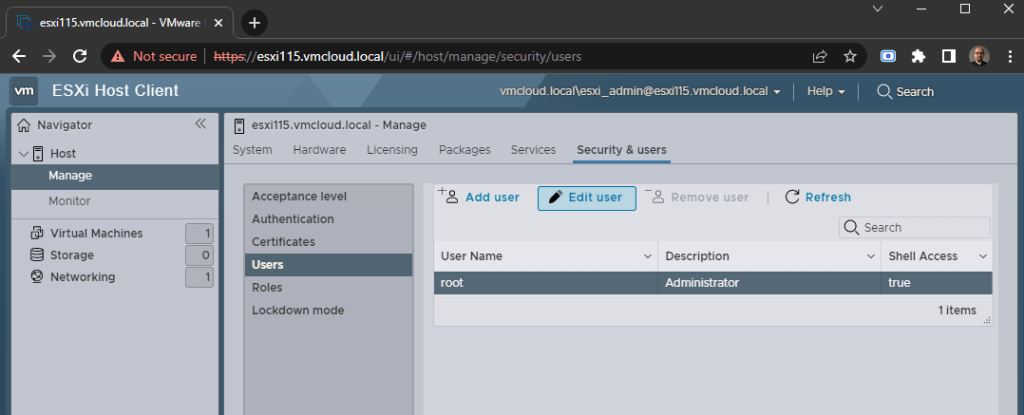
12. Go to Manage, then Security & users, choose root and click Edit user.
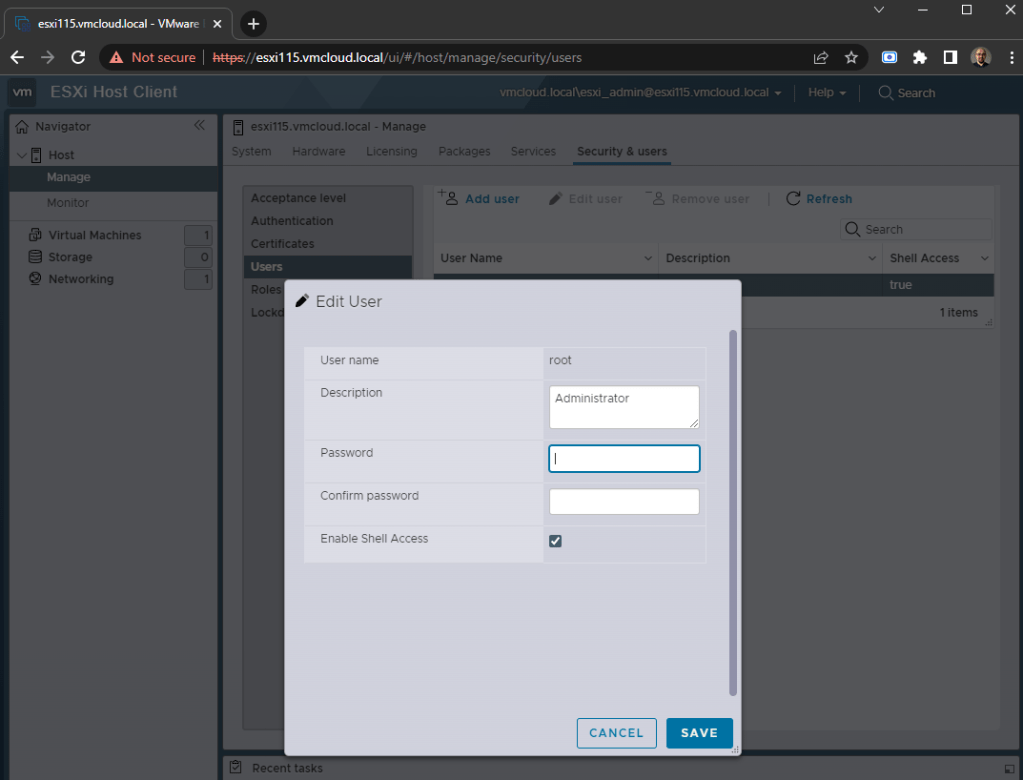
13. Type new root password and click Save.
Method 2: Using Host Profiles
In this method I will use Host Profiles in vCenter to change root password on ESXi host.
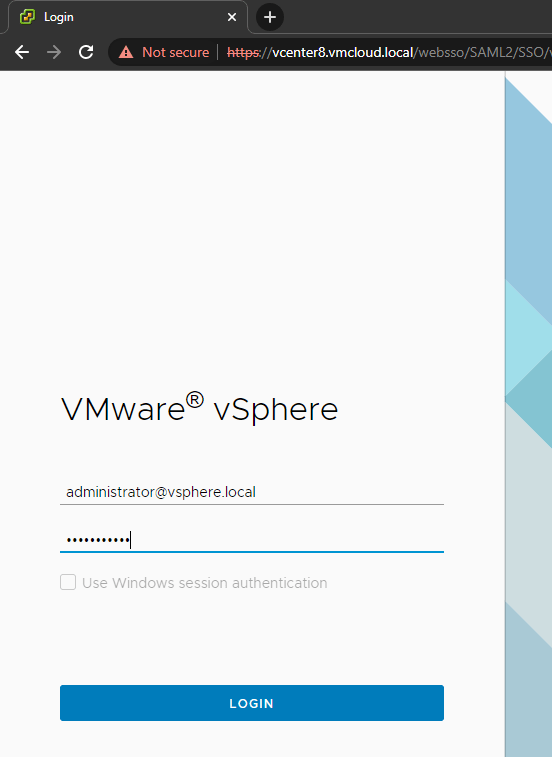
1. Login to your vCenter using a user with administrator credentials.
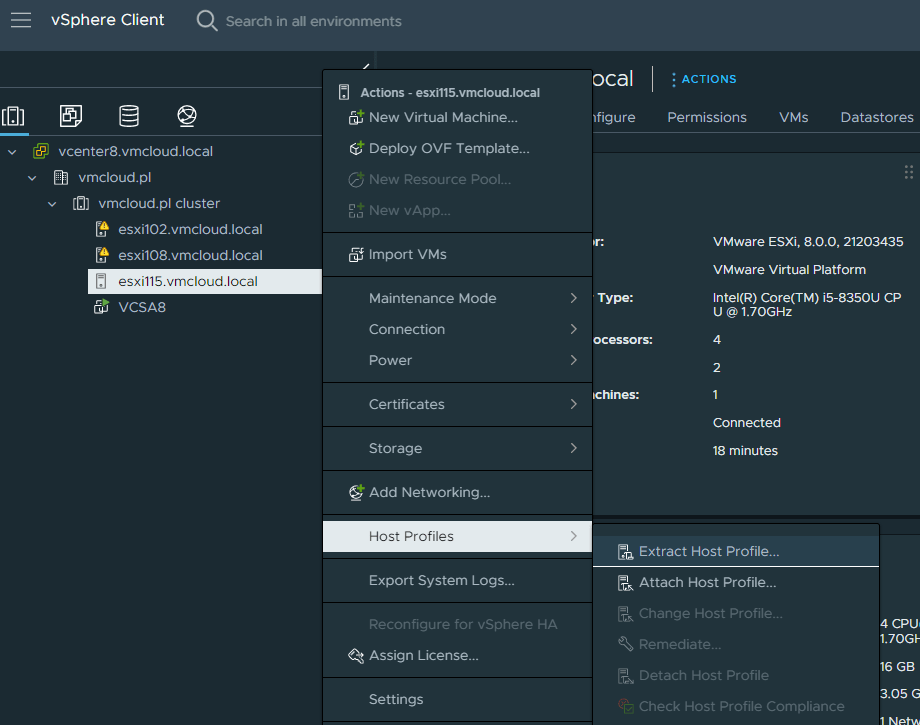
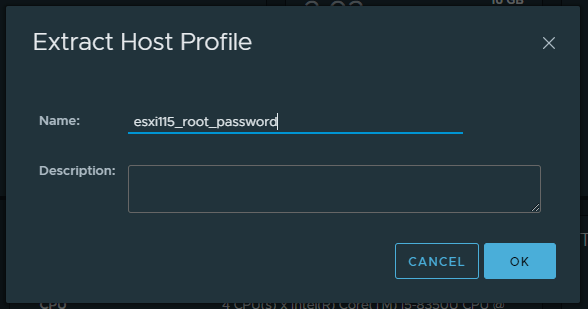
2. Right-click the ESXi host, choose Host Profiles and then Extract. Type name of the Host Profile and click OK.

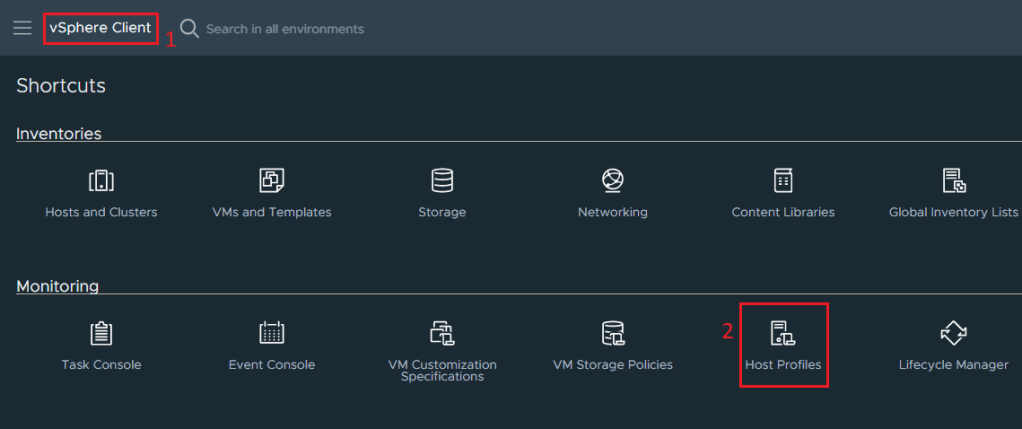
3. Now click on vSphere Client and then Host Profiles.
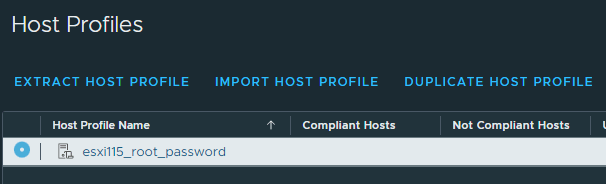
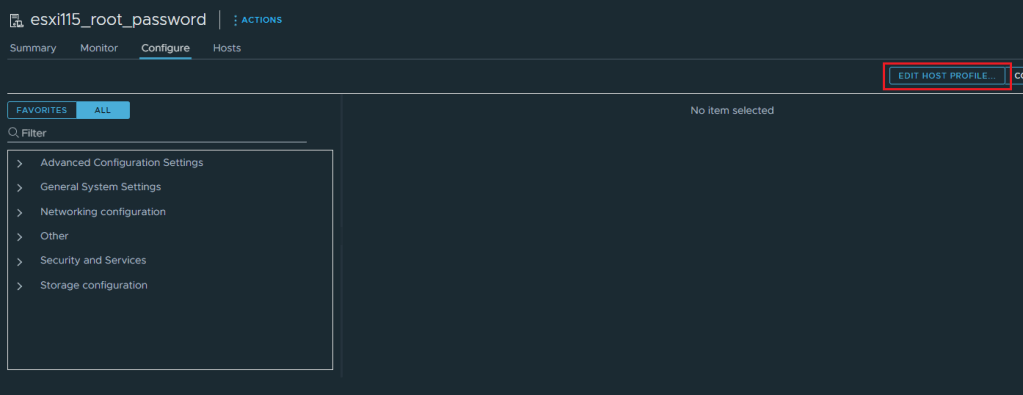
4. Click on your Host Profile.
5. Go to Configure tab and click on Edit host profile.
6. Go to Security and Services, then Security Settings, then Security, User Configuration, root.
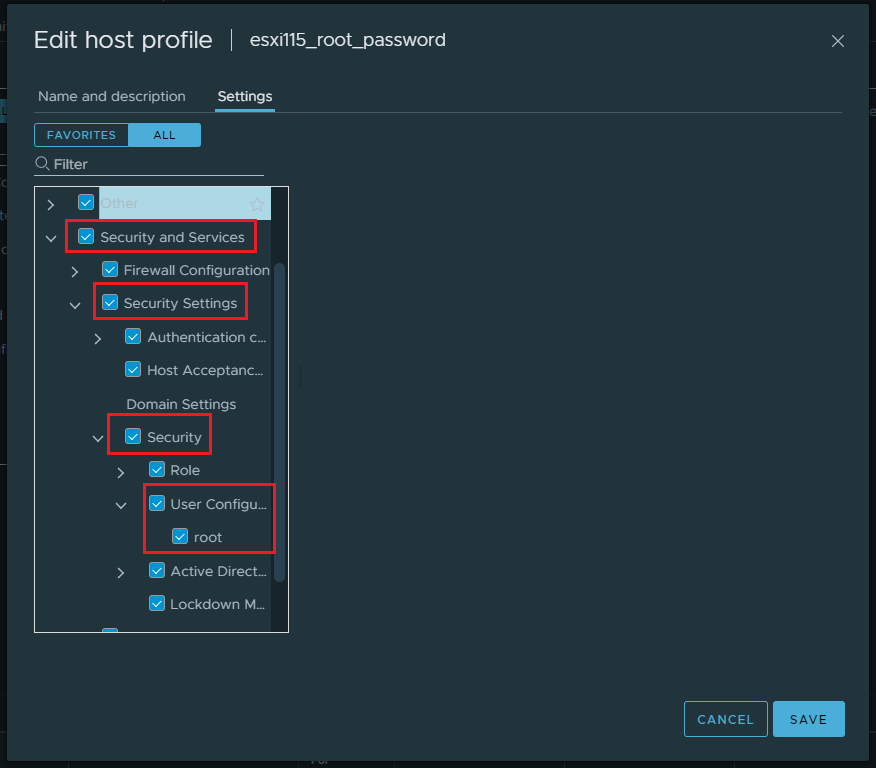
7. Under Password select Fixed password configuration, type new password and click Save.


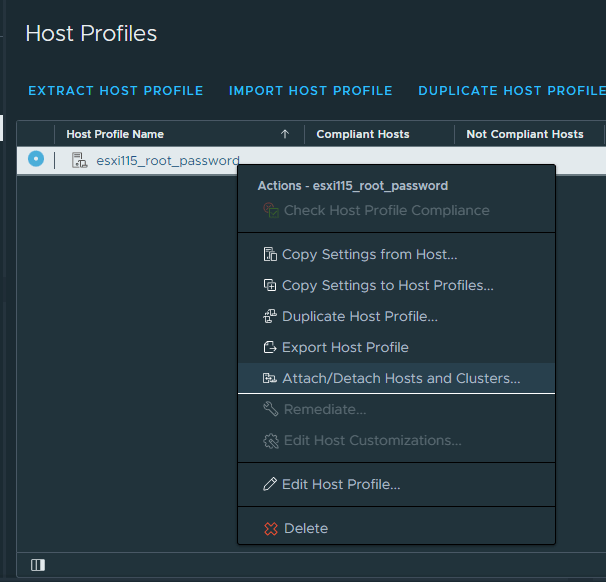
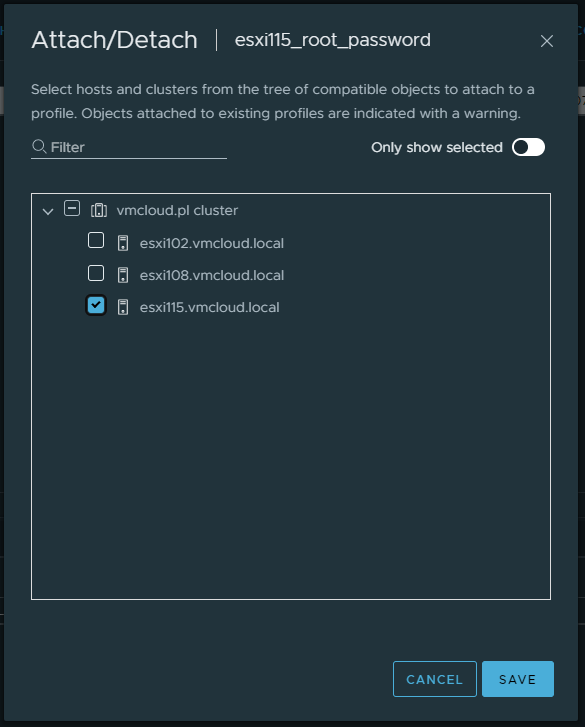
8. In Host Profiles, right-click on your host profile and choose Attach/Detach. Select to which ESXi host attach the profile and click Save.
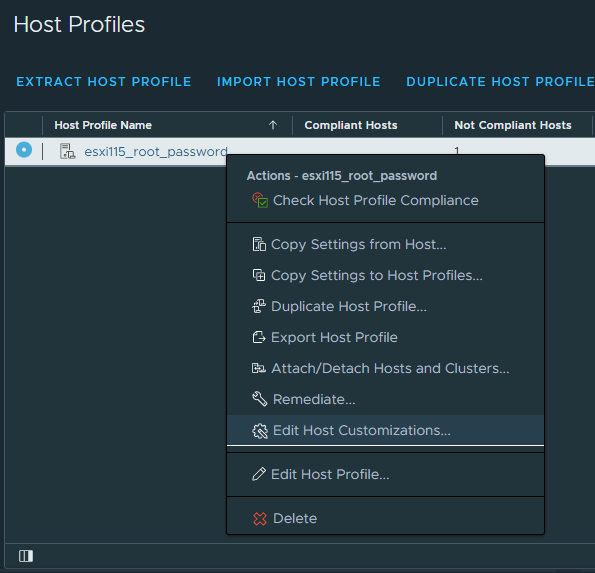
9. In Host Profiles section, right-click the host profile and choose Edit Host Customizations.
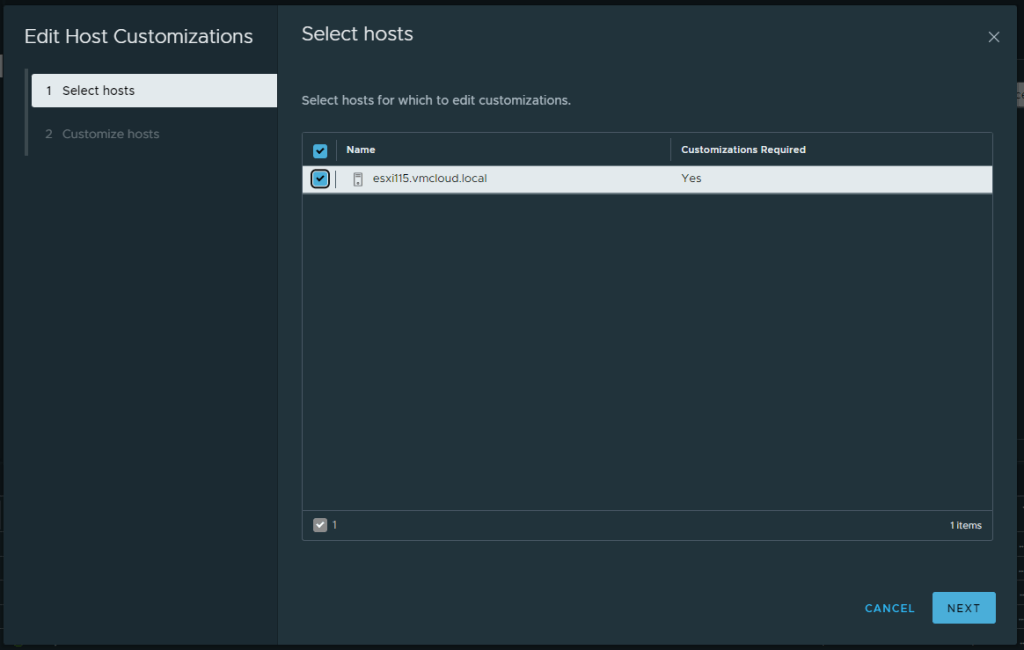
10. Click Next.
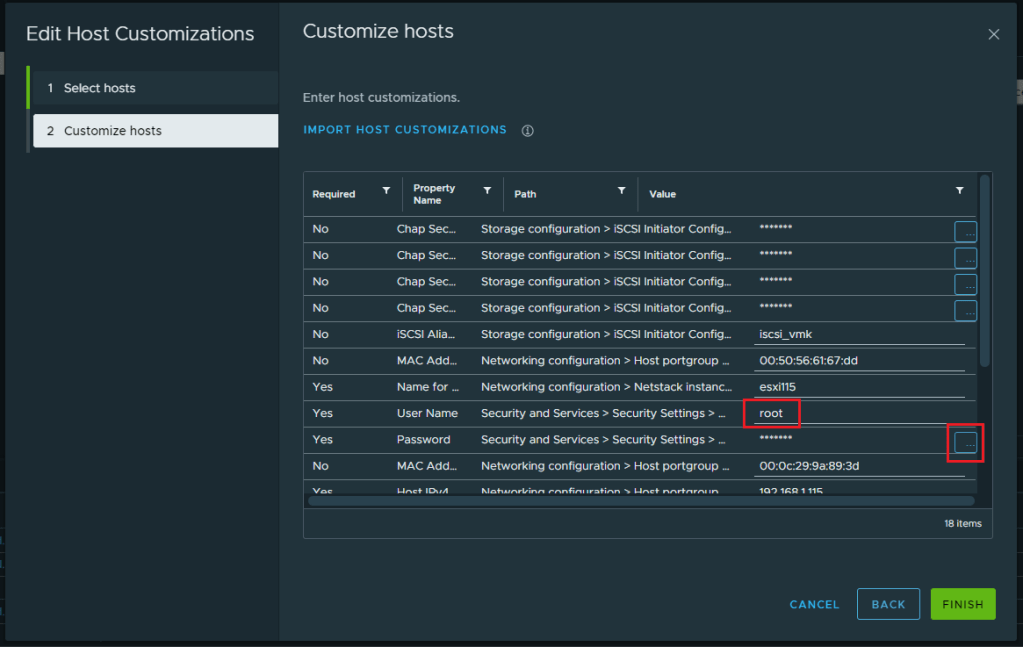
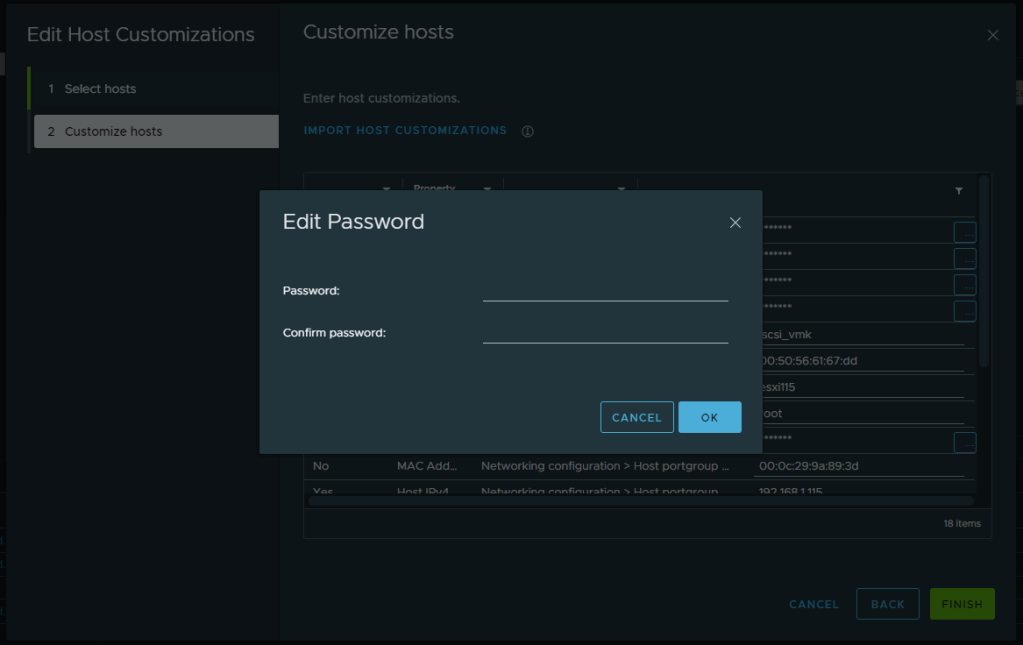
11. In Security and Services User Name type root, in Password click on (…) at right-hand side. Type new password, then click OK and Finish.

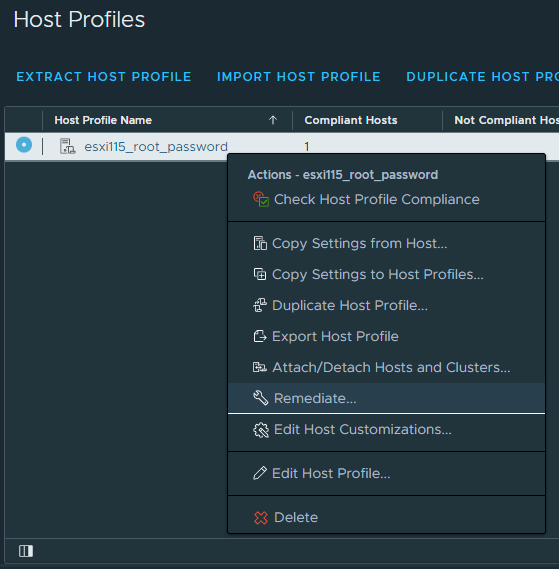
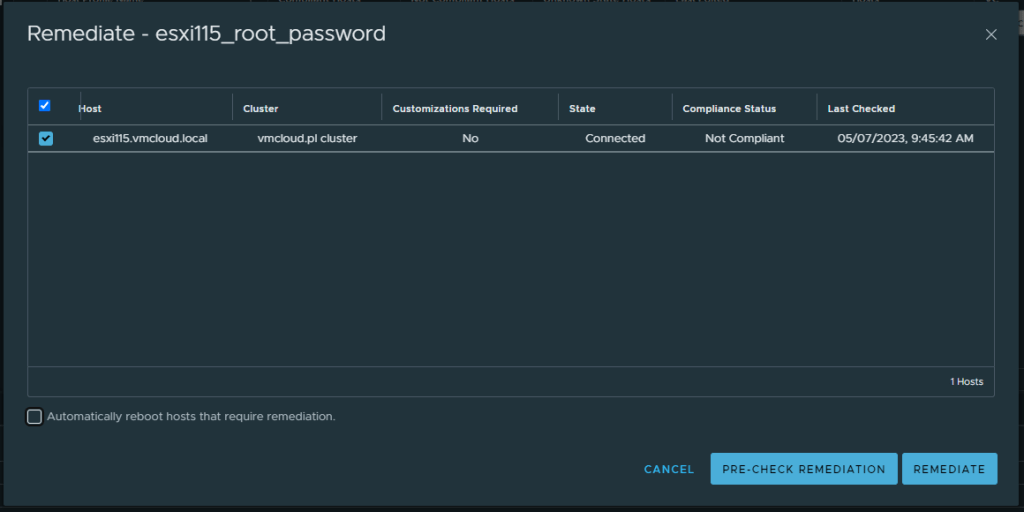
12. In Host Profiles section, right-click on your host profile and choose Remediate. Select your ESXi host, uncheck Automatically reboot hosts and click on Remediate.
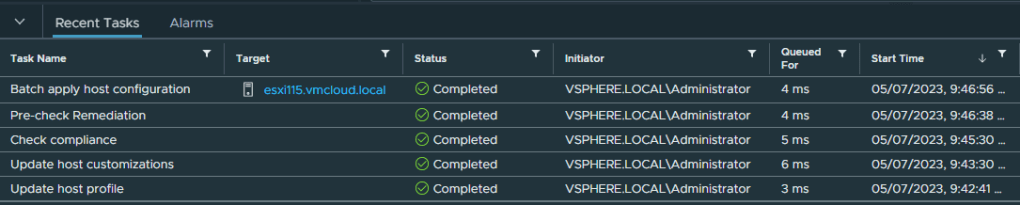
If the task was successful, you changed the root password using the host profiles.
Thank you for reading! Here are some links you may be interested in:
- More articles on main page: https://vmcloud.pl/
- LinkedIn: https://www.linkedin.com/in/krzysztofsalwa/
- Twitter: https://twitter.com/vmcloudpl
- GitHub: https://github.com/vmcloudpl
- VMware vExpert: https://vexpert.vmware.com/
- VMware Communities: https://communities.vmware.com/
- VMUG: https://www.vmug.com/
- VMware Explore: https://www.vmware.com/explore.html
- VMware Store EU: https://store-eu.vmware.com/
- VMware Store US: https://store-us.vmware.com/

Leave a comment