

vSphere Lifecyce Manager (vLCM) is a new feature in vSphere 7 that provides a centralized way to manage software and ESXi host software versions. It is the next generation replacement for vSphere Update Manager (VUM). It can be used to update multiple hosts simultaneously. This method is suitable for upgrading hosts in a vSphere environment managed by vCenter Server.
In this article, I will show you step by step how to upgrade your ESXi host using Lifecycle Manager.
Prerequisites
Download ISO
Please read the VMware Docs article Before Upgrading ESXi Hosts before installing upgrade. There you will find all the checks that need to be done before upgrade. Make sure your ESXi hardware is compatible with the new version you want to upgrade to.
Download the ESXi ISO version you want, you can download it from here.
Maintenance Mode
The ESXi host will be restarted during the upgrade, so make sure all running VMs have been moved to another ESXi host. This can be done by enabling Maintenance Mode on the ESXi host or in some cases you have to do it manually. If you don’t have another ESXi host in the cluster, you must shut down the VMs for maintenance.
CPU compatibility
If you are doing this in your home lab, make sure the new ESXi version is compatible with your CPU. You can check it here.
Creating a Baseline
First, you need to create a Baseline with a specific ISO image. Once the Baseline is created, you can verify it against the current configuration of the ESXi hosts to see if the ESXi host is compliant or not.
To create a Baseline follow the steps:
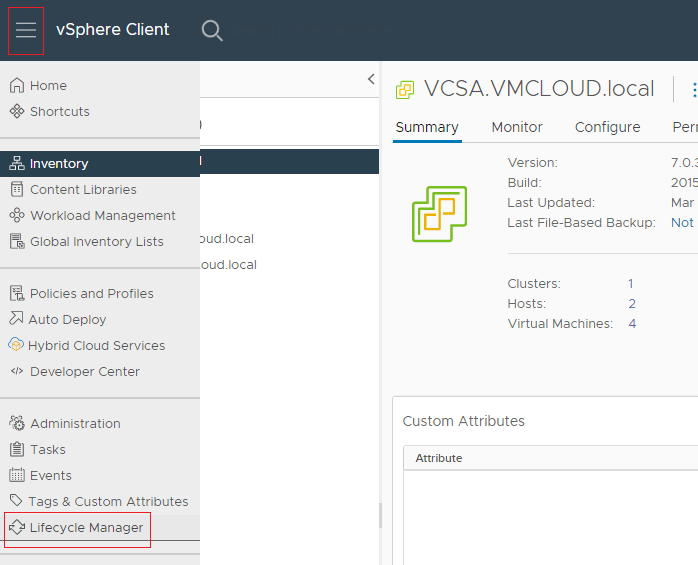
1. Open you vSphere Web Client and navigate to Lifecycle Manager.
2. In Lifecycle Manager go to Imported ISOs and click Import ISO.
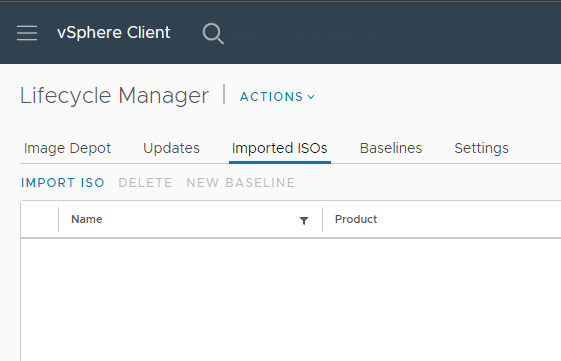
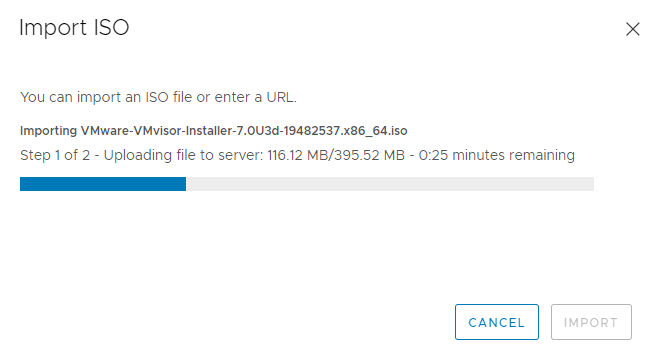
3. Click Browse and select your ISO image. Wait for the upload process to complete.
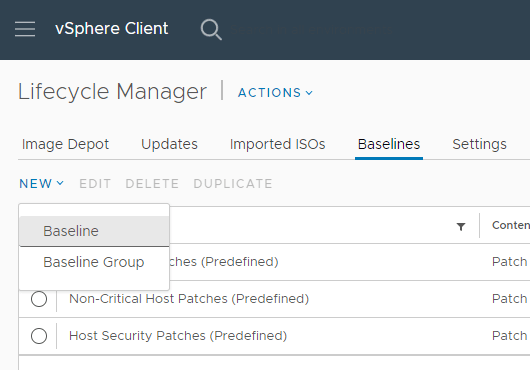
4. Now go to Baselines, click New and choose Baseline.
5. Type the name of your Baseline. In Content section select Upgrade. Click Next.

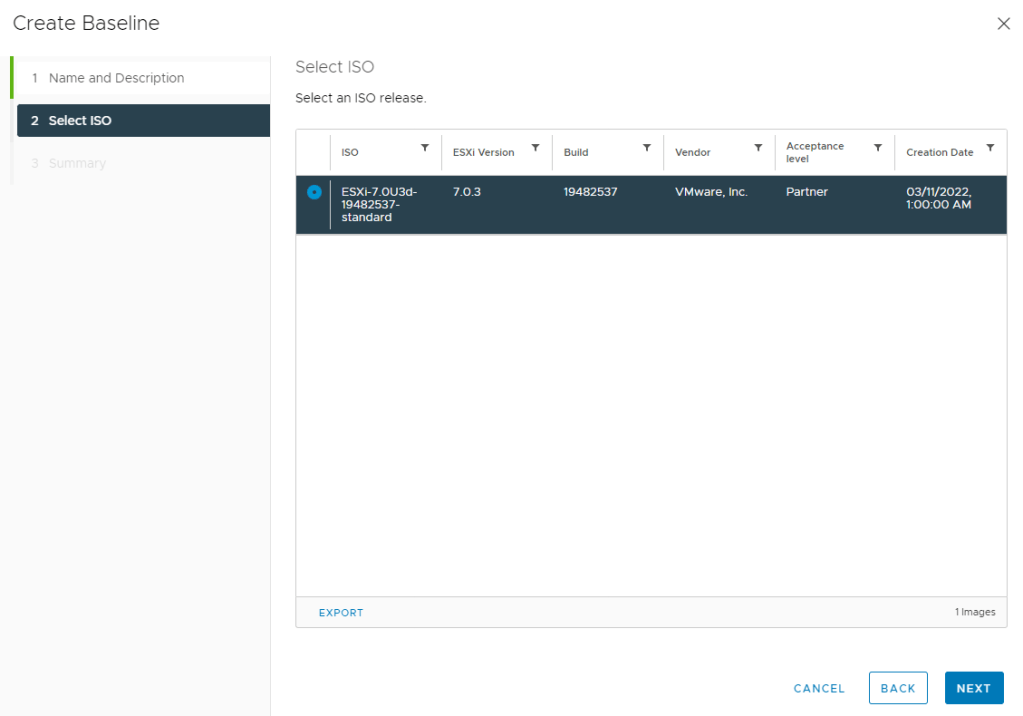
6. Select imported ISO image. Click Next.
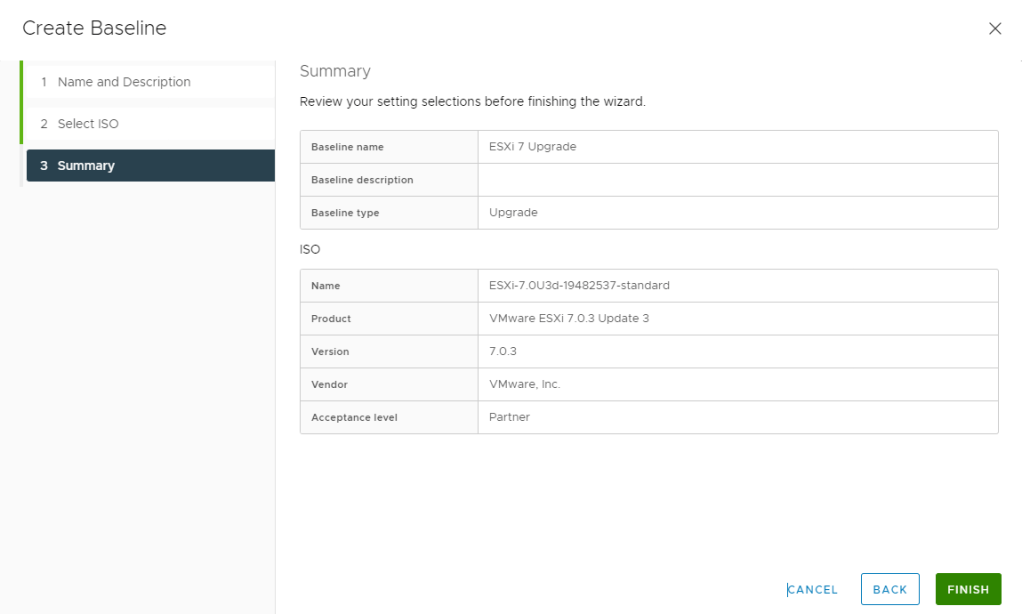
7. Summary and Finish.
Upgrade
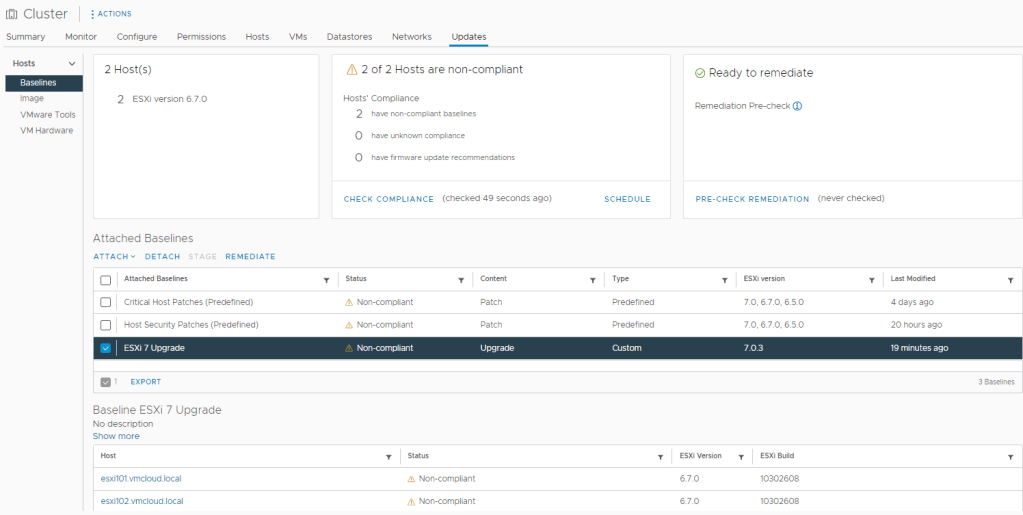
Now that the baseline has been created, it’s time to attach it to the ESXi host, check for compliance, and perform the upgrade. You can attach the baseline to a specific ESXi host or to a cluster, then the baseline will automatically be attached to every host in the cluster.
Follow the steps:
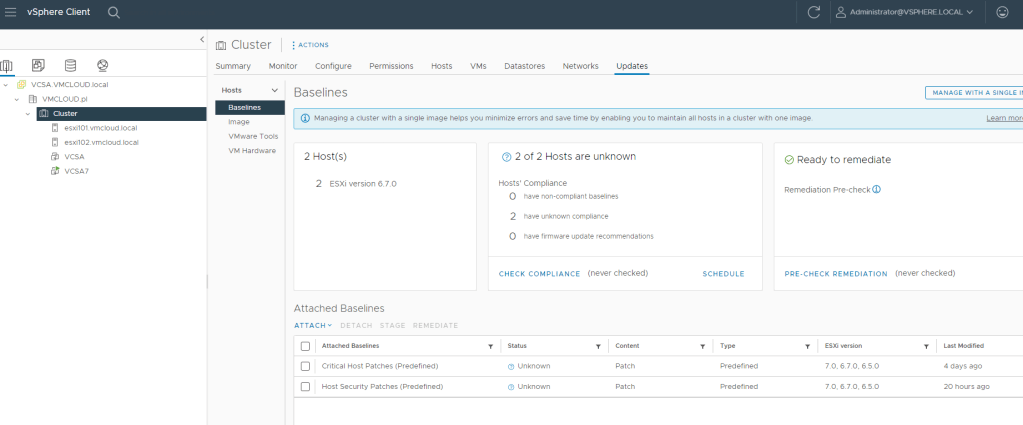
1. In vSphere Web Client navigate to your ESXi host (or Cluster), go to Updates section and Baselines.
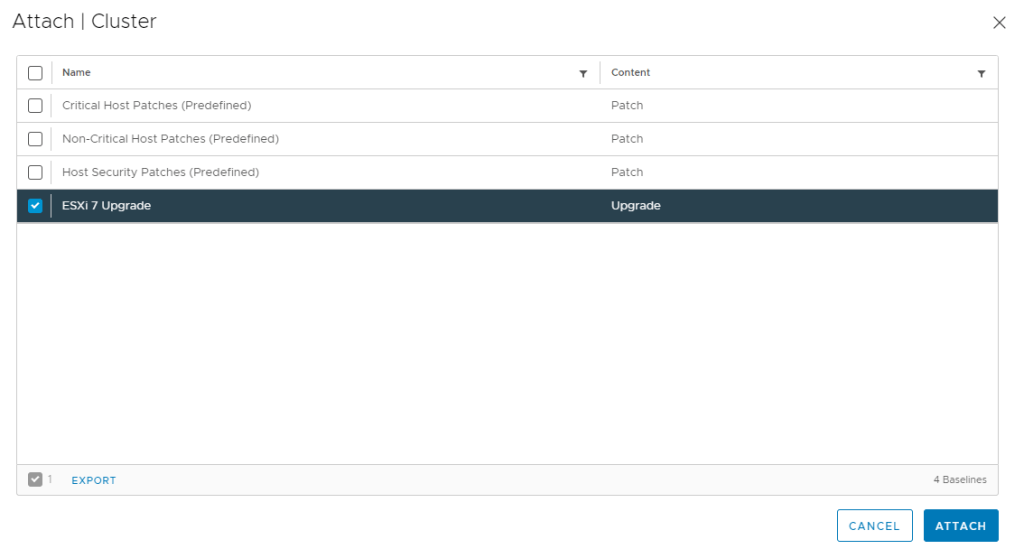
2. Under Attached Baselines click Attach and select Attach Baseline or Baseline Group.

3. Select recently created Baseline and click Attach.
4. Now you can see that Status of Baseline is Unknown for both ESXi hosts in my Cluster. It is time to check Compliance. Select Baseline and click Check Compliance. Once the task is completed you will see non-compliant hosts.
5. So we have attached Baseline on the Cluster, now lets upgrade first ESXi host. Right-click ESXi host and Enable Maintenance Mode.

6. With Maintenance Mode enabled, go to Updates section in your ESXi host. Select Baseline and click Remediate. Accept license.

7. Click Remediate.
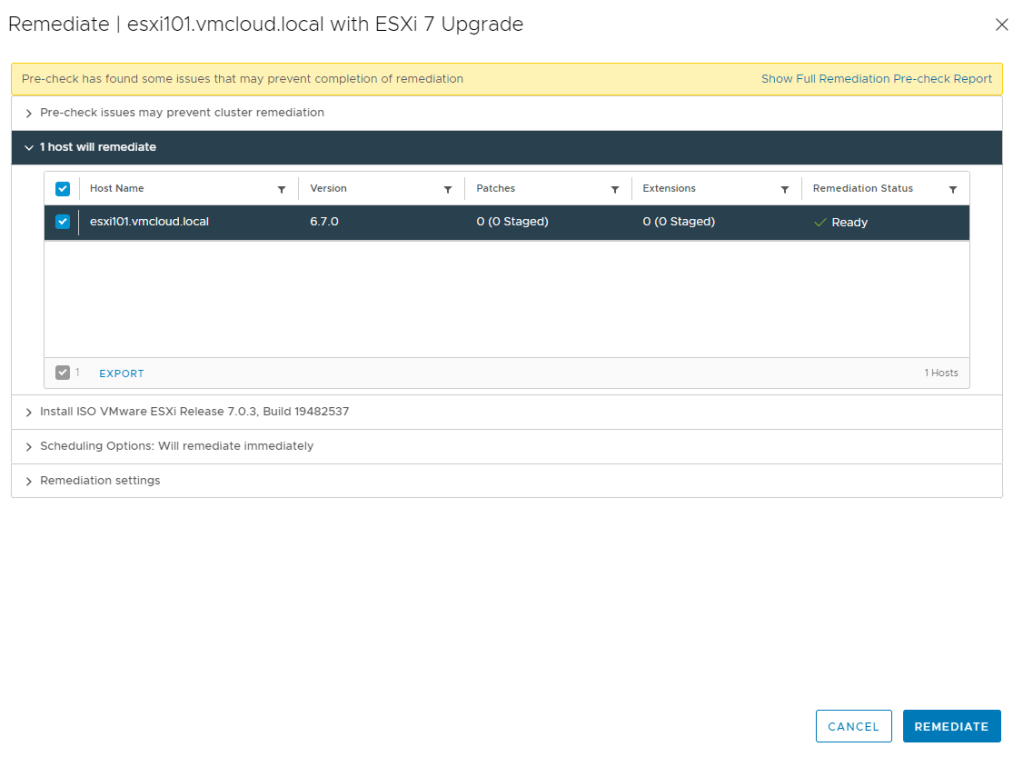
8. Now it is time to wait for the task to finish. Host will reboot.

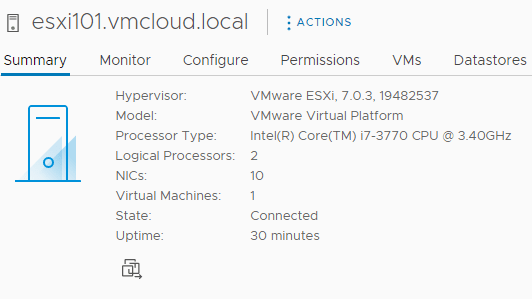
Upgrade completed, Baseline is Compliant.

Thank you for reading! Here are some links you may be interested in:
- More articles on main page: https://vmcloud.pl/
- LinkedIn: https://www.linkedin.com/in/krzysztofsalwa/
- Twitter: https://twitter.com/vmcloudpl
- GitHub: https://github.com/vmcloudpl
- VMware vExpert: https://vexpert.vmware.com/
- VMware Communities: https://communities.vmware.com/
- VMUG: https://www.vmug.com/
- VMware Explore: https://www.vmware.com/explore.html
- VMware Store EU: https://store-eu.vmware.com/
- VMware Store US: https://store-us.vmware.com/

Leave a comment