
If you’re using vCenter with multiple ESXi hosts in your home lab, it’s a good idea to set up shared storage. This allows you to test many features such as vMotion, vSphere HA or DRS. Shared storage is desirable in almost every vSphere infrastructure. Without it, some key virtualization features will not be available.
There are many ways to set up shared storage, for example you can have an external NAS storage server, but in this article I will show you one of the easiest methods, in which you can use internal disks in your PC.
Prerequisities
Windows Server VM
To create shared storage, you must have a VM with the Windows Server OS installed. You can use a Domain Controller if you have one in your home lab.
You can download the Windows Server 2019 ISO here, or Windows Server 2022 ISO here.
Shared Disk
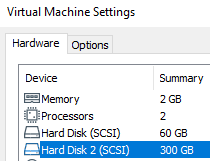
Add a new disk to the virtual machine. This disk will be shared by ESXis. The disk size depends on your preferences.
Follow the steps to create a new partition on the added disk:
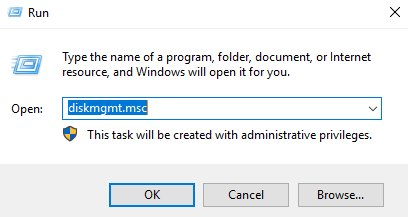
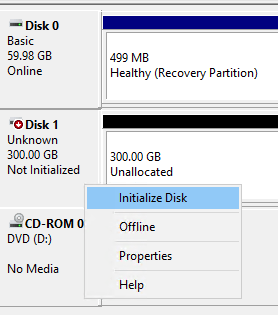
1. On the Windows Server VM open Disk Management.
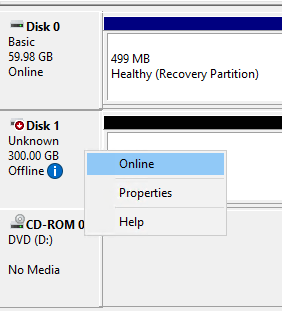
2. Right-click on the disk and choose Online.
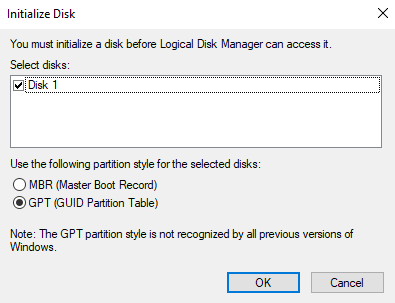
3. Right-click and Initialize the disk as GPT.
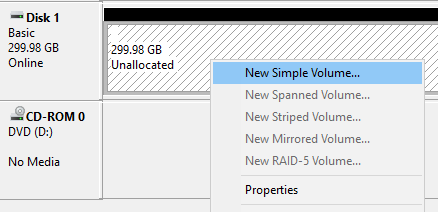
4. Right-click on Unallocated space and choose New simple volume.
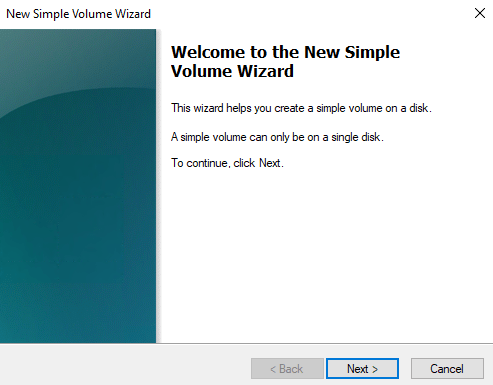
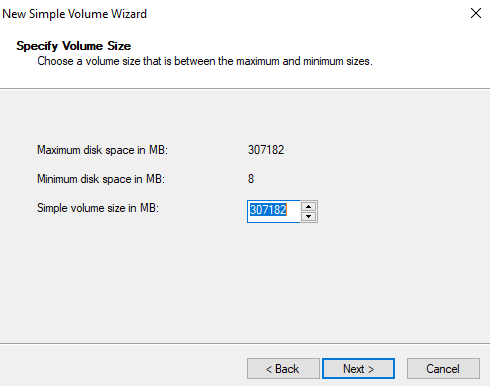
5. Click Next.
6. Click Next.
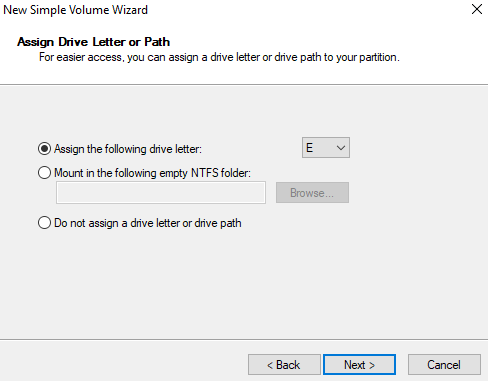
7. Choose desired disk letter and click Next.
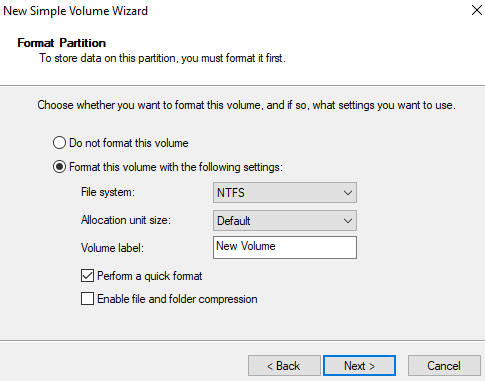
8. Click Next.
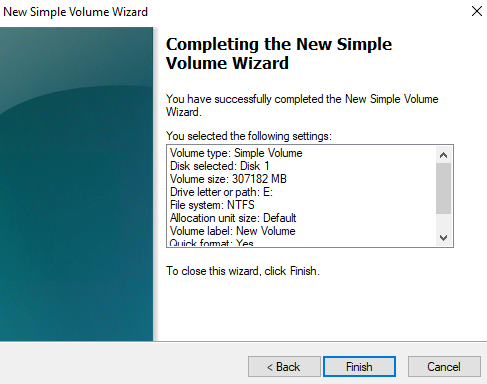
9. Finish.
iSCSI Target Server Role
To set up shared storage, I’m going to use Software iSCSI. Therefore, you need to install the iSCSI Target Server role on your VM.
Follow the steps:
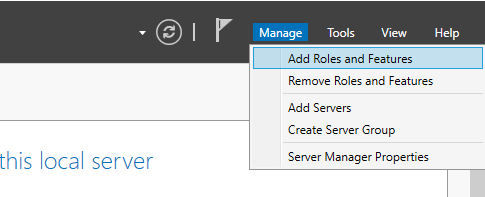
1. Open Server Manager and navigate to Add Roles and Features.
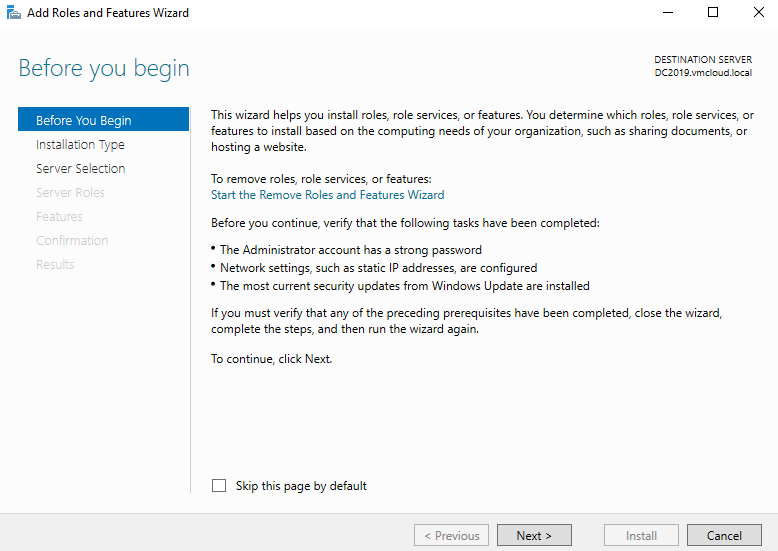
2. Click Next.
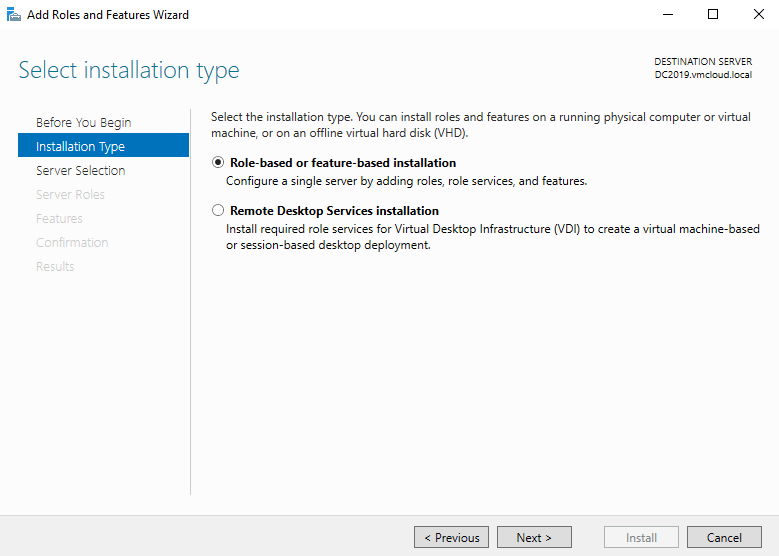
3. Click Next.
4. Click Next.

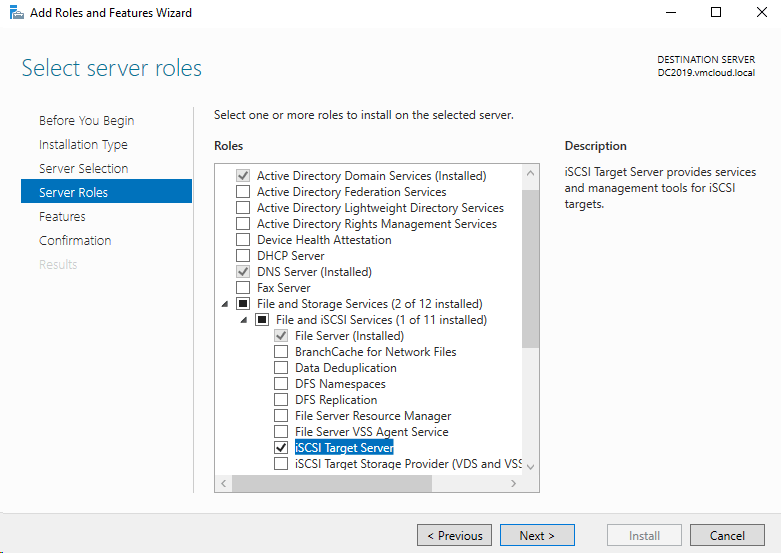
5. In Server Roles select iSCSI Target Server and click Next.
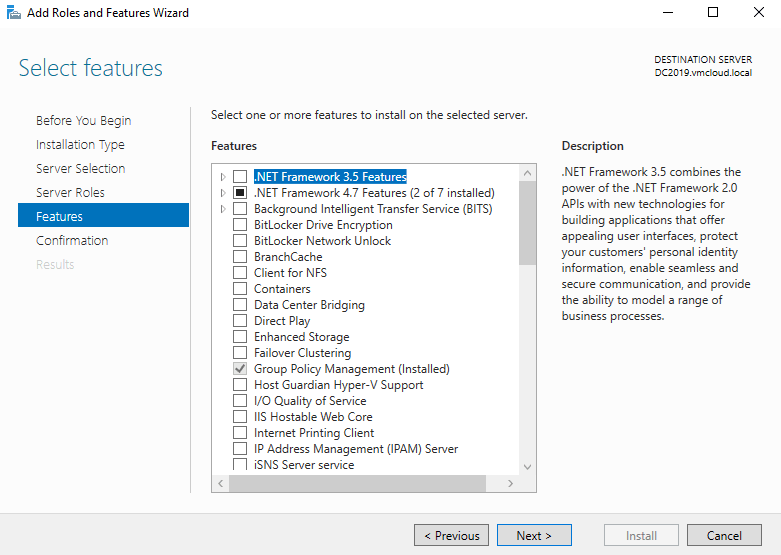
6. On Select Features click Next.
7. On Confirmation screen click Install.

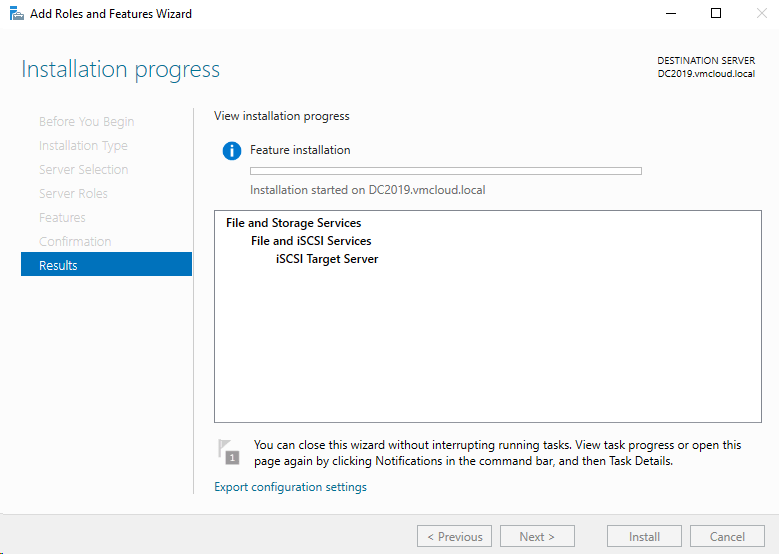
8. Wait for the installation to finish.
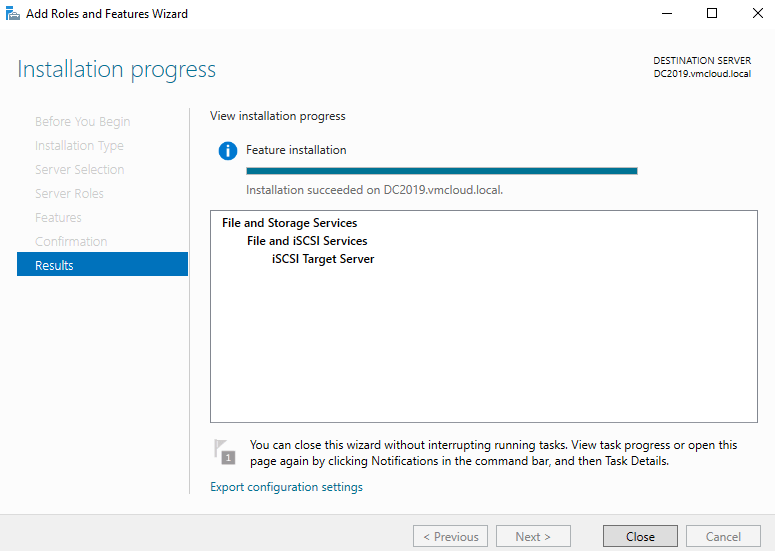
9. Installation finished. Click Close.
Configure iSCSI Virtual Disk
With all the prerequisites done, let’s move on to the main part, i.e. configuring the iSCSI virtual disk and attaching storage to the ESXi.
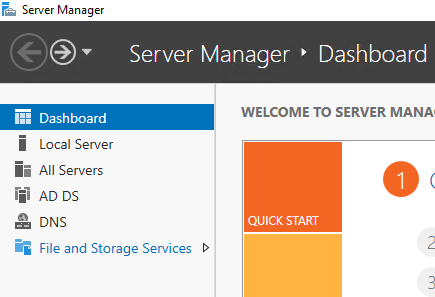
1. Open Server Manager and go to File and Storage Services.
2. Then, go to iSCSI and click To create an iSCSI…

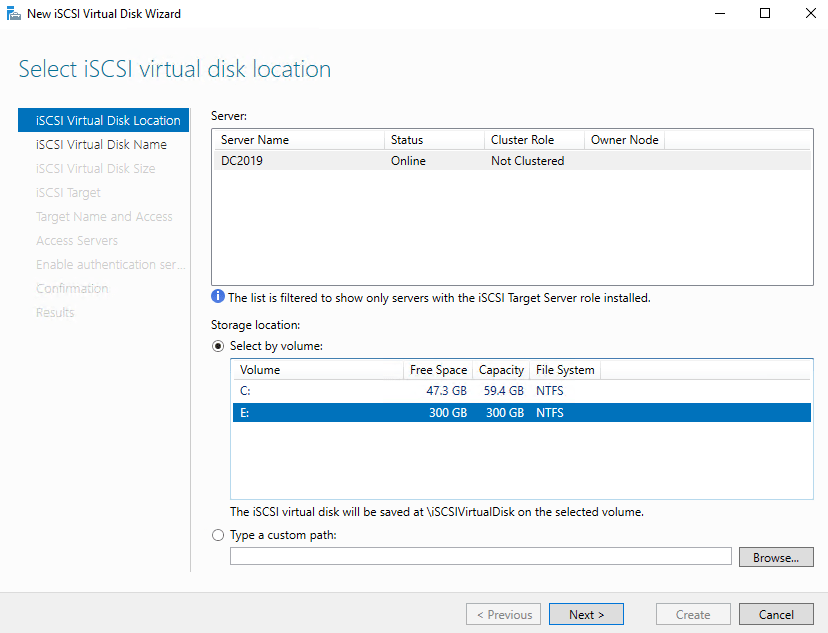
3. Select the created partition and click Next.
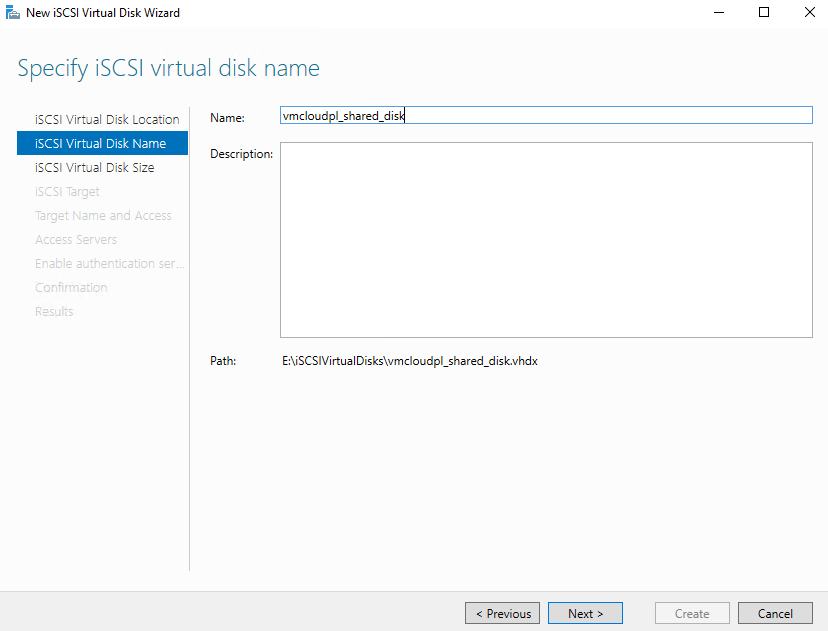
4. Type the disk name and click Next.
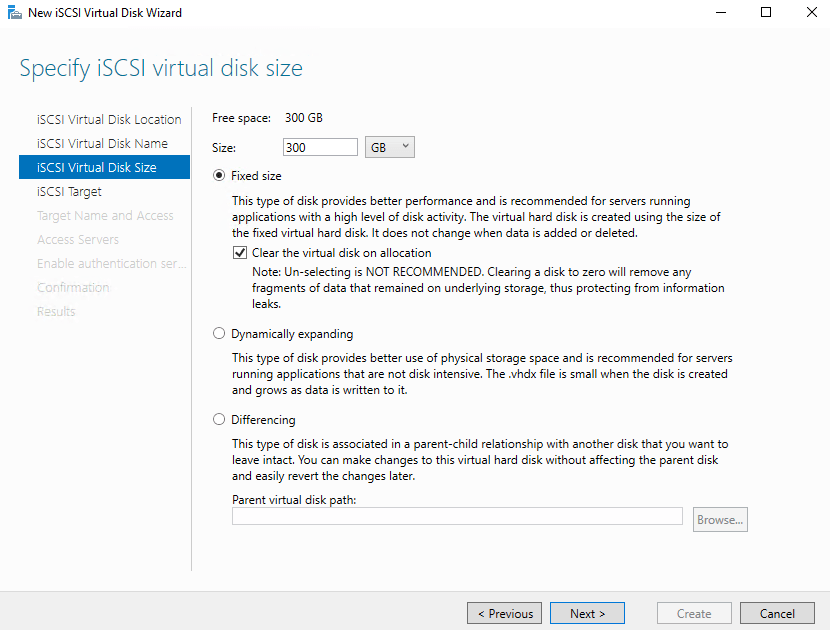
5. Type the disk size and choose Fixed size.
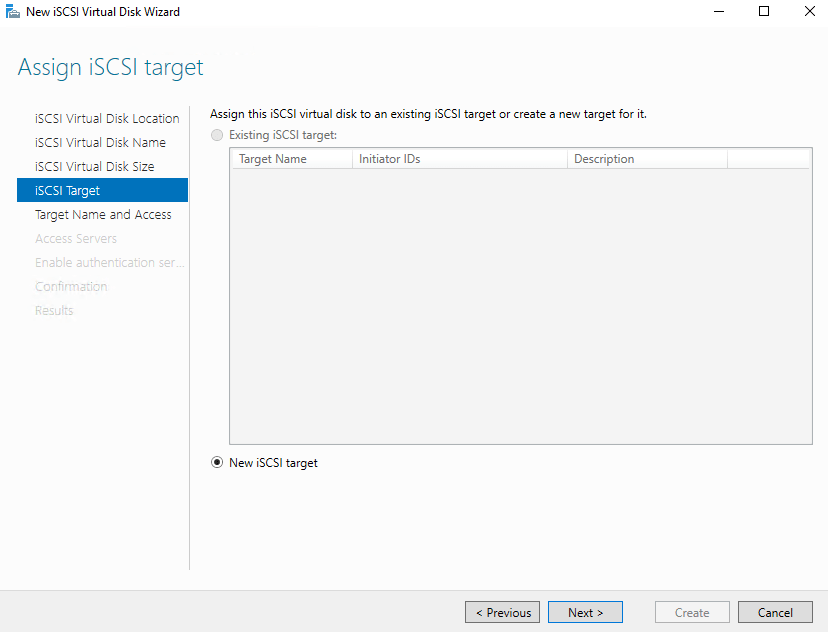
6. Click New iSCSI Target.
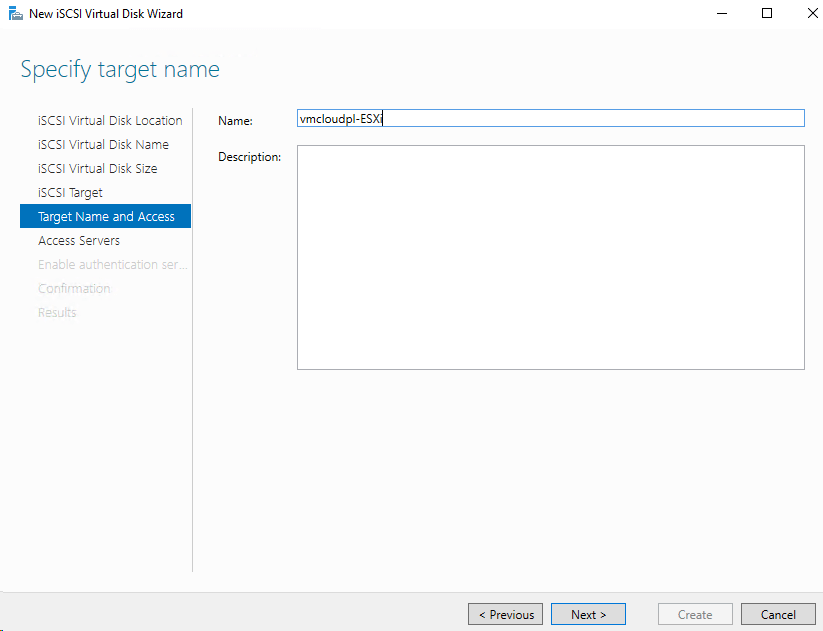
7. Name the targets.
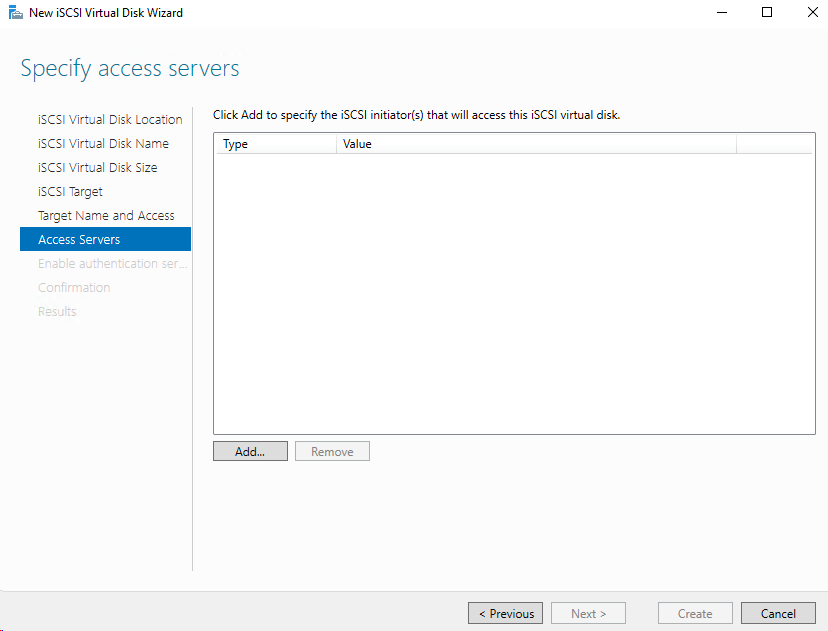
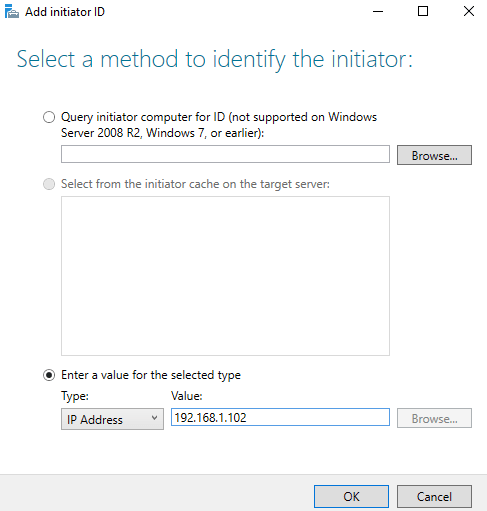
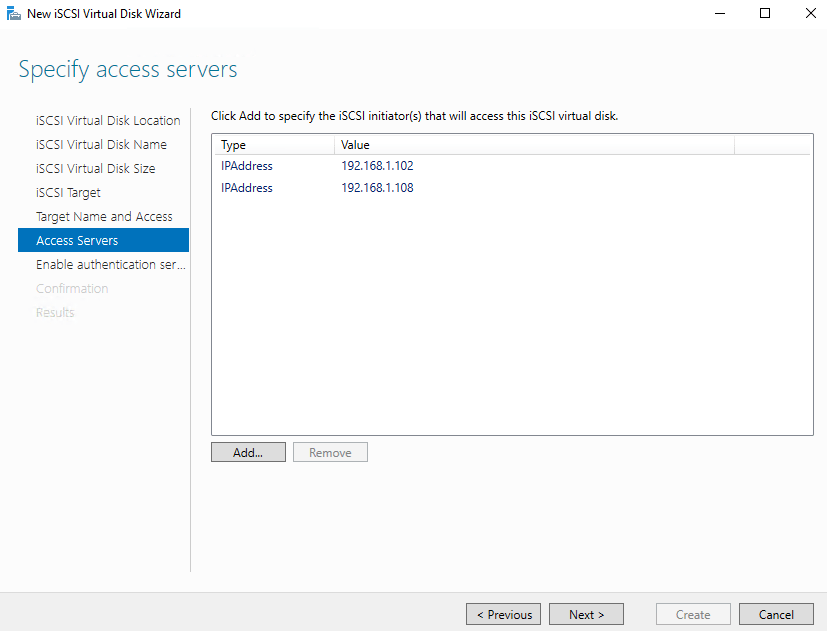
8. Click Add.
9. Add each ESXi you want to attach storage to.
10. Click Next.
11. Click Next.

12. Click Confirm.
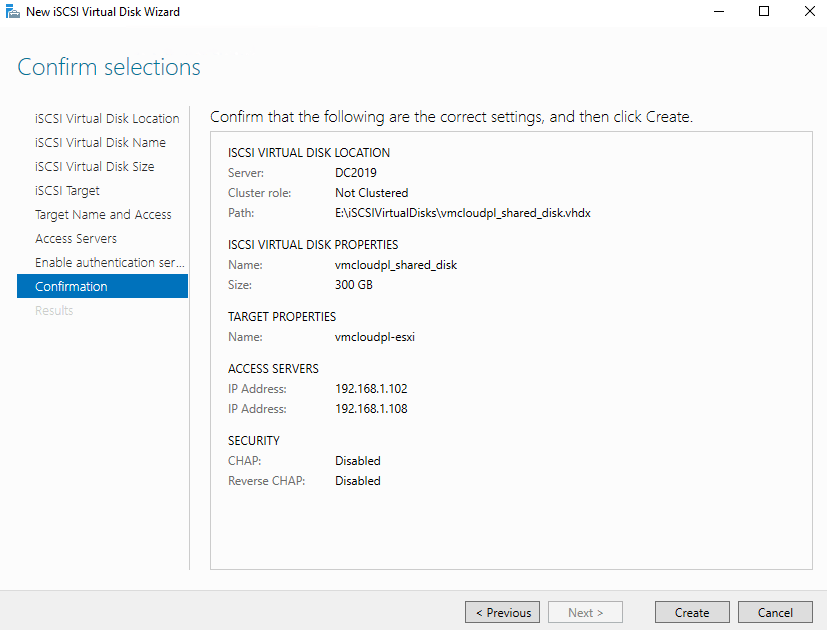
13. Click Close.
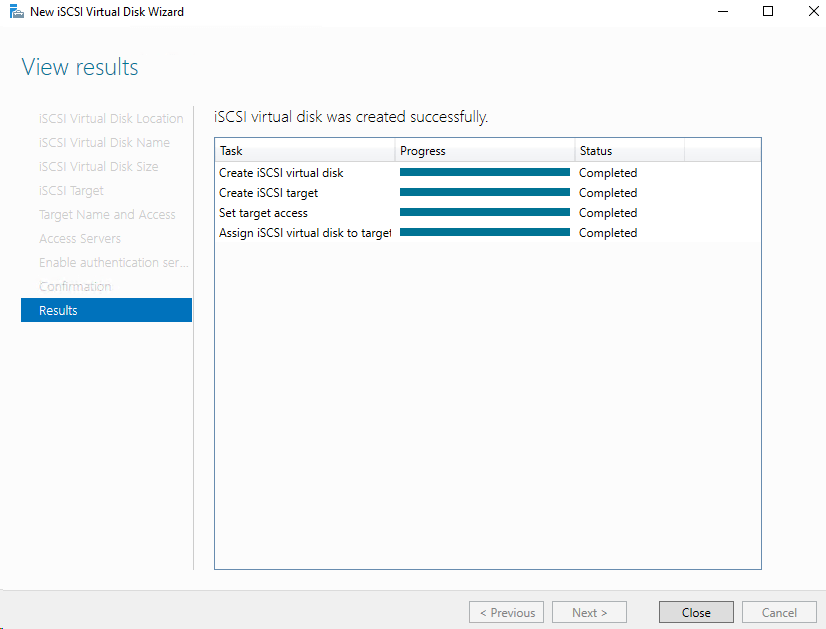
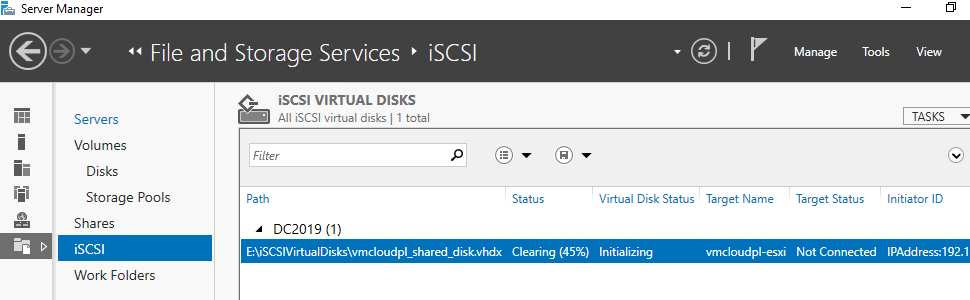
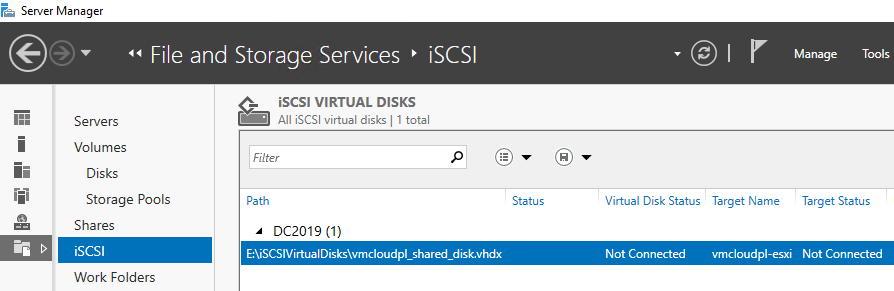
14. Wait for the Clearing process to finish.
Attach Storage to ESXi
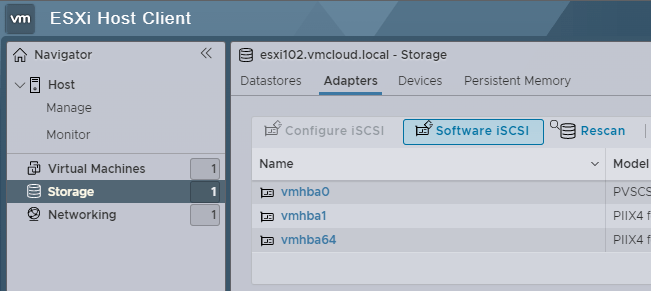
1. Login to the ESXi Web GUI with root credentials. Navigate to Storage, then Adapters. Click Software iSCSI.
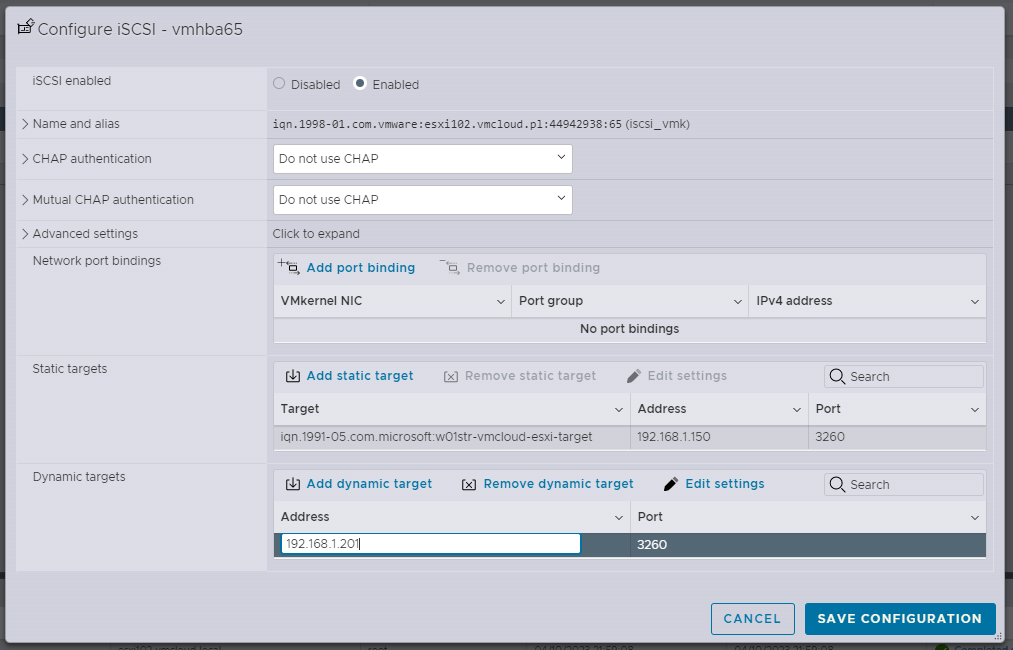
2. Click Enabled and Add Dynamic Target. Type the IP of your Windows VM and click Save Configuration.
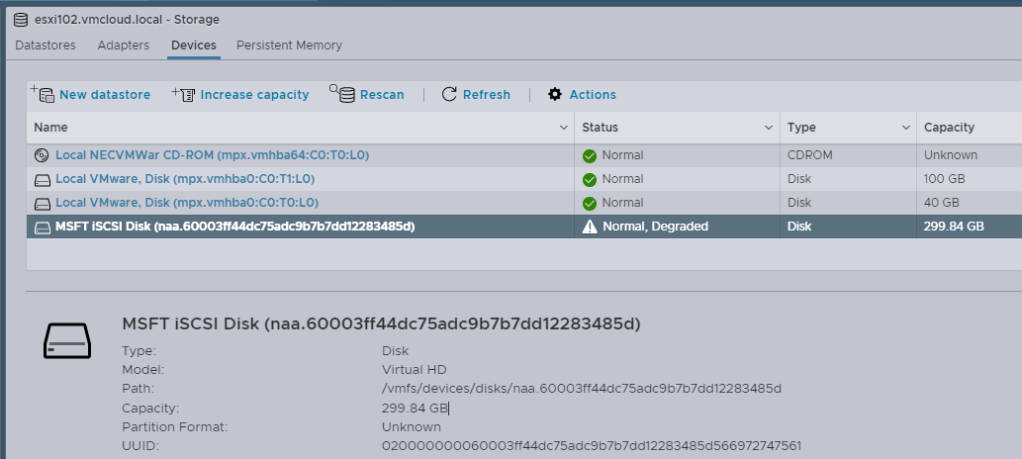
3. Now, check if the disk has been added by going to Devices.
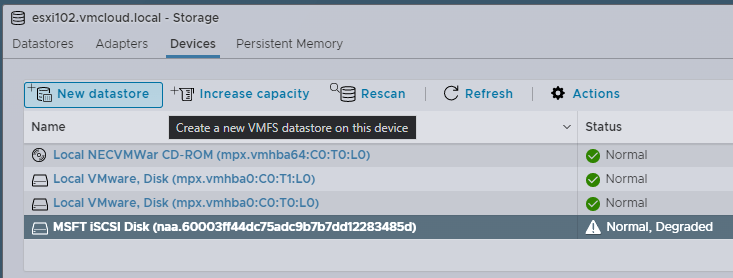
4. Select the iSCSI disk and click New datastore. This datastore will be visible to all ESXi hosts where you add Software iSCSI.
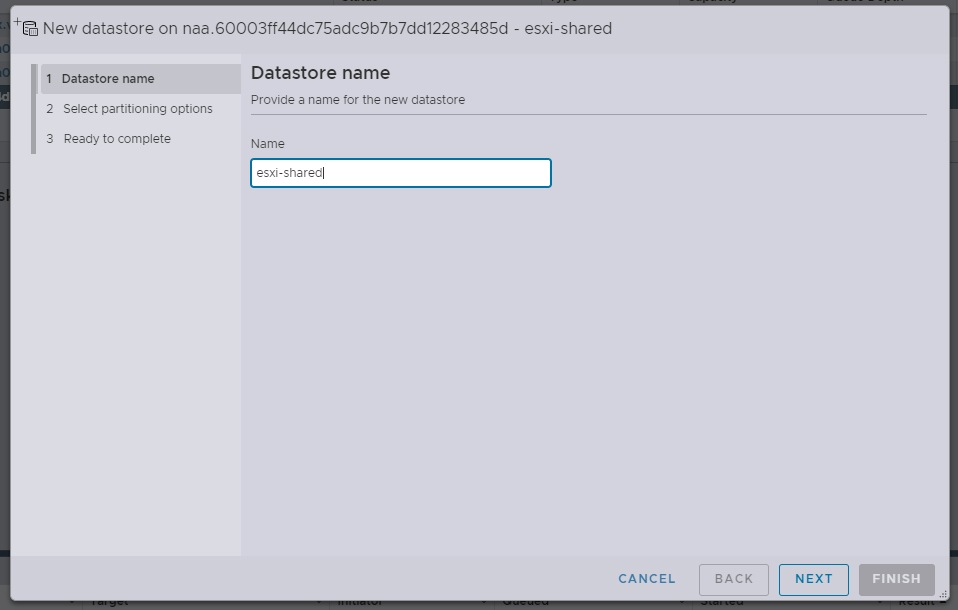
5. Type Datastore name and click Next.
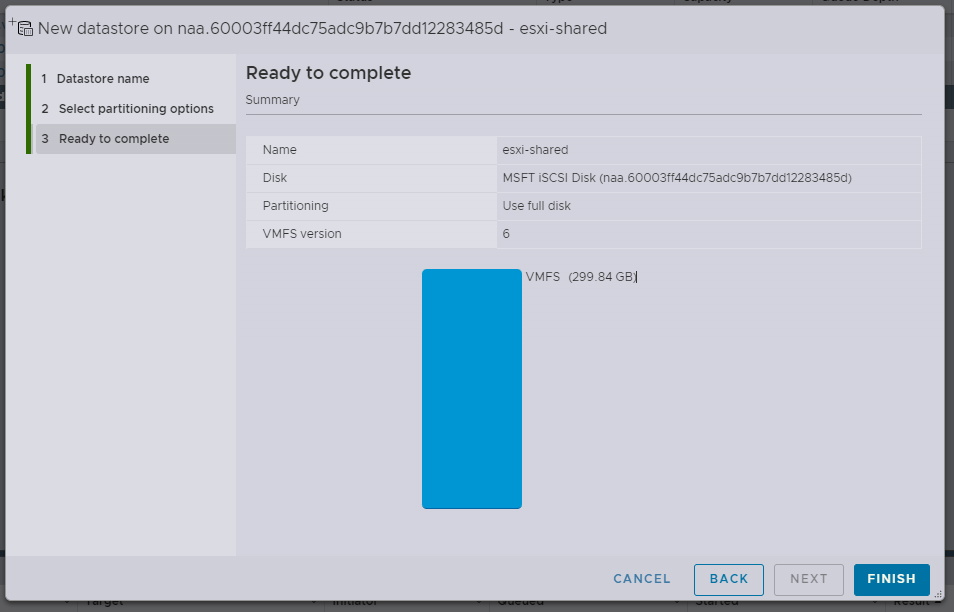
6. Choose Use full disk, and click Next.

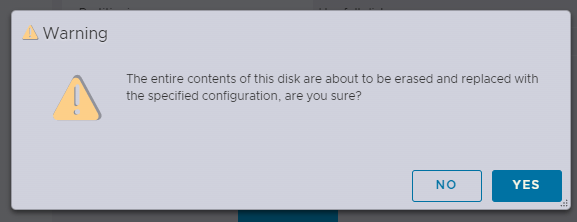
7. Click Finish and then Yes.
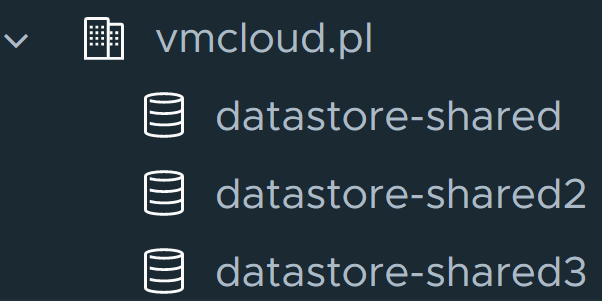
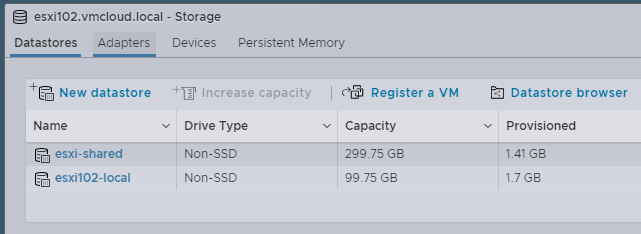
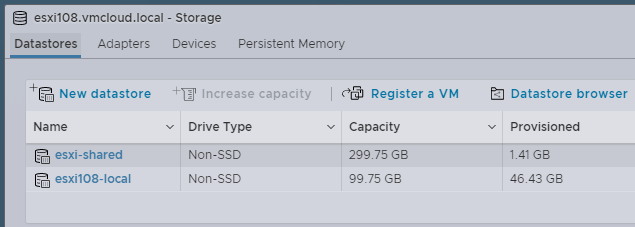
The shared datastore was successfully created
Repeat steps 1-3 for each ESXi host that has been added as a target on the iSCSI server.
The shared datastore will be visible on every ESXi after adding Software iSCSI.
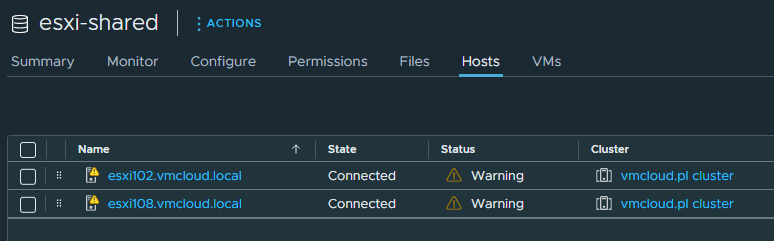
In vCenter you can check if the datastore is connected to each ESXi.
If you want to have more shared datastores, you need to add a new disk to the VM, create a partition, and add an iSCSI configuration virtual disk. Then refresh the Devices section in ESXi and create a new datastore.
Thank you for reading! Here are some links you may be interested in:
- More articles on main page: https://vmcloud.pl/
- LinkedIn: https://www.linkedin.com/in/krzysztofsalwa/
- Twitter: https://twitter.com/vmcloudpl
- GitHub: https://github.com/vmcloudpl
- VMware vExpert: https://vexpert.vmware.com/
- VMware Communities: https://communities.vmware.com/
- VMUG: https://www.vmug.com/
- VMware Explore: https://www.vmware.com/explore.html
- VMware Store EU: https://store-eu.vmware.com/
- VMware Store US: https://store-us.vmware.com/

Leave a comment