
vCenter Server 8.0 is another component of the new vSphere 8 released in late 2022. Since I already have ESXi 8.0 deployed, it’s time to deploy the new vCenter in my home lab. If you already have vCenter 7.0 installed, you can upgrade to vCenter 8.0 using the following guide:
How to upgrade vCenter Server Appliance
In this article I will show you a step by step guide how to install vCenter 8.
Prerequisites
License and ISO
VMware provides a free 60-day evaluation license. Login here or register if you don’t have an account. Download vCenter Server ISO.

Enable SSH on ESXi host
1. Enable SSH on your ESXi host by going to your ESXi web interface.
https://ESXi_IP_or_hostname2. Go to Manage, then Services, find TSM-SSH service and click Start.

Stage 1: vCenter Server Deployment
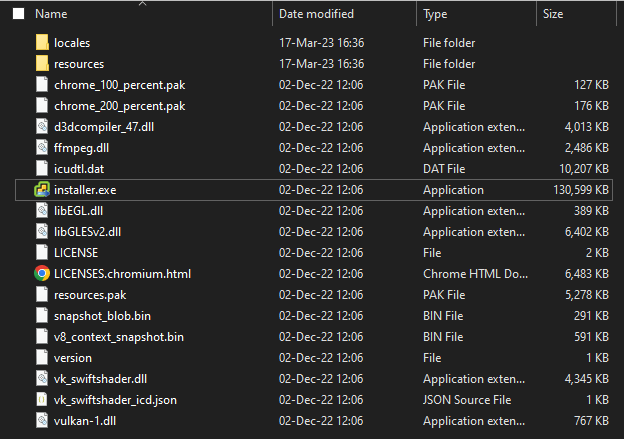
1. Mount the ISO on your server/laptop, navigate to vcsa-ui-installer\win32 and run installer.exe as Administrator.
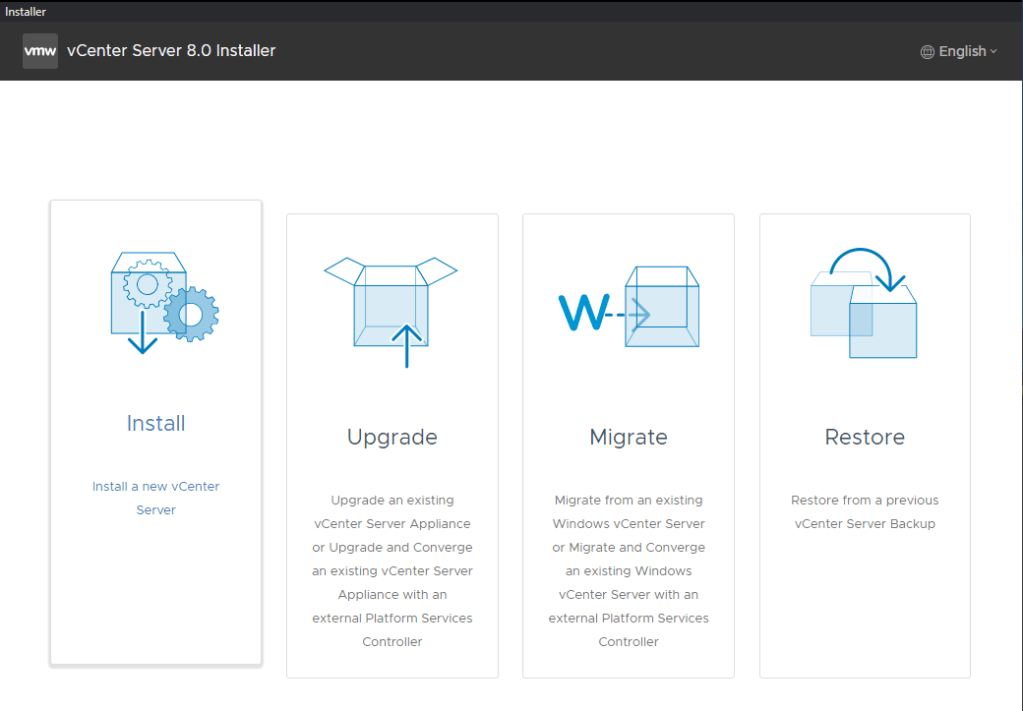
2. Choose Install.
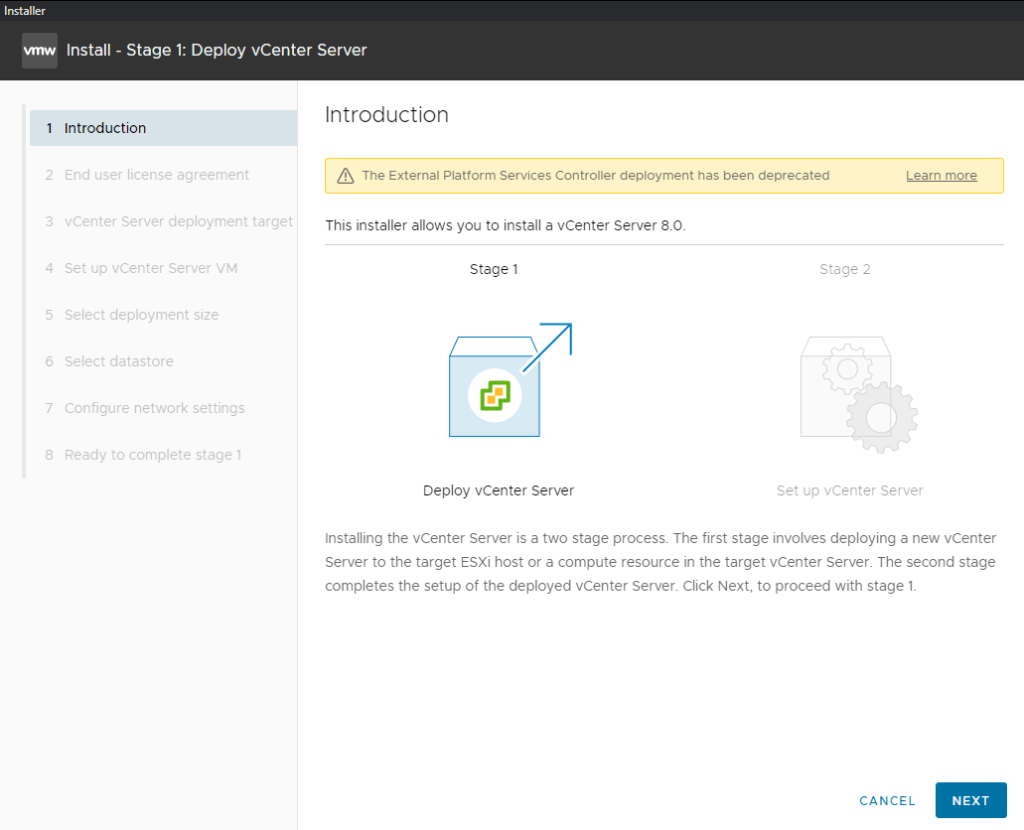
3. Click Next.
4. Accept License and click Next.

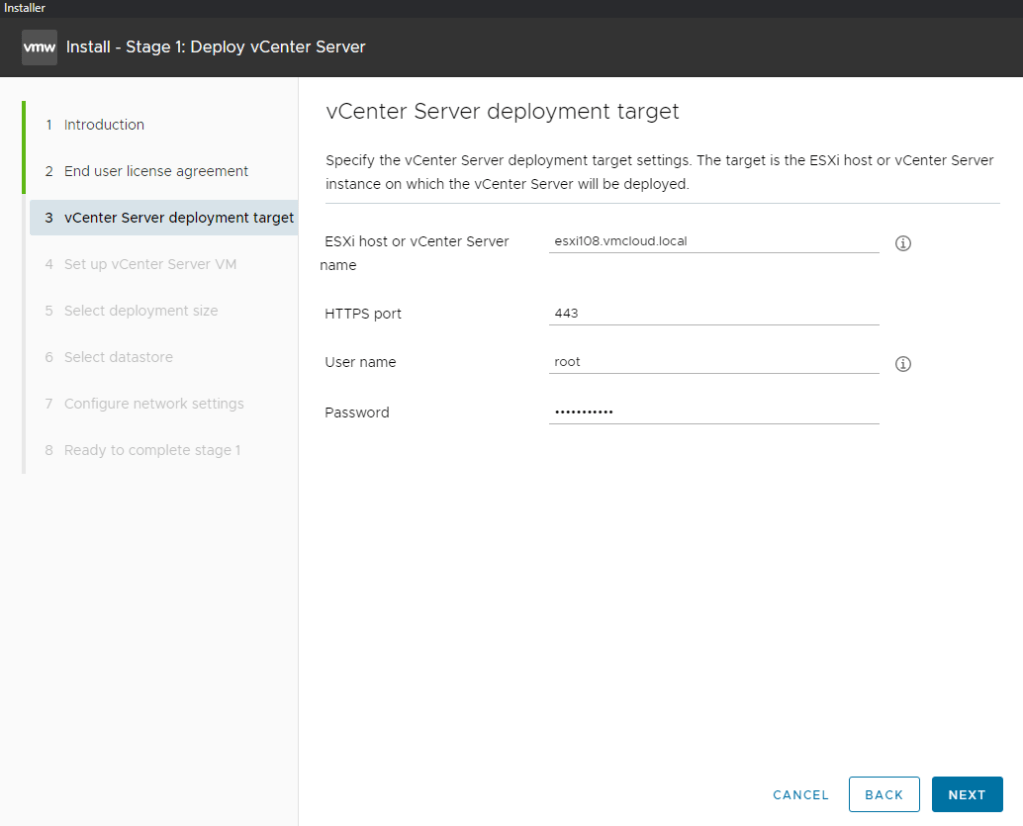
5. Type IP or hostname of your ESXi to which new vCenter Server Appliance will be deployed. Type root password and click Next.
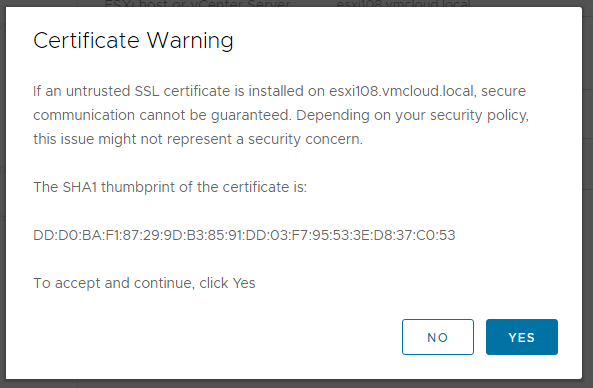
6. Yes on Certificate Warning.
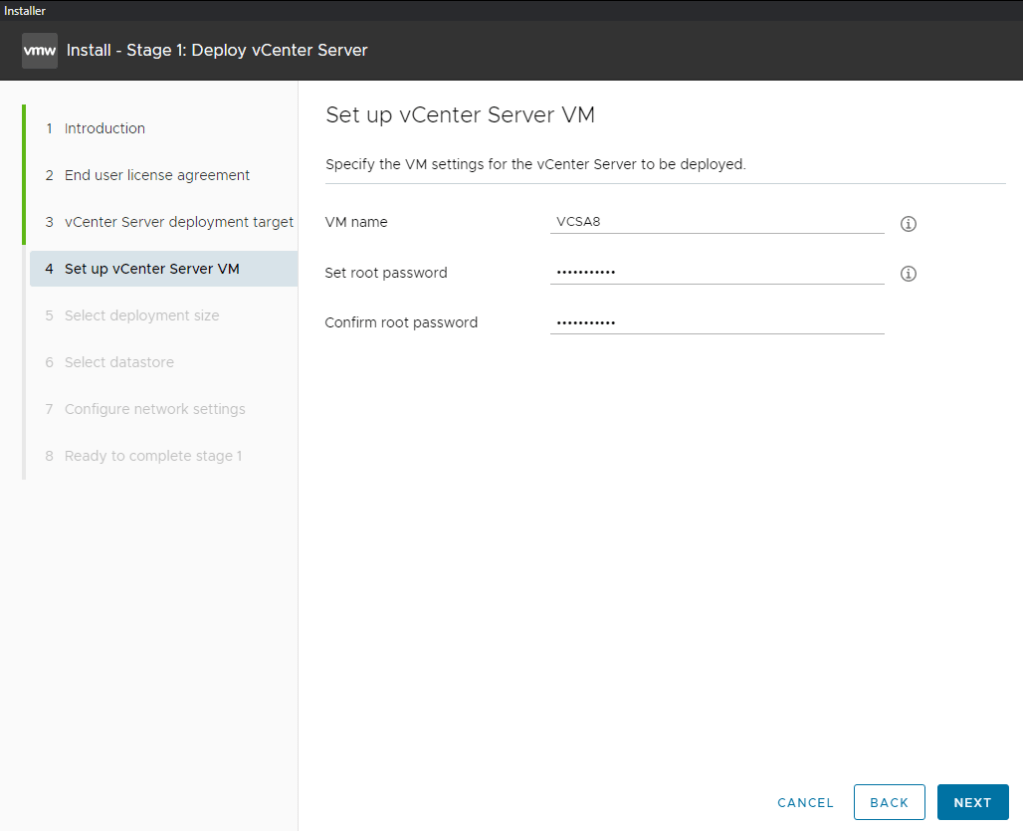
7. Type desired vCenter Server Appliance VM name with new root password. Click Next.
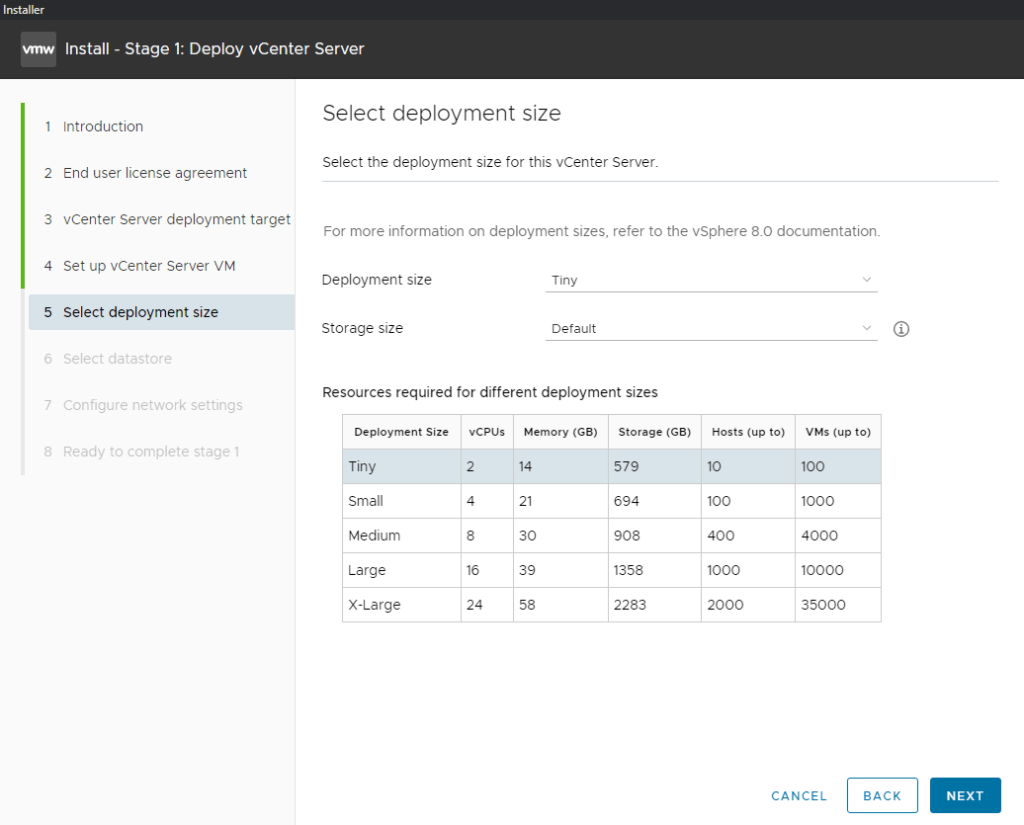
8. Select deplyment size. Click Next.
The required storage space is 579 GB, however, you can choose a storage with less free space.
CPU and RAM requirements are non-negotiable, you will not be able to install vCenter 8 if the ESXi host has less than 14 GB of free memory.
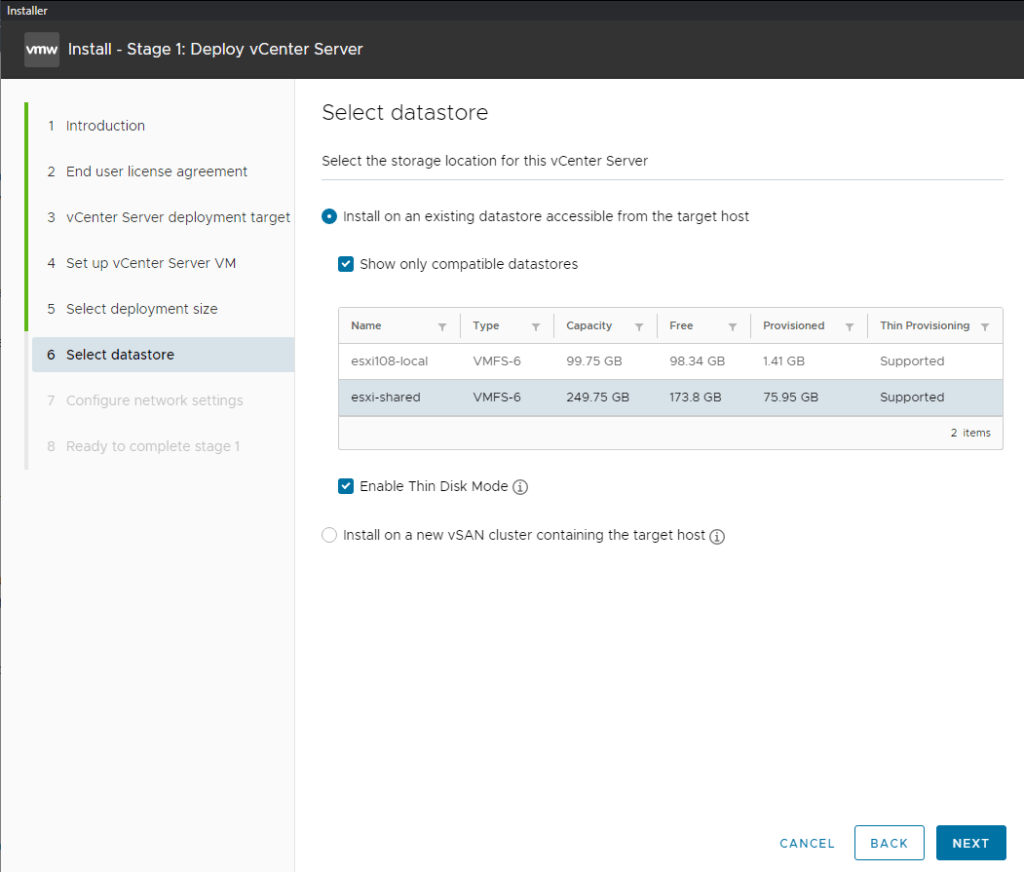
9. Select desired datastore and select Enable Thin Disk Mode. Click Next.
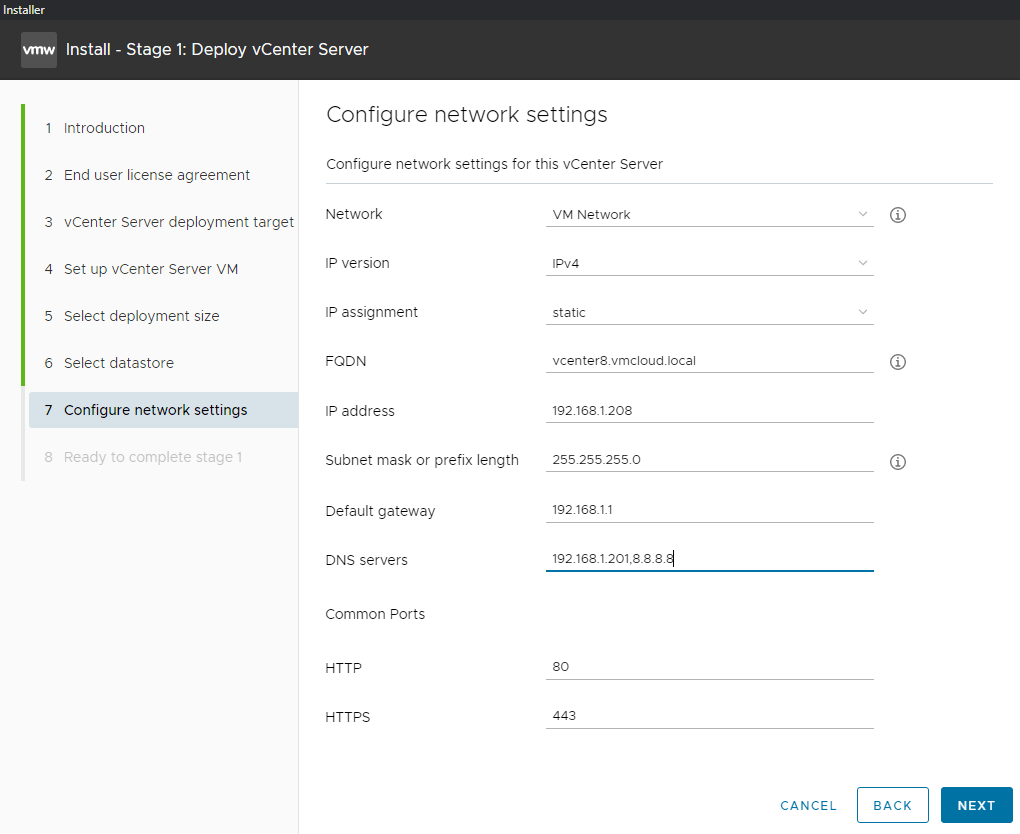
10. Type your IP details and click Next.
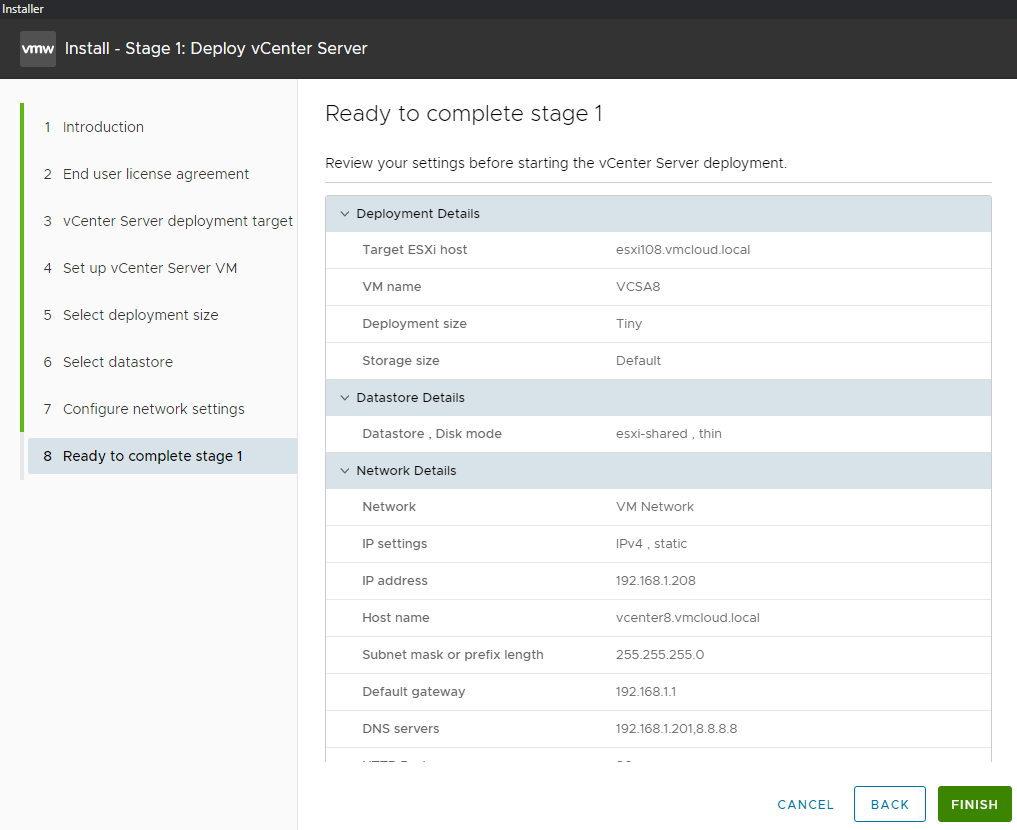
11. Click Finish and wait for completition.
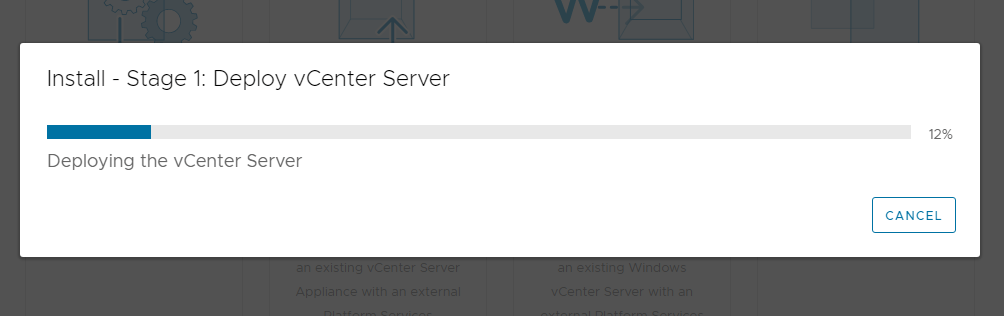
Installation in progress.

You can observe the task in ESXi.
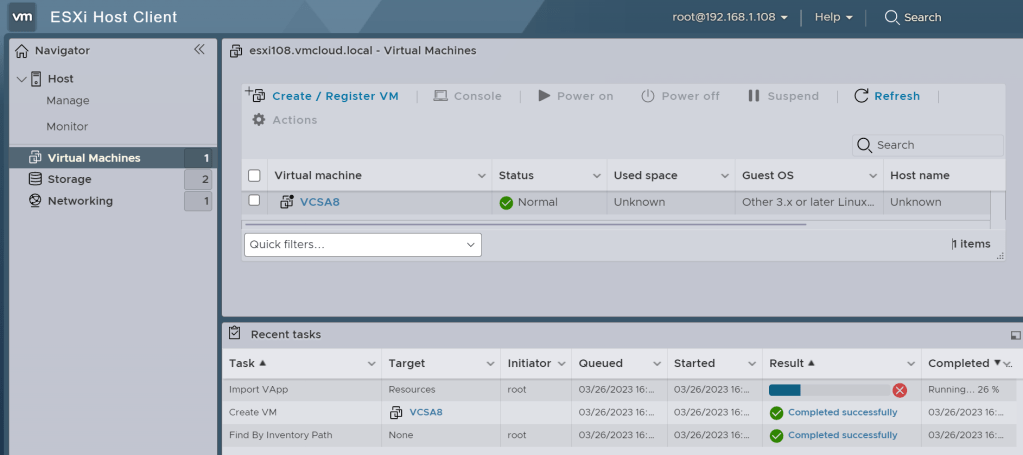
Once finished click Continue.

Stage 2: Set up vCenter Server
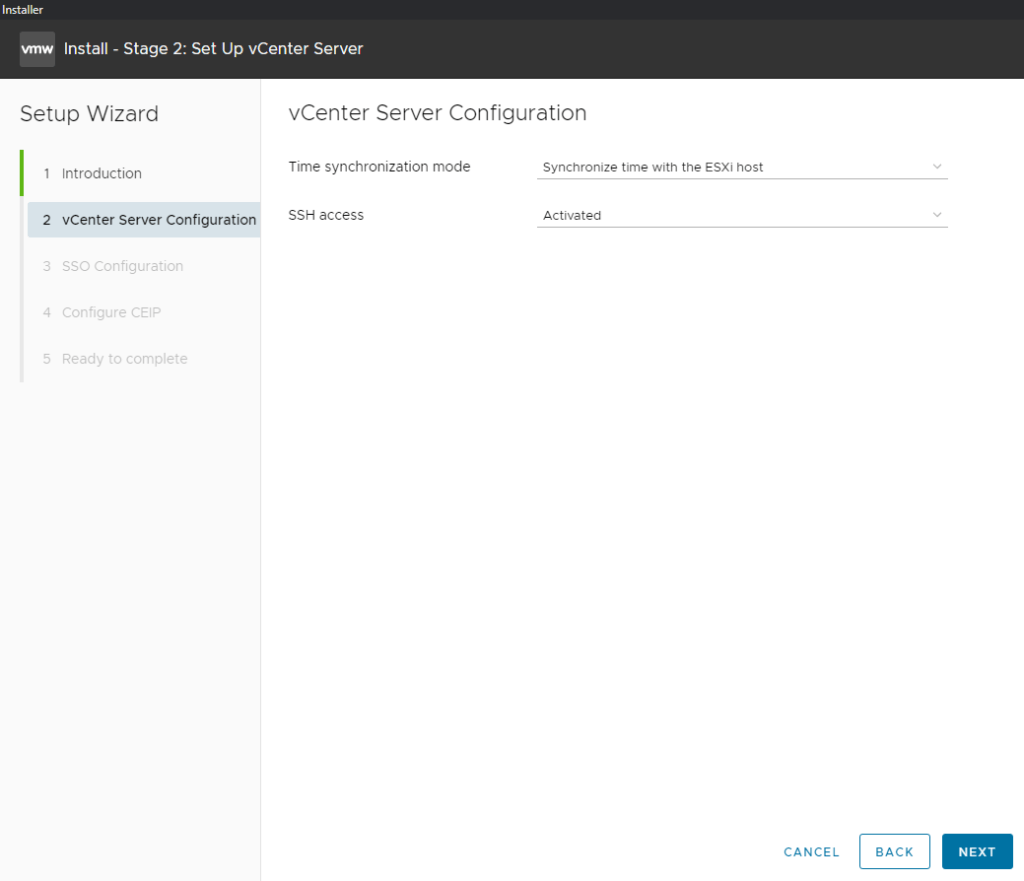
1. Click Next on the Introduction screen.

2. Time synchronization mode choose with ESXi. For SSH access it is up to your preferences, SSH access can be enabled anytime after installation.
3. Select Create a new SSO domain and type your password.

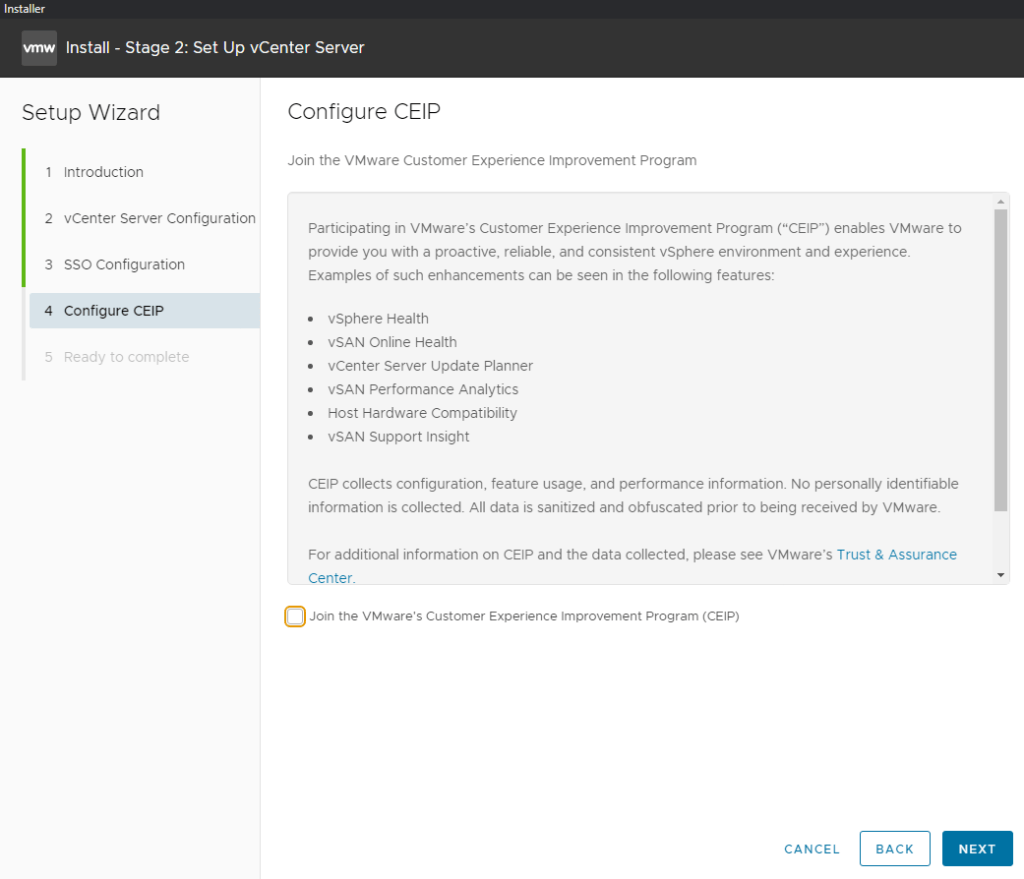
4. Join CEIP if you want.
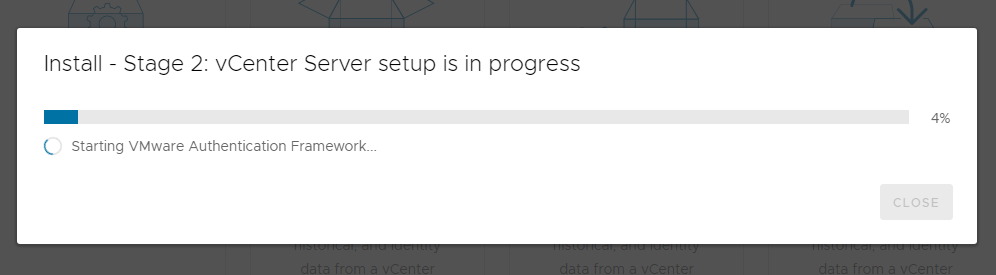
5. Click Finish and OK.


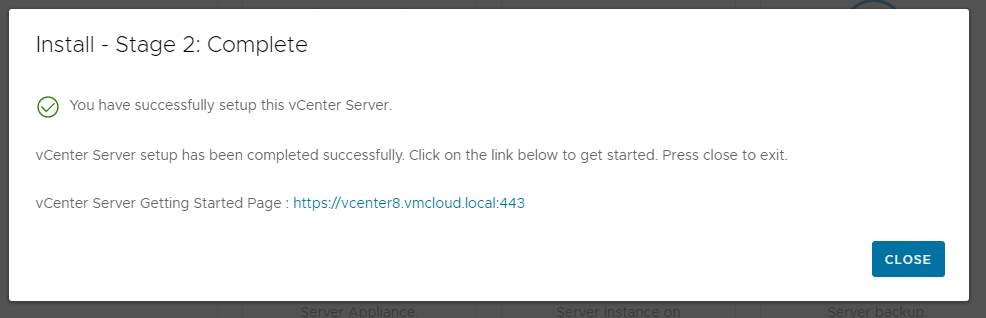
vCenter setup in progress.
vCenter setup done.
Adding ESXi hosts to vCenter
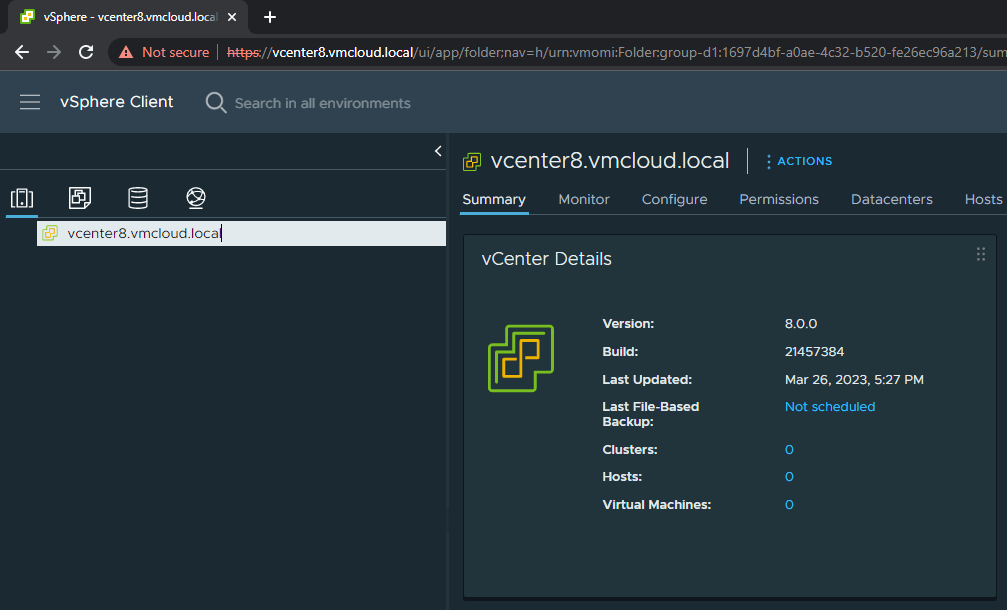
1. Once vCenter is up and running it is time to add ESXi host. Go to vCenter Web Client:
https://vCenter_IP_or_hostnameIf you want to use hostname, make sure you have added your vCenter IP to hosts file!
Login with administrator@vsphere.local
2. Right click on your vCenter and choose new Datacenter.
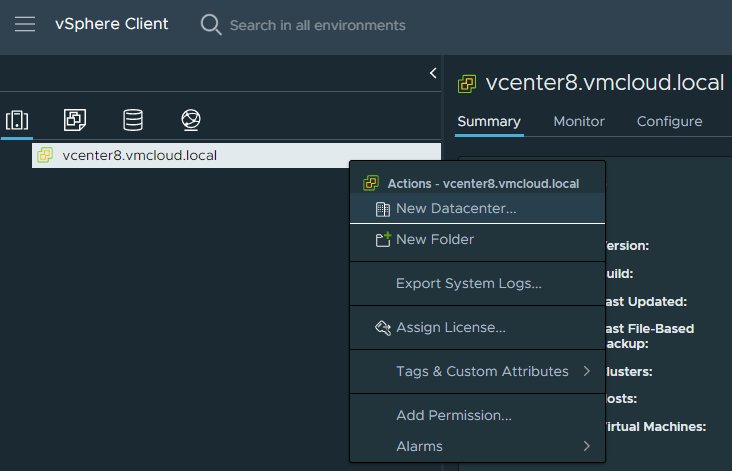
3. Type desired Datacenter name and click OK.

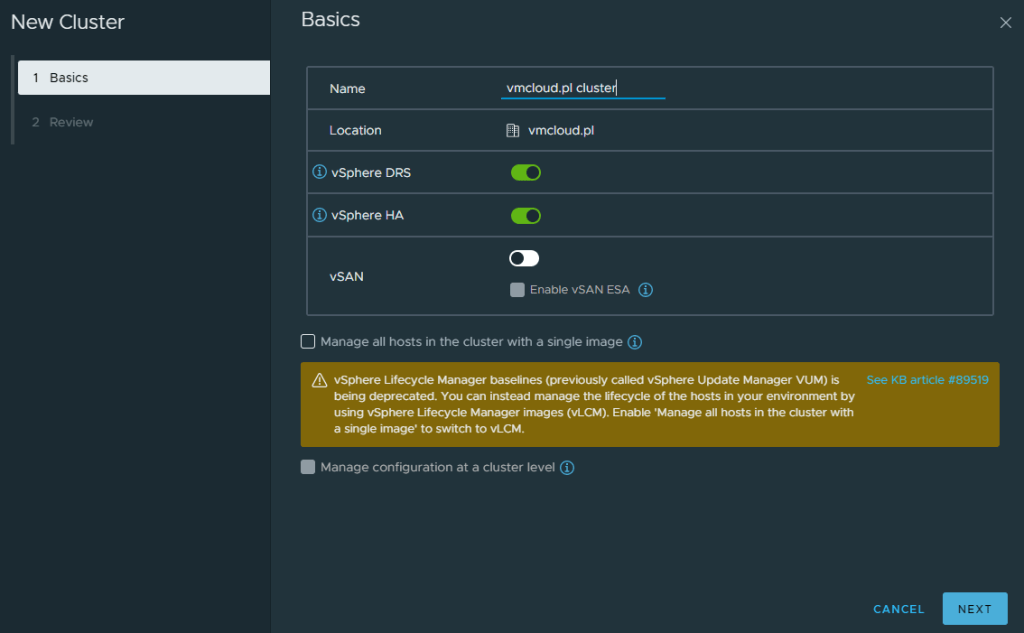
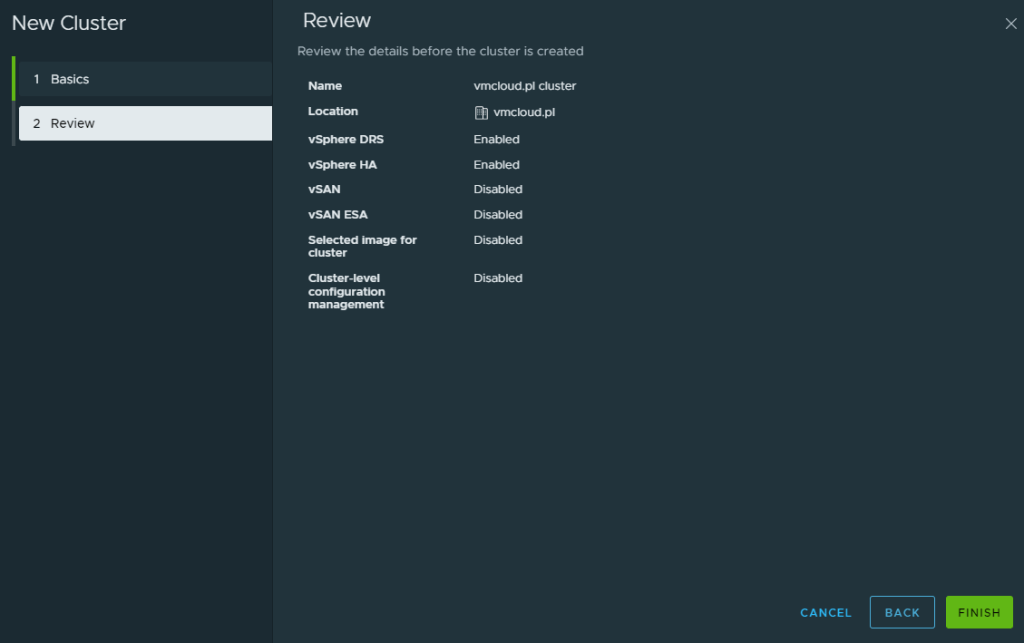
4. Now let’s create a cluster. Right click on your Datacenter and choose New Cluster. Type desired cluster name and choose settings. Click Next and Finish.
You can skip this step if you will use only one ESXi.
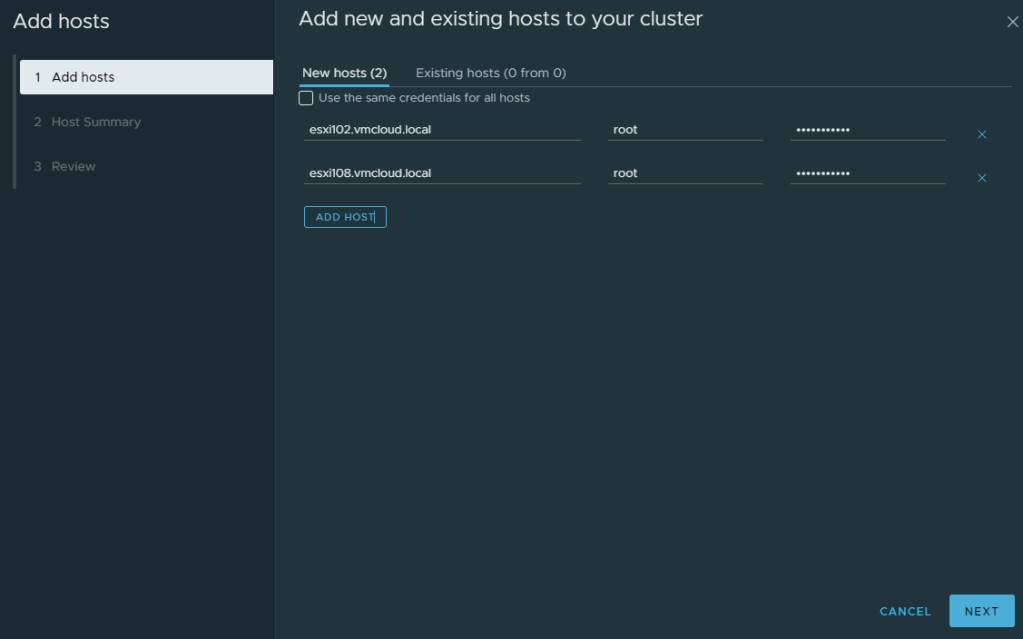
5. Right click on cluster and choose Add hosts.

6. Type all the hosts that you want to add.
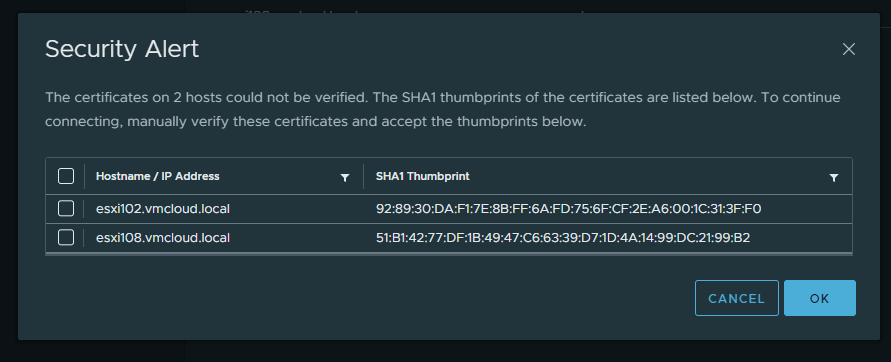
7. Confirm security alert.
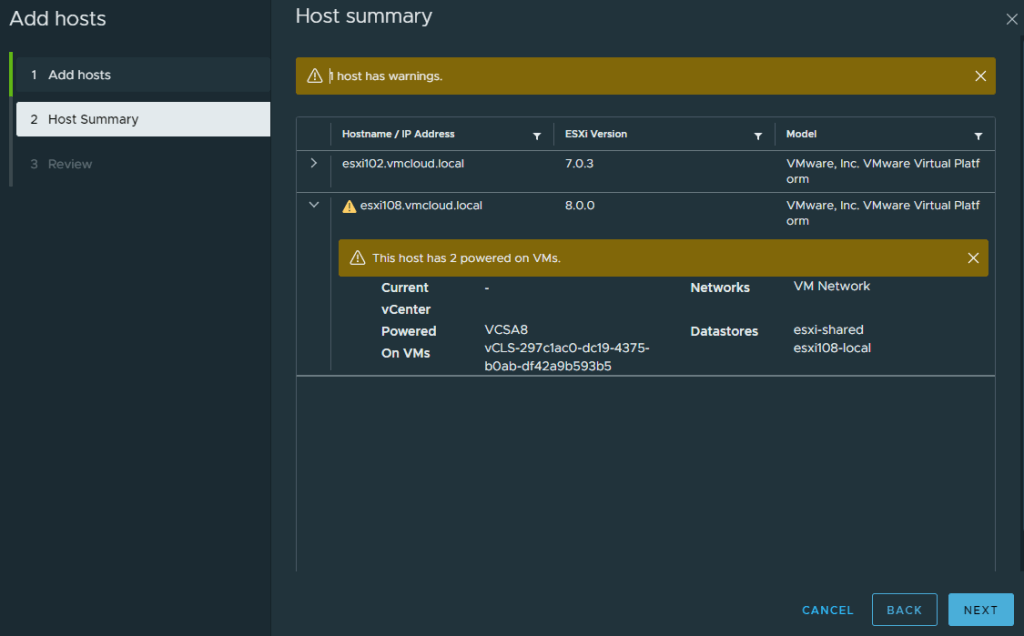
8. Host summary click next. Review click Finish.
Yes, you can add ESXi 7.0 to vCenter 8.

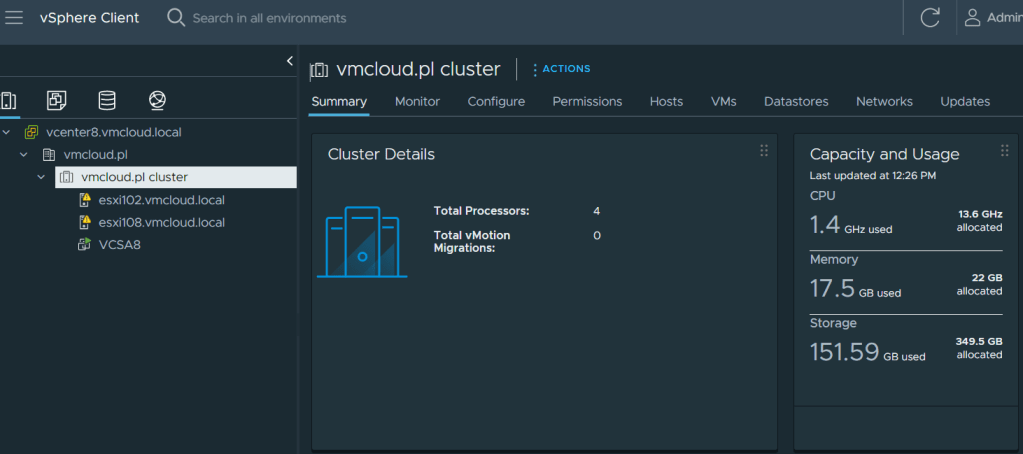
Hosts added to vCenter.
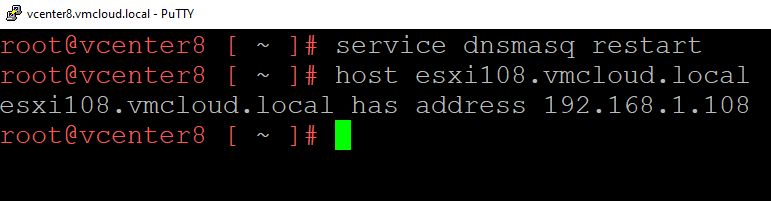
In vCenter 8 you might have an issue when adding Host using FQDN. If you have error “Cannot contact host..” even if your DNS settings are ok, you might try to restart DNS cache service on vCenter.
To restart the service, connect to your vCenter Server by SSH and use the following command:
service dnsmasq restart
That’s it! Your vCenter 8.0 is ready to use!
Thank you for reading! Here are some links you may be interested in:
- More articles on main page: https://vmcloud.pl/
- LinkedIn: https://www.linkedin.com/in/krzysztofsalwa/
- Twitter: https://twitter.com/vmcloudpl
- GitHub: https://github.com/vmcloudpl
- VMware vExpert: https://vexpert.vmware.com/
- VMware Communities: https://communities.vmware.com/
- VMUG: https://www.vmug.com/
- VMware Explore: https://www.vmware.com/explore.html
- VMware Store EU: https://store-eu.vmware.com/
- VMware Store US: https://store-us.vmware.com/

Leave a comment