

Managing a virtual infrastructure can be a challenging task, especially when you have a large number of virtual machines or ESXi hosts to manage. In order to manage these virtual machines, you need a tool that can automate the process and provide you with a single interface to manage all of your virtual machines. This is where Ansible comes in. Ansible is an open-source tool that can automate IT tasks such as configuration management, application deployment, and task automation. Ansible is easy to use, scalable, and powerful, making it a popular choice for managing large-scale IT infrastructures.
In this article, I will show you step by step how to implement Ansible to manage your VMware infrastructure.
Prerequisites
Linux VM
Ansible can be installed on any Linux OS – Debian/CentOS/Ubuntu etc. For this article I will use Ubuntu 22.04 VM. You can download Ubuntu ISO from here, then create a VM and install the OS.
Enable SSH on your Linux VM
Check if your Linux VM has SSH access enabled using the following command:
sudo systemctl status sshIf service is not found, proceed with steps below to enable SSH.
1. Open Terminal and install SSH using the following command:
sudo apt install openssh-server2. Enable SSH using the following command:
sudo systemctl enable ssh3. Allow SSH connection in Firewall settings using the following command:
sudo ufw allow ssh4. Check if SSH service is started using the following command:
sudo systemctl status ssh
If the status is not active, start SSH service using the following command:
sudo systemctl start sshVisual Studio Code
I will be using Visual Studio Code to create, manage and run Ansible Playbooks. You can download Visual Studio Code here. I suggest you check out my other article How to manage and run Ansible Playbooks remotely. This allows you to SSH in Visual Studio Code to your Linux VM and run Ansible Playbooks without copying them to the VM.
Ansible Installation
1. In Visual Studio Code open Terminal and connect by SSH to your Linux VM.
ssh username@IP_or_hostname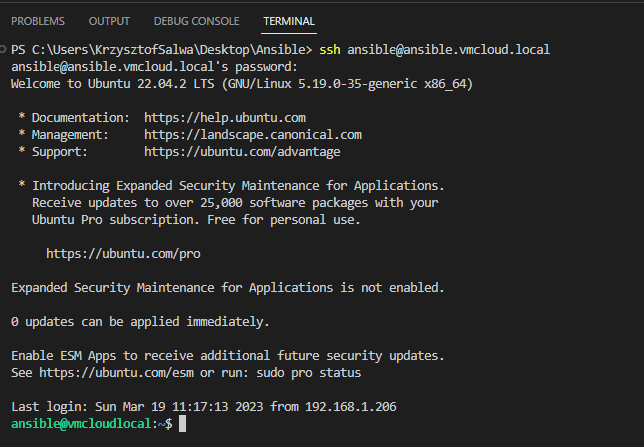
2. Update your Linux VM using the following command:
sudo apt update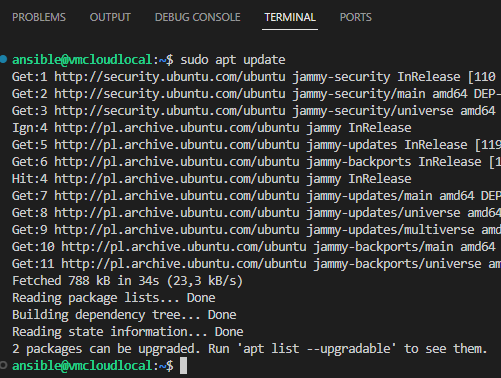
3. Install Software Properties using the following command:
sudo apt install software-properties-common

4. Add repository using the following command:
Thanks to this you will install latest version of Ansible.
sudo apt-add-repository --yes --update ppa:ansible/ansible
5. Install Ansible using the following command:
sudo apt install ansible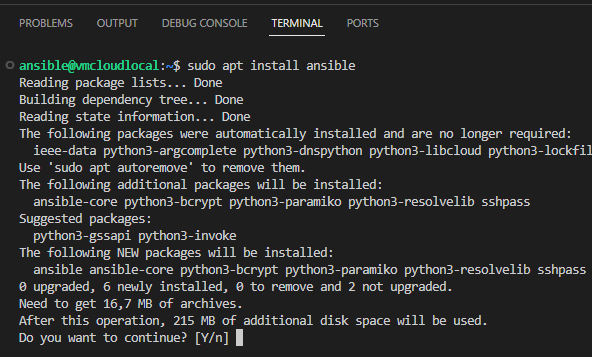
6. Verify Ansible version using the following command. Make sure config file path is /etc/ansible.
ansible --version
6. Install Python3-pip using the following command:
sudo apt install python3-pip
6. Install PyVmomi using the following command:
pip3 install PyVmomi
7. Install comunity.vmware collection using the following command:
ansible-galaxy collection install community.vmware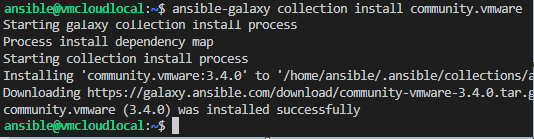
8. Modify Ansible hosts file using the following command:
sudo nano /etc/ansible/hosts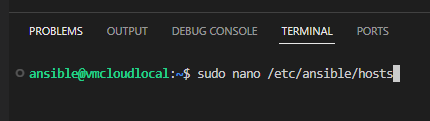
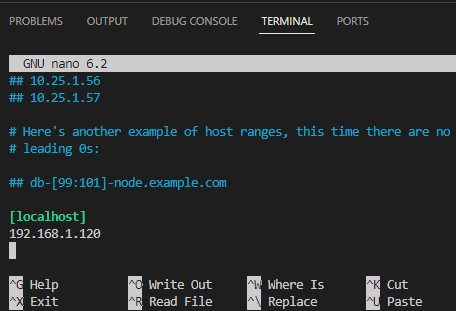
9. At the end of the hosts file add the following:
[localhost]
IP_of_your_Ansible_VM
Once added, press Ctrl+O to Save the file, then Enter and then Ctrl+X to exit.
10. Test the connection. At this point it will not work.
ansible -m ping localhost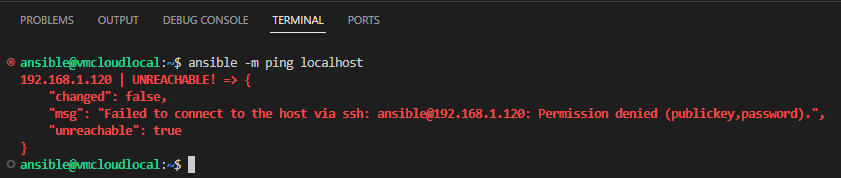
11. Generate SSH key using the following command:
ssh-keygen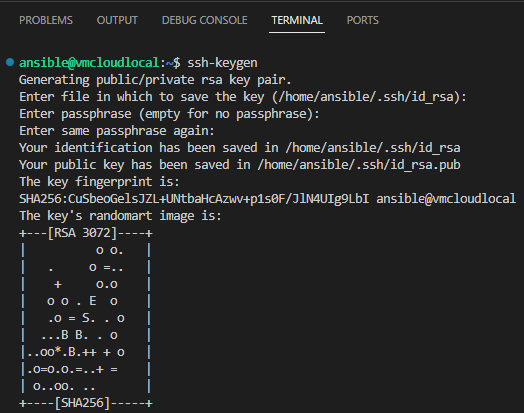
12. Copy SSH key using the following command:
ssh-copy-id username@IP_your_ansible_VM
13. Now the connection will work.
ansible -m ping localhost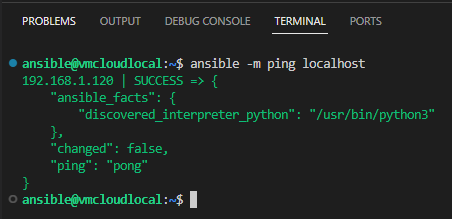
Running Ansible Playbook
Once everything is done with the Ansible installation, it’s time to launch your first Ansible Playbook.
I suggest you check out my other article How to manage and run Ansible Playbooks remotely. This allows you to create and run Ansible Playbooks directly on your Ansible VM using an SSH connection. There is no need to copy .yml files to the virtual machine.
As an example, here is a Playbook for checking ESXi host information.
This Playbook can be found at My GitHub Repository.
---
- name: ESXi Info #vmcloud.pl
  hosts: localhost
  vars:
    vcenter_server: "vCenter_IP_or_hostname"
    vcenter_username: "administrator@vsphere.local"
    vcenter_password: "password"
    esxi_hostname: "ESXi_IP_or_hostname"
  tasks:
    - name: Gather product version info for ESXi from vCenter
      community.vmware.vmware_host_facts:
          hostname: "{{ vcenter_server }}"
          username: "{{ vcenter_username }}"
          password: "{{ vcenter_password }}"
          esxi_hostname: "{{ esxi_hostname }}"
          validate_certs: no
          schema: vsphere
          properties:
            - config.product
            - config.option
            - runtime.connectionState
            - runtime.powerState
            - hardware.memorySize
            - hardware.cpuInfo.numCpuCores
            - config.product.apiVersion
            - overallStatus

      register: gather_host_facts_result
    - name: Extract update level info from option properties
      set_fact:
        update_level_info: "{{ item.value }}"
      loop: "{{ gather_host_facts_result.ansible_facts.config.option }}"
      when:
        - item.key == 'Misc.HostAgentUpdateLevel'

    - name: The output of Product, Version, Build, Update info for ESXi
      debug:
        msg:
          - "ESXi    : {{ esxi_hostname }}"
          - "Product : {{ gather_host_facts_result.ansible_facts.config.product.name }}"
          - "Version : {{ gather_host_facts_result.ansible_facts.config.product.version }}"
          - "Build   : {{ gather_host_facts_result.ansible_facts.config.product.build }}"
          - "Update  : {{ update_level_info }}"
          - "Runtime : {{ gather_host_facts_result.ansible_facts.runtime.connectionState }}"
          - "State : {{ gather_host_facts_result.ansible_facts.runtime.powerState }}"
          - "Memory Size : {{ gather_host_facts_result.ansible_facts.hardware.memorySize}}"
          - "Cpu Cores : {{ gather_host_facts_result.ansible_facts.hardware.cpuInfo.numCpuCores}}"

Copy the Playbook above and paste into Visual Studio Code. Then save as a .yml file.
Run Playbook using the following command:
ansible-playbook filename.yml
Result:

With this setup, you can automate any operation with Ansible!
Thank you for reading! Here are some links you may be interested in:
- More articles on main page: https://vmcloud.pl/
- LinkedIn: https://www.linkedin.com/in/krzysztofsalwa/
- Twitter: https://twitter.com/vmcloudpl
- GitHub: https://github.com/vmcloudpl
- VMware vExpert: https://vexpert.vmware.com/
- VMware Communities: https://communities.vmware.com/
- VMUG: https://www.vmug.com/
- VMware Explore: https://www.vmware.com/explore.html
- VMware Store EU: https://store-eu.vmware.com/
- VMware Store US: https://store-us.vmware.com/


Leave a comment